How to Use Your Mockup Generator to Create Instagram Carousel Posts That Drive Traffic to Your Etsy Shop
If you sell digital prints or wall art on Etsy, you already know that getting traffic to your shop is half the battle. SEO helps, but it takes time. Ads cost money. And just hoping buyers stumble across your listings is not a strategy.
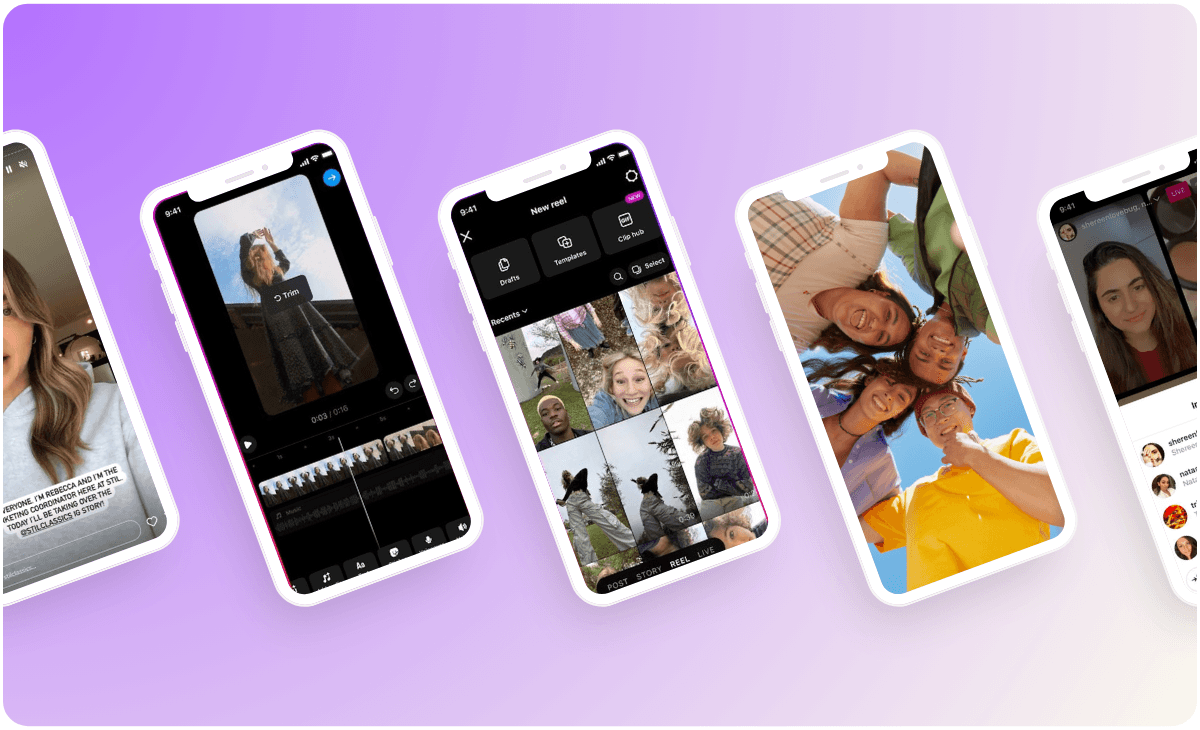
Instagram carousels, though, are genuinely underused by print-on-demand sellers. They perform well algorithmically because the swipe action signals engagement, they give you multiple frames to tell a story, and they let you showcase an entire collection without spamming your followers with ten separate posts. The problem most sellers run into is the creative side: what do you actually put in each slide?
This is where your mockup generator changes everything. If you are already creating polished product mockups for your Etsy listings, you are sitting on the raw material for an entire content strategy. You just need a system for turning those mockups into carousel-ready slides. That is exactly what this guide covers.
Why Carousels Work So Well for Etsy Sellers
The Algorithm Loves Engagement, and Swipes Count as Engagement
Instagram's algorithm rewards posts that get people to interact. Comments and saves get the most attention, but swipes count too. Every time someone moves from slide one to slide two, the platform registers that as a signal that your content is worth showing to more people.
For product-based businesses, this is huge. A single carousel can function like a mini lookbook or a styled room tour, pulling a viewer deeper into your world with each swipe. You are not just showing one product image and hoping it stops someone mid-scroll. You are giving them a reason to keep going.
And the longer someone spends on your post, the better it performs. A carousel with six or eight compelling slides gives your content far more dwell time than a single static image. That extra time translates directly into reach.
Carousels Let You Showcase Context, Not Just Products
One of the biggest mistakes print-on-demand sellers make on Instagram is posting plain product images, a print on a white background, or a raw design with no context. That approach might work on a product page, but it rarely stops a scroll.
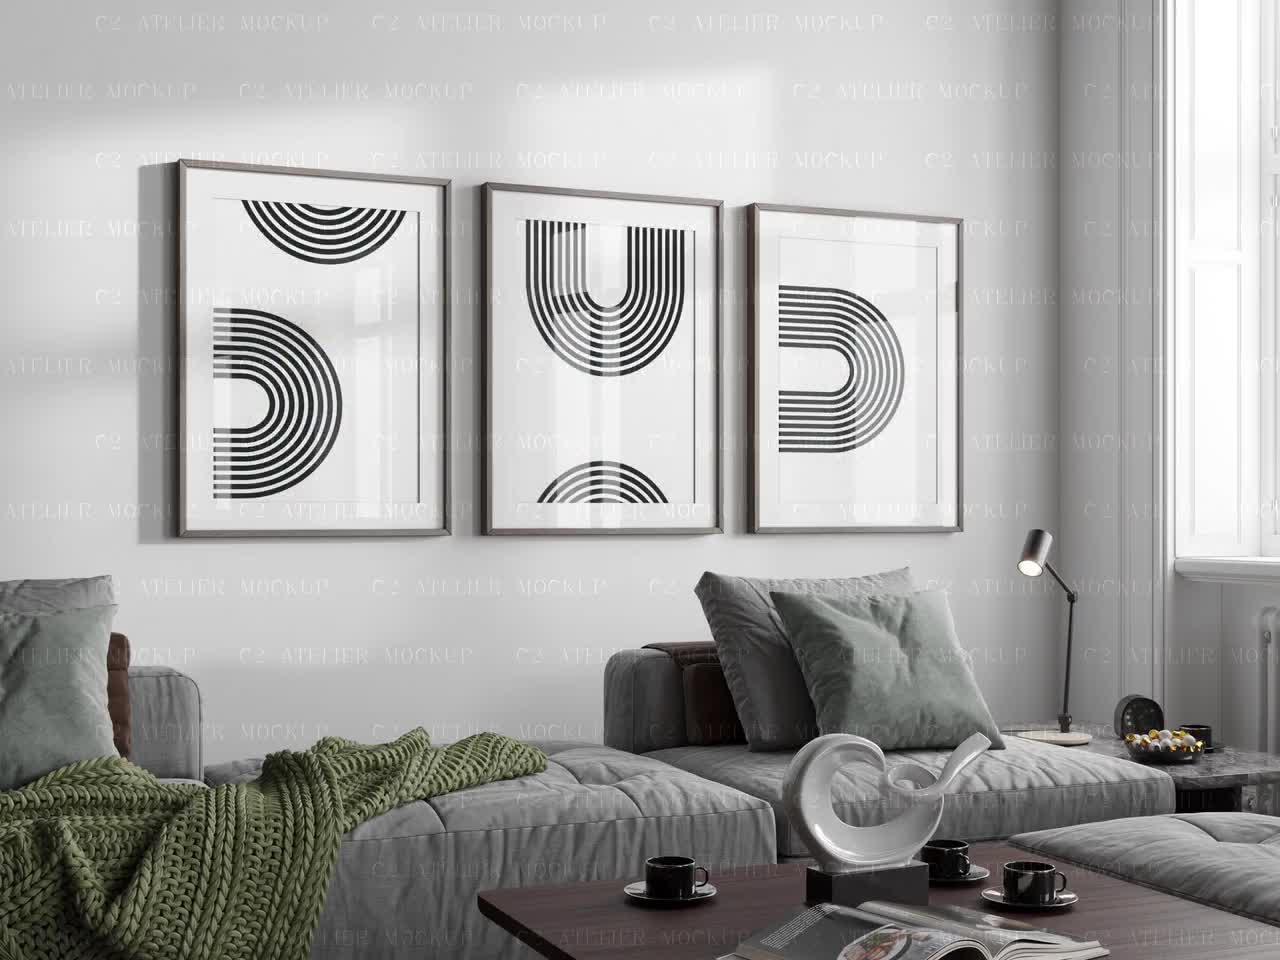
Carousels let you build context across multiple slides. Slide one grabs attention with a beautiful lifestyle mockup. Slide two shows the same design in a different room or frame. Slide three zooms in on details. Slide four shows a complementary piece that pairs well. By the end of the carousel, a viewer does not just know your product exists. They can picture it in their home.
That shift from awareness to desire is what drives people to click through to your Etsy shop.
Actionable takeaway: Before you create your next carousel, write down one sentence describing what you want the viewer to feel or imagine by the time they reach the last slide. That emotional destination should guide every slide you design.
Planning Your Carousel Before You Touch the Mockup Tool
Choose a Carousel Type That Matches Your Goal
Not every carousel needs to have the same structure. Before you open your mockup generator, decide what the carousel is actually trying to do. There are a few formats that work especially well for Etsy sellers:
The collection showcase. You pick a theme, a color palette, a style, or a room type, and you show multiple products that fit that theme across the slides. This works great if you are launching a new collection or trying to promote a seasonal drop. It gives buyers a reason to visit your shop and browse, rather than clicking on just one listing.
The single product deep dive. You take one product and show it from multiple angles, in different settings, at different scales. This is great for higher-priced items where a buyer might need more convincing. Each slide answers a different question the buyer might have: What does it look like in a living room? A bedroom? What size does this come in? How does it look framed?
The styling tutorial. You show a space or a wall, and then you walk the viewer through how to style it using your prints. This positions you as an expert, not just a seller, and it naturally surfaces your products as the solution.
The before and after. You show a plain wall or a boring space on slide one, and then you reveal a styled version featuring your prints by the end. This format is incredibly effective because it triggers imagination. Viewers instantly start picturing the same transformation in their own homes.
Map Out Your Slides Before Creating Mockups
Once you know your carousel type, write a simple slide-by-slide outline before you touch anything creative. This saves you a lot of time because you will know exactly which mockup scenes you need to generate, rather than creating a bunch of images and then trying to figure out what to do with them.
A simple outline for a six-slide collection showcase might look like this:
Slide 1: Hero image, most eye-catching product in the collection, lifestyle mockup in a styled living room
Slide 2: Second product, shown in a bedroom setting
Slide 3: Third product, close-up detail shot to show print quality
Slide 4: All three products shown together as a gallery wall
Slide 5: Text slide with a brief description of the collection and a call to action
Slide 6: Final CTA slide reminding viewers to click the link in bio
With that outline ready, you know exactly what to generate. You can open your mockup tool and create just what you need, nothing extra.
Actionable takeaway: Spend five minutes mapping out your slides on paper or in a notes app before you start generating mockups. This one habit will cut your content creation time in half.
Generating the Right Mockups for Each Slide
Match Mockup Scenes to Slide Purpose
Not every mockup works for every slide position. The first slide of your carousel is doing the hardest job. It needs to stop someone who is already mid-scroll, which means it needs to be visually striking and immediately communicates something worth swiping for. A lifestyle mockup in a beautiful, well-lit interior works well here because it creates an aspirational image fast.
Middle slides can be more detailed and varied. This is where you can use close-up frame mockups to show texture and print quality, or swap the same design into different room settings to help buyers visualize it in their own space. You can also use mockups that show different product sizes side by side, which is a question buyers almost always have.
The last one or two slides are usually where you transition to a call to action. A clean, simple mockup with a text overlay works well here. Mockupanda has a text overlay feature built in, which means you can add your CTA directly to the mockup image without needing to jump into a separate design tool.
Batch Your Mockup Generation to Save Time
One of the biggest time drains for sellers who are also managing their own social media is the back-and-forth of creating individual mockups one at a time. If you are building a six-slide carousel and you need to show three different products across two different room scenes each, that could mean generating a dozen or more mockup variations.
The smarter approach is to batch your mockup generation. Decide which designs you are promoting, which scenes you want for each one, and then create all of them in one sitting before you move into the assembly phase. If you use a bulk mockup generator, you can produce a full set of carousel-ready images in a fraction of the time it would take going one by one.
This also makes it much easier to maintain visual consistency across your slides, since you are working with a defined set of scenes and styles from the start rather than making ad hoc decisions along the way.
Actionable takeaway: Create a dedicated folder on your computer or cloud storage labeled by month or collection. Every time you generate a batch of mockups for carousel use, save them there. Over time you will build a library that makes putting together new carousels much faster.

Assembling Your Carousel Without a Design Background
Keep Slide Design Consistent So It Looks Like a Set
One of the things that separates a polished carousel from a thrown-together one is visual consistency. When a viewer swipes from slide to slide, it should feel like everything belongs together. The easiest way to achieve this without any design experience is to decide on a few simple rules and stick to them throughout the carousel.
Pick one font for any text that appears across your slides. Use the same filter or color treatment on every mockup image if you are editing them after export. If your mockups have a warm tone, make sure all of them do. If you are using white frames in your product mockups, use white frames throughout the carousel rather than mixing in black or wood frames.
The more cohesive the visual set, the more professional it looks, and the more likely people are to trust you enough to visit your shop.
Add Text Intentionally, Not Everywhere
Text on carousel slides is useful, but it can also make slides feel cluttered if you overdo it. A good rule of thumb is to treat your first slide as mostly visual. Let the mockup do the talking. If you are adding text to the first slide, keep it short, one line or a very short phrase.
Middle slides can carry a little more information, like a brief product description, a size option, or a style note. But keep it conversational and short. This is not the place for paragraph-length copy.
Save your strongest text for the last slide. That is where you tell people exactly what to do next: visit the link in bio, search your shop name, or DM you for a custom order. A direct and clear call to action on the final slide is what converts casual viewers into actual shop visitors.
Since Mockupanda supports text overlays directly on mockup images, you can skip the extra step of exporting to Canva or another app for basic text additions. For simpler slides, especially CTA slides, you can add the text right in the mockup tool and export the slide ready to go.
Actionable takeaway: Audit your last three Instagram posts. Did each one have a clear call to action that told viewers exactly where to go next? If not, build that habit into your carousel ending before you post anything new.
Writing Captions That Work With Your Carousel
The Caption Is Part of the Content Strategy
A great carousel with a weak caption is a wasted opportunity. The caption is where you build context, inject personality, and give the algorithm more to work with through keywords and hashtags. It is also where you can speak directly to the person who just swiped through all your slides.
For Etsy sellers, an effective carousel caption usually does a few things: it acknowledges the viewer's taste or problem, it describes the collection or product briefly in a way that reinforces what they just saw, and it ends with a clear next step. That next step is almost always to visit your shop, either through the link in your bio or by searching your shop name.
Avoid vague captions like "new designs up in the shop!" These are easy to write but they do not do any work for you. Instead, try something that paints a picture: "If you have been trying to pull together your bedroom gallery wall without spending a fortune, this neutral print set is what you are looking for. Each print comes as an instant digital download so you can have it on your wall this weekend."
That caption does three things. It identifies a specific buyer, it explains the product benefit, and it removes a barrier (the waiting time) by mentioning instant download.
Use Hashtags Strategically, Not Lazily
Hashtags on Instagram still work, but the approach has shifted. Rather than stacking thirty broad hashtags hoping something sticks, focus on a smaller set of specific, niche-relevant hashtags that describe exactly what you sell and who you sell to.
For digital print sellers, a mix of style hashtags, interior hashtags, and buyer-intent hashtags tends to work better than generic art hashtags. Think along the lines of gallery wall inspiration, printable wall art, digital download prints, and similar phrases that a buyer might actually search or follow.
You do not need to reinvent your hashtag strategy for every post. Build a core set of ten to fifteen hashtags that are relevant to your niche and rotate in two or three specific ones based on the theme of each carousel. Save your hashtag sets in your notes app so you can copy and paste them quickly rather than typing them from scratch every time.
Actionable takeaway: Write your next carousel caption before you finalize the slides. Starting with the story you want to tell in the caption often clarifies what the slides should show, which makes the whole content creation process faster and more intentional.
Turning Carousel Traffic Into Etsy Shop Conversions
Your Link in Bio Is a Landing Page, Treat It Like One
All the work you put into a carousel is wasted if your link in bio is not set up to convert. When someone taps through from Instagram to your Etsy shop, they should land somewhere that immediately makes sense given what they just saw in your carousel.
If your carousel promoted a specific collection, the ideal link takes them directly to that collection or to a curated section of your shop. If you linked directly to your shop homepage, some visitors will find what they are looking for, but others will bounce because they do not know where to look.
Many sellers use a simple link-in-bio tool to create a landing page with buttons for their most recent featured collection, their bestsellers, and their shop homepage. This gives viewers options without overwhelming them. If you have just posted a carousel about your neutral prints collection, your top button should say something like "Shop the Neutral Prints Collection" and link directly there.
The same mockup images you used in your carousel can be repurposed for Pinterest pins as well, since both platforms reward visual content and can send consistent traffic to the same Etsy listings without requiring you to create entirely new creative assets for each channel.
Track What Is Working So You Can Do More of It
Instagram gives you insights on every post if you have a creator or business account. For carousels, pay attention to reach, saves, and profile visits. Saves are a strong signal that someone found the content genuinely useful or inspiring enough to come back to later. Profile visits tell you how many people wanted to learn more about you after seeing the post.
Over time, patterns will emerge. Certain mockup styles, room settings, or design aesthetics will consistently outperform others. A certain type of caption might drive more profile visits. One product category might generate far more saves than another.
The sellers who grow their Instagram-to-Etsy traffic fastest are not necessarily the most creative. They are the most consistent and the most observant. They notice what works, they double down on it, and they stop spending time on what does not.
If you are in a growth phase and posting new collections regularly, tools that let you keep up with seasonal drops without falling behind on content creation will make it much easier to stay consistent on Instagram at the same time.
Actionable takeaway: After each carousel, note the reach and save count in a simple spreadsheet. After six posts, look back at the data and identify one pattern you can lean into for your next piece of content.
Building a Repeatable Instagram Workflow Around Your Mockup Tool
Create a Monthly Carousel Calendar
Consistency on Instagram does not mean posting every day. It means showing up regularly enough that your audience knows you are active and that new content is coming. For most Etsy sellers who are managing a shop on top of content creation, two to four carousels per month is a realistic and effective cadence.
At the start of each month, decide on your carousel themes. One might be a new collection launch. One might be a styling tutorial using your bestselling prints. One might be a seasonal or trend-based roundup. Knowing your themes ahead of time means you can plan your mockup generation around them rather than scrambling for ideas the night before you want to post.
Once your themes are set, generate all the mockups you need for the month in a single batch session. Export them into your monthly folder. Then, when it is time to assemble and post, you are just pulling from existing assets rather than starting from scratch.
Repurpose Carousel Content Across Platforms Without Extra Work
One of the best things about building a strong mockup library is that the same images can work across multiple platforms. The individual slides from an Instagram carousel can become standalone Instagram Story frames. They can become Pinterest pins. They can be used in your Etsy shop banner or announcement section to reinforce the visual story you are telling on social media.
This cross-platform approach multiplies the value of every mockup you create without multiplying your workload. Instead of thinking about each platform separately, think about your mockup library as a content asset bank. Every image you generate is an investment that can pay off in multiple places.
The sellers who do this well tend to have a simple system: generate the mockups, organize them by collection or theme, and then systematically deploy them across their Etsy listings, their Instagram carousels, their Pinterest boards, and any other channels they use. Each platform gets the same core images, adapted slightly for format and context.
Actionable takeaway: At the start of next month, block out a single two-hour session to plan your carousel themes, generate your mockups, and organize them into a ready-to-use folder. That one session should set you up with everything you need for the entire month's Instagram content.
Instagram carousels are one of the most effective free marketing tools available to Etsy sellers, but most shops never tap their full potential because the content creation process feels like too much work. The key insight is that you do not need to start from scratch. Your mockup workflow is already producing the images. The carousel just needs a plan and a system to package them.
Start with one carousel this week. Pick a theme, map out six slides, generate the mockups you need with Mockupanda, and post it with a caption that ends with a clear call to action. Then watch your profile visits and link in bio traffic for the next few days. That first data point is the beginning of a content strategy that compounds over time.
Keep reading

The Fastest Way to Re-Mockup Your Entire Etsy Shop When You Rebrand Without Touching Each Listing Individually

How to Build a Consistent Visual Identity Across 100+ Etsy Listings Without Manually Editing Every Mockup