How to Use the Mockupanda API to Auto-Generate Mockups Every Time You Upload a New Design to Your Print-on-Demand Store

If you run a print-on-demand shop with any real volume, you already know the drill. You finish a new design, upload it, and then spend the next twenty minutes wrestling with mockup tools, resizing images, exporting files, and doing it all over again for every product variation. Multiply that by ten designs a week, and you're looking at hours of repetitive work that adds zero creative value to your business.
That's exactly the problem the Mockupanda API was built to solve. Instead of manually triggering mockup generation every single time, you can wire up your store so that the moment a new design file appears, mockups are created automatically and dropped wherever you need them. No manual steps. No forgetting. No bottlenecks.
This post walks you through the full picture: what the API actually does, what you need to get started, how to structure your automation, and how to connect it with real tools you're probably already using.
What the Mockupanda API Actually Does
Before jumping into setup, it's worth being clear on what the API gives you access to, because it's more flexible than most people expect.
The Core Capability: Programmatic Mockup Generation
At its core, the Mockupanda API lets you send a design file and a mockup template reference to a single endpoint, and get back a finished mockup image. That's the fundamental transaction. You provide the design, you specify which mockup scene you want, and the API handles all the placement, perspective, blending, and rendering.
What makes this useful for automation is that this request can be triggered by anything. A file upload event in your storage system, a new row in a spreadsheet, a webhook from your Shopify store, a Zapier trigger, a custom script running on a schedule. The API doesn't care where the request comes from. If the right data arrives, it generates the mockup.
You can also batch multiple mockup scenes in a single workflow, so when a new design lands, you can automatically generate a frame mockup, a canvas mockup, and a lifestyle scene all at once, and have all three ready within seconds.
What the API Response Gives You
When the API generates your mockup, it returns a URL or a downloadable file, depending on how you configure the request. That output can then be automatically pushed to your Shopify product listing, saved to a Google Drive folder, attached to a Notion database entry, or sent anywhere else your automation points it.
This is what makes the whole system feel like magic when it's running. You upload a design, and by the time you open your store dashboard, the mockup is already there.
Takeaway: Before you build anything, get clear on your output destination. Where do you need the finished mockup to end up? Shopify, a cloud folder, an email, a listing queue? That destination will shape how you build your automation.
What You Need Before You Start
You don't need to be a developer to use the Mockupanda API, but you do need a few things in place before any of this works smoothly.
API Access and Authentication
First, you need an active Mockupanda account with API access enabled. Once you have that, you'll get an API key, which is the credential that authenticates every request you make. Treat this key like a password. Don't paste it into public scripts, don't share it in forums, and store it in environment variables or a secrets manager rather than hardcoding it into your automation.
Every API request you make will include this key in the header. Most automation platforms like Make (formerly Integromat), Zapier, or n8n have dedicated fields for API authentication, so you just paste the key in once during setup and it handles the rest automatically.
A Consistent File Handling System
For the automation to work reliably, your design files need to be accessible via a URL at the point when the API request is made. If you're uploading files to Google Drive, Dropbox, or an S3 bucket, you'll need to generate a shareable or public link as part of the automation before that link gets passed to the API.
This sounds like an extra step, but in practice most automation platforms handle it with a single action. For example, in Make, there's a Google Drive module that retrieves a file's download URL, and you just chain that before the API call.
If your designs live in Shopify's media library, you'll pull the URL from the upload event webhook instead.
A Clear Mockup Template Strategy
The API requires you to specify which mockup template to use. So before you build your automation, spend some time in the Mockupanda interface selecting and noting the template IDs for the scenes you want to use consistently. Most sellers have a core set of three to five mockups they use across every product, and those become the fixed parameters in your automation.
If you're selling wall art, that might be a white frame in a living room, a black frame in a minimal hallway, and a canvas in a bedroom. Those three templates become permanent fixtures in your workflow, and every new design flows through all three automatically.
Takeaway: Set up your file storage system and pick your core mockup templates before you write a single line of automation logic. The more standardized your inputs, the simpler and more reliable your automation will be.
Building the Automation: Three Common Approaches
There are several ways to wire up automatic mockup generation depending on your technical comfort level and existing stack. Here are the three most practical approaches for print-on-demand sellers.
Option 1: No-Code with Make or Zapier
If you're not a developer, this is your best starting point. Platforms like Make and Zapier let you build multi-step automations using a visual interface, connecting apps without writing code.
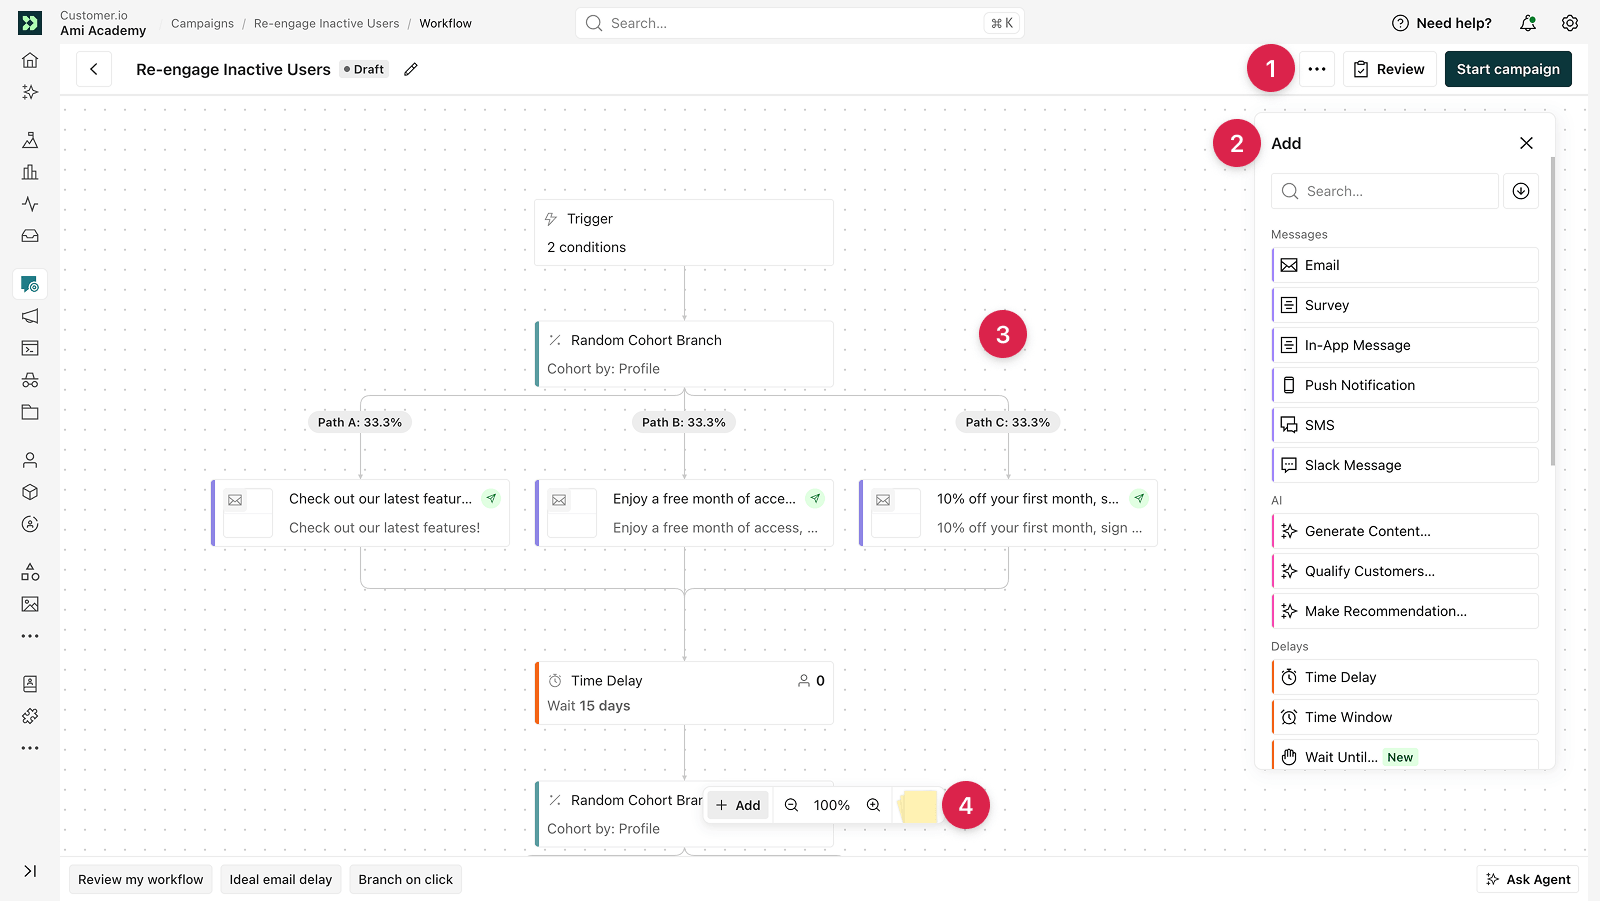
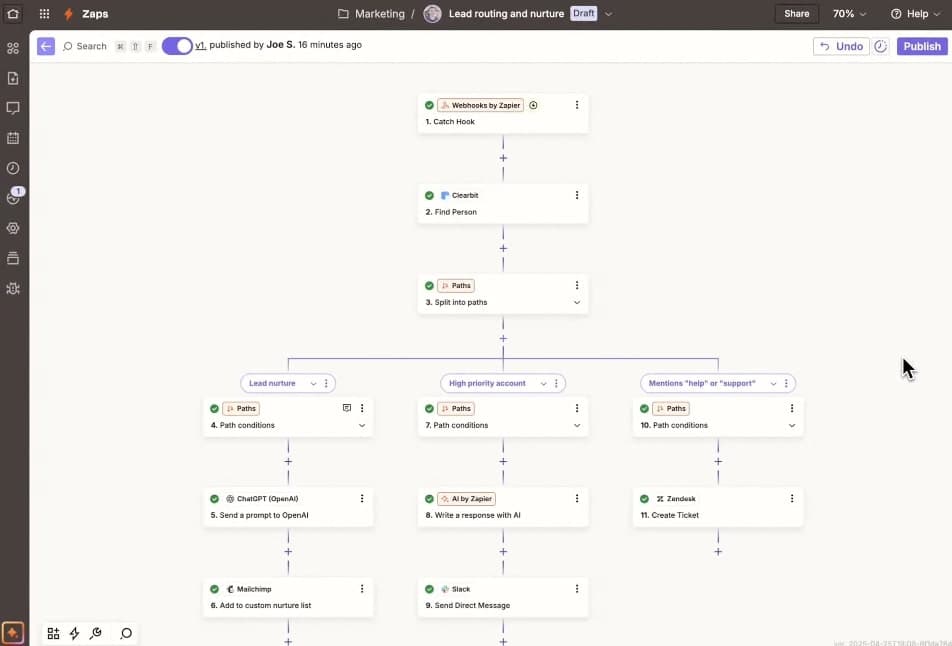
A typical Make workflow for this looks like this: A trigger watches a specific Google Drive folder for new files. When a file appears, Make retrieves its download URL. Then it makes an HTTP request to the Mockupanda API with that URL plus your template IDs as parameters. The API returns the finished mockup URL. Make then uses that URL to upload the image to Shopify (or saves it to another Drive folder, or sends it to Notion, depending on your setup).
The whole thing runs in the background without you touching it. A similar approach works for automating mockup generation from cloud storage, and many sellers combine both into a single connected pipeline.
The limitation with no-code tools is that complex logic, like routing different design types to different mockup templates based on file naming conventions, requires some creative workarounds. But for a standard workflow where every design gets the same set of mockups, Make and Zapier handle it perfectly.
Option 2: Custom Script with Python or Node.js
If you're comfortable running scripts, a small Python or Node.js script gives you much more control. You can add logic for naming files, organizing outputs by collection, handling errors gracefully, and queuing multiple requests without hitting rate limits.
Here's the basic structure of what a Python script doing this would look like:
```python import requests
API_KEY = "your_api_key_here" DESIGN_URL = "https://your-storage.com/your-design-file.png" TEMPLATE_IDS = ["template_id_1", "template_id_2", "template_id_3"]
for template_id in TEMPLATE_IDS: response = requests.post( "https://api.mockupanda.com/v1/generate", headers={"Authorization": f"Bearer {API_KEY}"}, json={ "design_url": DESIGN_URL, "template_id": template_id } ) mockup_data = response.json() print(f"Mockup ready: {mockup_data['mockup_url']}") ```
This is a simplified example to illustrate the pattern. The actual endpoint structure and parameters follow the Mockupanda API documentation. You'd trigger this script via a file watcher tool, a cron job, or a webhook listener depending on how your upload process works.
This approach is worth the setup time if you're running a high-volume shop where the efficiency gains compound quickly across hundreds of designs.
Option 3: Shopify Webhook Integration
If your store runs on Shopify, you can use Shopify's built-in webhook system to fire the Mockupanda API request automatically when a new product is created. Shopify emits a `products/create` webhook event every time a new product is added, and that event contains the product's media URLs.
You'd set up a small serverless function (using something like AWS Lambda, Vercel, or Cloudflare Workers) that listens for that webhook, extracts the design image URL from the payload, calls the Mockupanda API, and then uses the Shopify API to update the product listing with the newly generated mockup images.
This creates a genuinely seamless experience where adding a product to Shopify is the only manual step, and everything after that happens automatically. There's a more detailed breakdown of this specific approach available for connecting a mockup API directly to your Shopify store.
Takeaway: Match the approach to your current skill level. No-code tools get you running in an afternoon. Custom scripts give you more power but take longer to set up. Shopify webhooks are the most seamless option if you're technically comfortable. Start simple and add complexity only when you actually need it.
Handling Multiple Mockups Per Design
One of the most powerful things about using the API this way is that you're not limited to generating a single mockup per design. With a bit of structure in your automation, every new upload can produce a full set of mockups ready for your listing.
Looping Through Templates Automatically
Whether you're using Make, a custom script, or a webhook handler, the pattern for generating multiple mockups is the same: you loop through a list of template IDs and fire a separate API request for each one. Because these requests can run in parallel (or in quick succession), the total time to generate three or four mockups is only marginally longer than generating one.
In Make, you'd use the Iterator module to split your template ID list into individual items and map each one into a separate HTTP request module. In a Python script, you'd use a for loop or a thread pool for concurrent requests. In a Shopify webhook handler, you'd use Promise.all in Node.js to fire all requests simultaneously.
The output is a collection of mockup URLs, one per template, all generated from the same design file in a single automated run.
Organizing Your Outputs Intelligently
With multiple mockups being generated automatically, naming and organization matter more than they might when you're doing things manually. If all your mockup files land in the same folder with generic names, things get messy fast.
Build naming logic into your automation from the start. A naming pattern like `[design-name]_[template-name]_[date].jpg` keeps things organized and makes it easy to match mockups to their source designs later. Most automation platforms let you construct these names dynamically using variables from earlier steps in the workflow.
If you're feeding mockups directly into Shopify product listings, you can also sequence the order they appear using the Shopify API's position parameter, putting your most compelling lifestyle scene first and supplementary scenes after.
Takeaway: Loop through all your core templates in every automation run so you always get a complete mockup set per design, and build in smart naming from the start so your files stay organized as volume grows.
Testing, Error Handling, and Keeping Things Running
Any automation breaks eventually. File uploads fail, APIs return errors, webhooks miss events. Building in basic resilience from the start saves a lot of frustration later.
Testing Your Workflow Before Going Live
Before you run this automation on real products, test it thoroughly with a handful of dummy design files. Verify that each step produces the expected output before passing it to the next. Check that the mockup image quality looks right, that file names are structured the way you want, and that the output lands in the correct destination.
In Make, you can run individual scenario steps manually to inspect what each module returns. In a custom script, add print statements or logging so you can see exactly what's happening at each stage. Catching edge cases in testing is much less stressful than discovering them when a real design batch fails.
Basic Error Handling
At minimum, your automation should handle two failure modes: the API request failing (network error, invalid parameters, rate limit hit) and the output delivery failing (Shopify API error, Drive upload failing). For both cases, you want the automation to log the failure rather than silently dropping it.
In Make, you can add an error handler route to any module that catches failures and sends you an email or a Slack message with the details. In a custom script, wrap your API calls in try-except blocks and log errors to a file. This way, if something goes wrong, you know about it immediately rather than discovering it days later when you notice a product listing is missing its images.
Monitoring for Consistency
Once your automation is live and handling real designs, do a quick audit every couple of weeks. Check that every product added recently has the expected mockup images attached. Check that file names and organization match your system. Check that no API changes or plan updates have affected how the automation behaves.
This takes ten minutes and catches small issues before they become large ones.
Takeaway: Test thoroughly before going live, build in error notifications so failures don't go unnoticed, and do periodic audits to catch drift before it becomes a real problem.
The Real Payoff: What This Unlocks for Your Business
Setup takes a few hours. But what you get in return is something much more valuable than saved time.
Faster Product Launches
When mockup generation is no longer a manual step, the gap between finishing a design and having a live, professional listing shrinks dramatically. Some sellers who have built these workflows report going from a multi-hour launch process down to something closer to thirty minutes, most of which is writing the listing description. The difference this makes for seasonal drops, trend-chasing, and keeping your shop fresh is significant.
The speed gains print-on-demand sellers experience when they automate mockup generation compound over time, especially as your catalog grows.
Consistent Quality Across Your Entire Catalog
When humans do repetitive tasks, quality drifts. Some days the mockup is perfectly centered, some days it's slightly off. Some listings get three mockup scenes, some get one. With an automated pipeline, every single product gets the same treatment every time. Your shop looks more professional, your branding is more consistent, and buyers develop trust in what they see before they purchase.
This consistency also makes it easier to batch create mockups for entire collections in a single run, which is useful whenever you're launching a themed group of products at once.
Scaling Without Adding Hours
Maybe the biggest benefit is that your capacity to add new products stops being constrained by how many hours you can spend on mockups. Whether you're adding five designs this week or fifty, the automation handles the same workload without any additional effort from you. That's the kind of leverage that actually lets a solo seller scale.
Takeaway: The time investment in setting up this automation pays back every single time you upload a new design. The sooner you build it, the more value you get from it.
Getting Started: A Simple Action Plan
If you're ready to move from manual mockup creation to automated generation, here's a clear sequence to follow.
First, make sure you have an active account on Mockupanda with API access. Note your API key and keep it somewhere secure.
Second, decide which mockup templates you want applied to every new design. Go through the template library, pick your three to five core scenes, and note their IDs.
Third, pick your automation approach based on your technical comfort level. Make or Zapier if you want no code. A Python script if you're comfortable writing code. A Shopify webhook handler if you want deep store integration.
Fourth, build a test version of the workflow using a single dummy design and a single template. Get that working cleanly before adding loops, multiple templates, or complex output routing.
Fifth, expand to your full template set and connect the real output destination, whether that's Shopify, a cloud folder, or both.
Sixth, run a small batch of real designs through it, verify the results, and then let it run.
That's it. You're not building something complicated. You're connecting a handful of tools in a sequence that saves you time every single day going forward.
Keep reading
The Batch Mockup Checklist Every Print-on-Demand Seller Needs Before a Holiday Sales Season
How Print-on-Demand Sellers Are Using Mockup APIs to Cut Product Launch Time From Hours to Minutes