How to Batch Create Mockups for a New Print-on-Demand Collection Without Hiring a Designer
Launching a new collection is exciting right up until you realize you need mockup images for every single product.
If you have ten designs and want to show each one in three different frame styles, that is thirty images to create before you even write your first listing title. If you are doing this manually, opening one file at a time, placing artwork, adjusting sizing, exporting, and then starting over, you are easily looking at a full day of repetitive work. And that is before you factor in the mental drain of doing the same task dozens of times in a row.
Hiring a designer sounds like the obvious answer, but for most Etsy and print-on-demand sellers working on tight margins, paying someone to produce mockup images for every collection launch is not realistic. You would spend more on the mockups than you make back on the first month of sales.
The good news is that you do not need a designer. What you need is a smarter workflow.
This post will walk you through exactly how to set up a batch mockup creation process for a new print-on-demand collection, from organizing your files to generating finished images at scale. By the end, you will have a repeatable system you can use every single time you launch.
Why Manual Mockup Creation Is Killing Your Launch Momentum
Before jumping into the how, it is worth understanding why the manual approach is such a problem. Not just because it is slow, but because of what it costs you beyond time.
The Hidden Cost of One-at-a-Time Workflows
When you create mockups manually, each image takes somewhere between five and fifteen minutes depending on your tools and skill level. For a ten-product collection with three mockup variations per product, that is between one and a half and four and a half hours of focused work. That is if everything goes smoothly. Add in file organization issues, export errors, and the occasional need to redo a placement, and you are realistically looking at a full workday.
That time has a real cost. Every hour you spend on production tasks is an hour you are not spending on design work, customer service, SEO optimization, or the other activities that actually grow your shop. For sellers who are already wearing every hat in their business, this is not a small thing.
There is also a quality consistency problem. When you are creating images one at a time over several hours, your placement decisions start to drift. The artwork that looked perfectly centered in your first mockup might sit slightly differently in your twentieth. Buyers notice inconsistency even when they cannot articulate why a shop looks less polished than another.
The Designer Hire Trap
Hiring a freelance designer seems like the logical solution, but it creates its own problems. First, there is the cost. A quality designer will charge anywhere from fifteen to fifty dollars per image for mockup work, which means a thirty-image collection launch could run you four hundred to fifteen hundred dollars before your shop sees a single sale.
Second, there is the turnaround time. Briefing a designer, going back and forth on revisions, and waiting for delivery can take days. If you are trying to launch before a seasonal window closes, that timeline pressure is stressful.
Third, and this is the one most sellers do not think about until it happens, you become dependent. Every time you want to add a new product or update an existing one, you are back in someone else's schedule. Building a sustainable shop means owning your own production process.
Takeaway: Calculate how many hours you currently spend on mockup creation per collection. Multiply that by how often you launch new products. That number is the problem you are solving by building a batch workflow.
Setting Up Your Files Before You Batch Anything
Batch processing only works well if your input files are clean and consistent. Spending twenty minutes on file organization before you start will save you from redoing work halfway through.
Standardize Your Artwork Files
Before you feed your designs into any mockup tool, make sure every file in your collection meets the same specifications. This means consistent resolution, consistent color profiles, and consistent file naming.
For most print-on-demand products, you want artwork saved as PNG files at 300 DPI. If some of your files are 72 DPI JPEGs and others are 300 DPI PNGs, you will get inconsistent results even if the mockup tool handles the placement correctly. The output image will look sharp for some products and soft for others.
Color profile matters too. If you are designing in Adobe RGB and your mockup tool is rendering in sRGB, the colors in your mockup will not match what you see on screen. Save everything in sRGB before you batch.
For naming, use something descriptive and sequential. A format like collection-name-design-01.png, collection-name-design-02.png works well. Avoid spaces in filenames, use hyphens instead, and avoid special characters. Some batch tools and APIs choke on filenames with spaces or symbols.
Choose Your Mockup Variations Before You Start
One of the biggest time-wasters in mockup creation is making decisions mid-process. Before you open any tool, decide exactly which mockup templates you want to use for this collection and write them down.
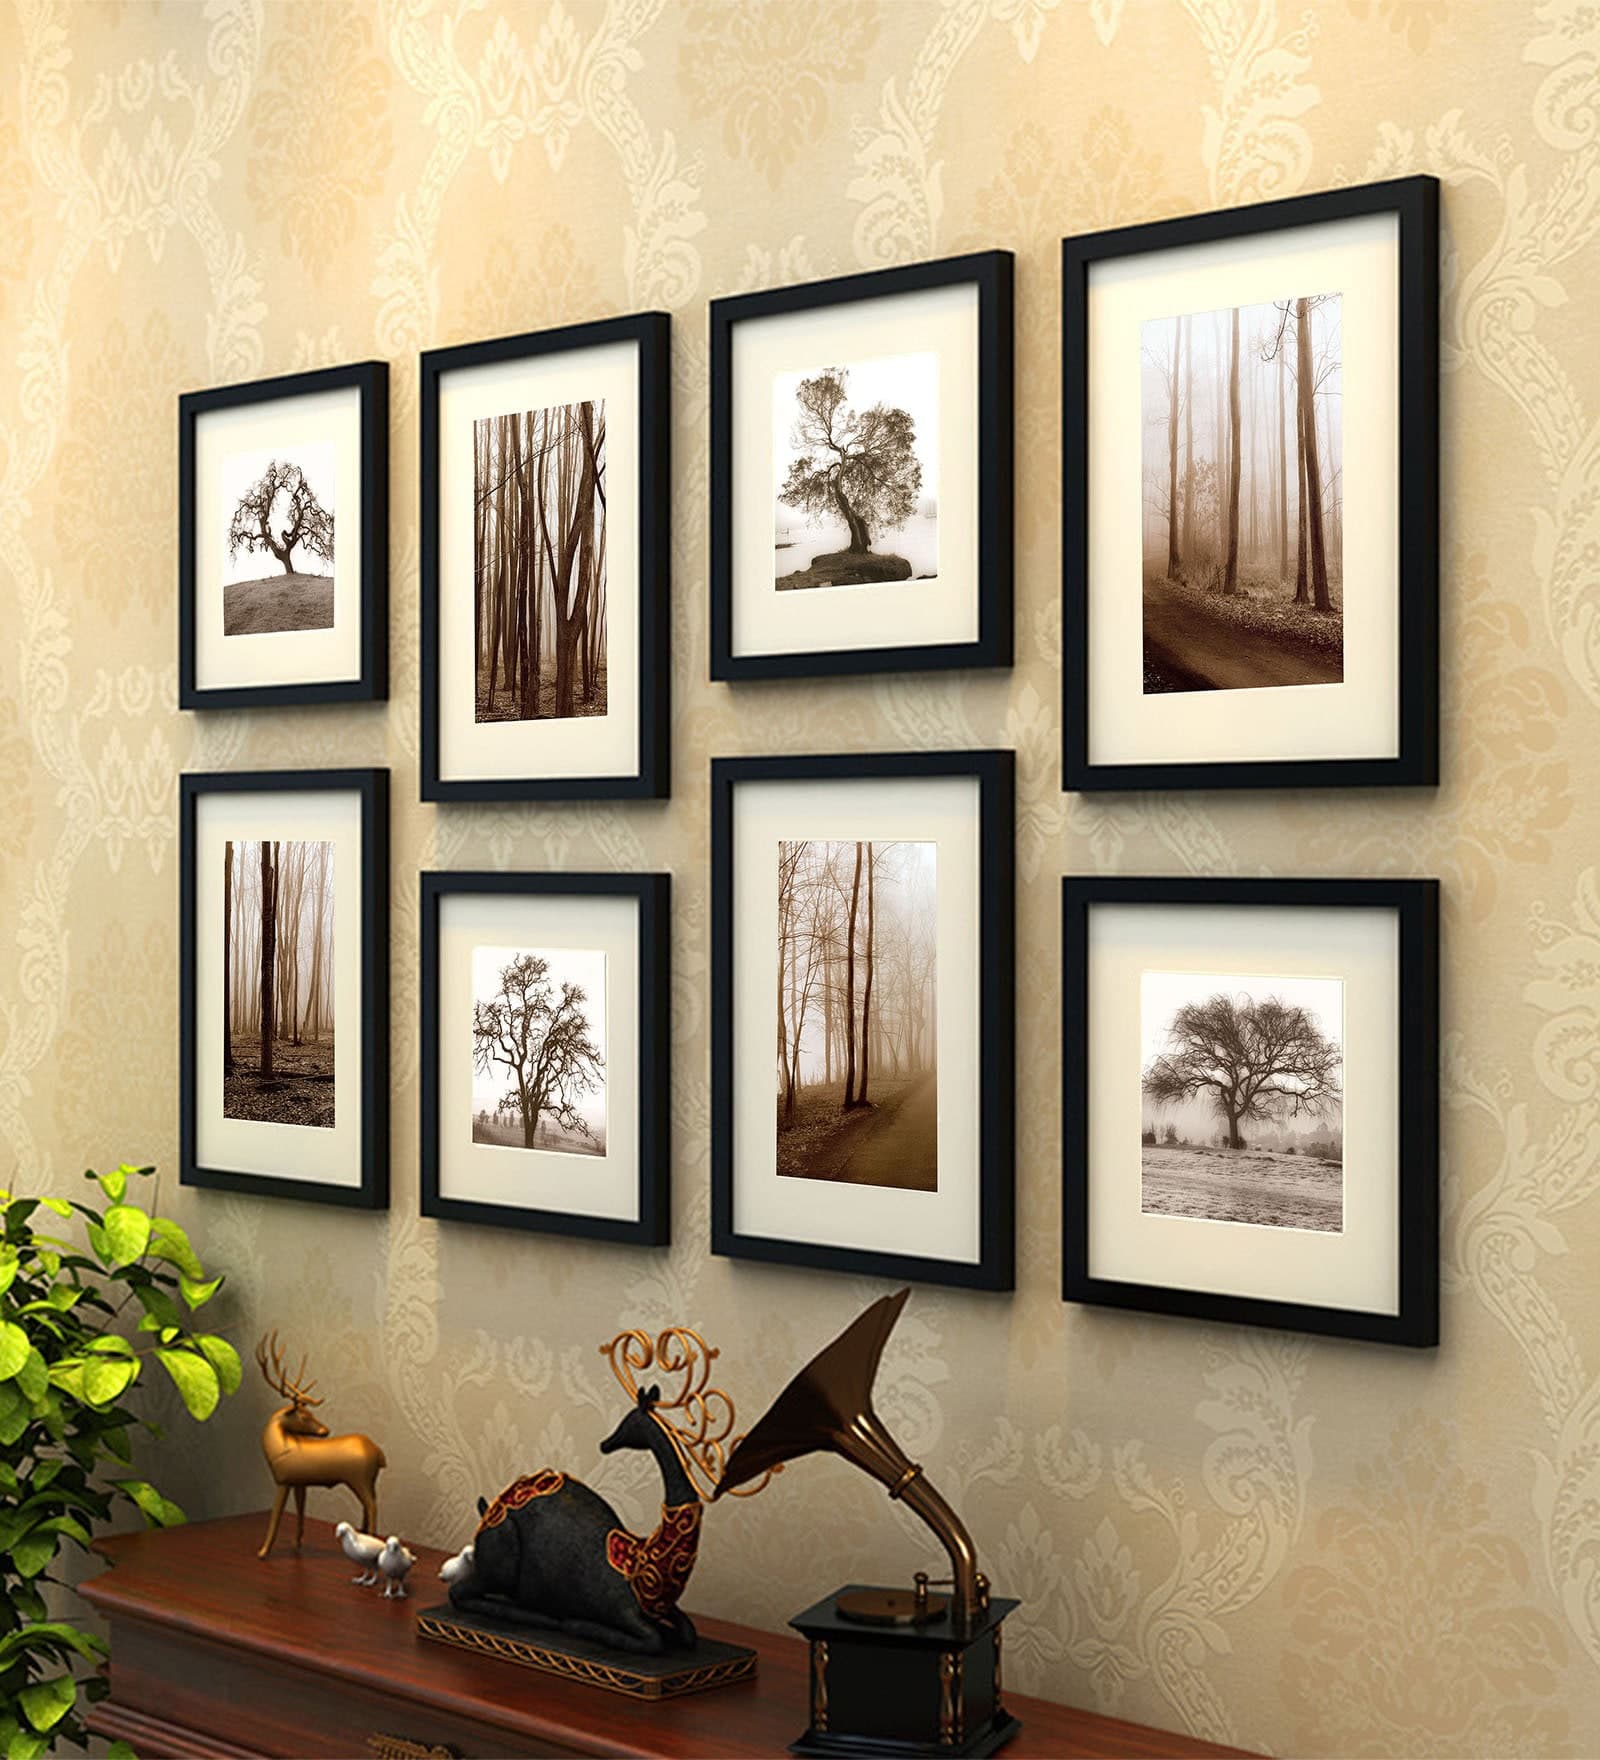
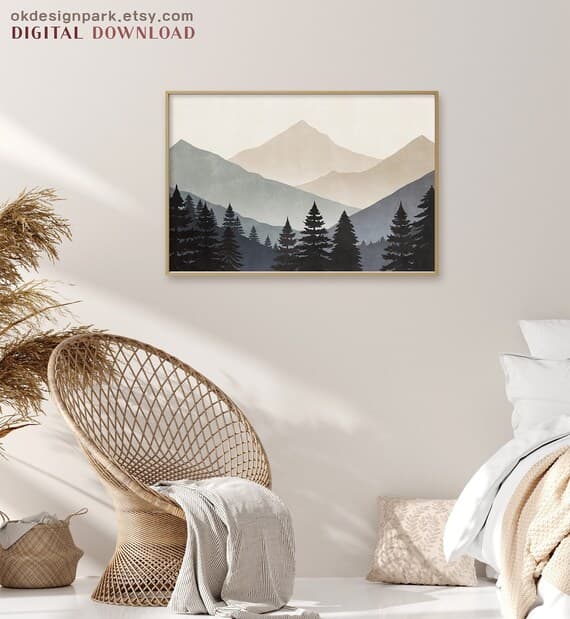
For a wall art collection, you might decide on three templates: a white frame in a living room setting, a black frame in a bedroom setting, and a frameless art print on a neutral wall. Lock that in before you start. Do not add a fourth option halfway through because you spotted a nice mockup. That kind of scope creep is how a two-hour batch session becomes a five-hour one.
If certain designs in your collection suit different room aesthetics, note that in advance too. Maybe your botanical prints work best in the light airy templates while your abstract art suits the moody studio shots. Make those decisions on paper first, then execute.
Takeaway: Before touching any mockup tool, have every artwork file saved as a properly named, correctly sized PNG at 300 DPI in sRGB color. Write down exactly which mockup templates you plan to use for each product. Decisions made in advance cost nothing. Decisions made mid-batch cost you time and consistency.
How to Actually Batch Generate Mockups at Scale
With your files organized and your template decisions made, you are ready to actually generate the images. This is where the right tool makes an enormous difference.
What to Look for in a Batch Mockup Tool
Not all mockup generators support true batch processing. Many popular tools are designed around a single-image workflow where you upload one design, place it manually, adjust it visually, and export one file. That is fine for a single product but completely impractical for a collection launch.
What you need is a tool that lets you upload multiple artwork files and apply them to one or more templates in a single operation. The output should be a set of finished mockup images that require no manual placement work, ready to use in your listings.
Look for these specific capabilities. First, bulk upload: the ability to upload your entire collection of artwork files in one go rather than one at a time. Second, template application: the ability to select one or more mockup templates and apply all your uploaded designs to those templates automatically. Third, batch export: the ability to download all finished images at once, ideally as a ZIP file, rather than saving them individually.
Speed matters too. If the tool takes ninety seconds to generate each image, a thirty-image batch still takes forty-five minutes. Look for tools that process multiple images simultaneously rather than in a queue.
Using Mockupanda for Bulk Collection Launches
Mockupanda was built specifically for this kind of workflow. It is not a general-purpose design tool that happens to include mockups. It is a mockup tool built around the reality of how Etsy and print-on-demand sellers actually work, including the need to produce a lot of images quickly when launching a new collection.
The bulk generation workflow in Mockupanda lets you upload your full collection of artwork files, select the mockup templates you want to apply them to, and generate all combinations at once. If you have ten designs and want them each rendered in three templates, you set that up once and let the tool run. You are not clicking through thirty individual export dialogs.
The templates in Mockupanda are selected and optimized for the kinds of products digital print sellers actually sell, wall art, framed prints, art prints on neutral walls, lifestyle room settings. You are not sorting through templates designed for t-shirts or coffee mugs to find the ones relevant to your shop.
For sellers who want to go further, Mockupanda also offers an API, which means you can connect it to your product management workflow and automate mockup generation as part of your listing creation process. That is a more advanced use case, but it is worth knowing it exists when you are ready to scale.
Takeaway: Do not try to batch-create mockups in a tool designed for single-image workflows. Choose a tool that genuinely supports bulk upload, multi-template application, and batch export. The difference in time spent is not marginal, it is the difference between a half-day task and a thirty-minute one.
Organizing and Naming Your Output Files for Listing Efficiency
Generating the images is only half the job. If your batch output is a folder of two hundred images named img001.jpg through img200.jpg, you have traded one time problem for another. Finding the right mockup for the right listing will eat up whatever time you saved.
Build a Naming System Before You Export
The best time to think about output file naming is before you run the batch, not after. Most mockup tools will name output files based on some combination of the input filename and the template name. If your input files are named well, your outputs will be too.
Following the naming convention from your artwork files, your outputs should be something like botanical-art-01-white-frame-living-room.jpg and botanical-art-01-black-frame-bedroom.jpg. That is immediately readable. You know which design it is, and you know which template was used.
If your tool does not support descriptive output naming, the next best option is to run your batch one template at a time and save each batch into a separately named folder. So one folder called white-frame-living-room contains all ten designs in that template, and the next folder called black-frame-bedroom contains all ten designs in the other template. Less ideal than descriptive filenames but still workable.
Build a Simple Asset Library for Your Shop
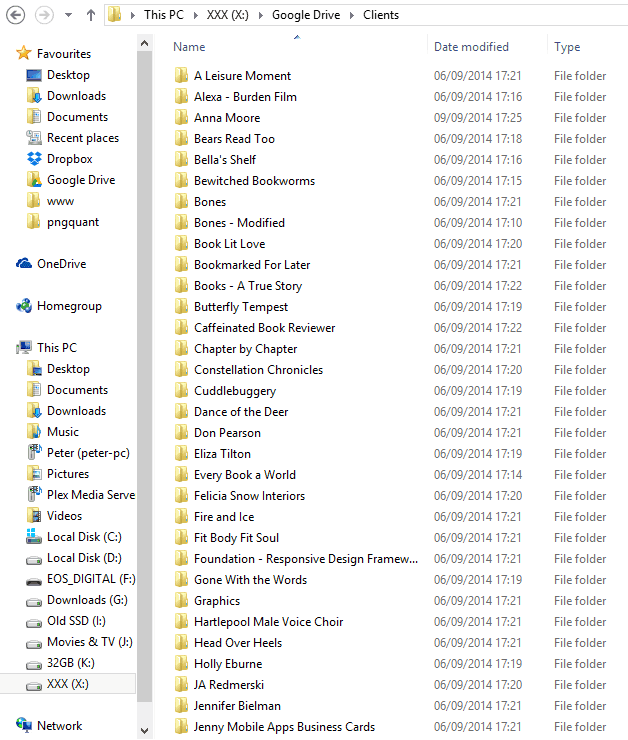
Once you have your mockup images organized, take ten minutes to build a simple folder structure that matches how your shop is organized. A folder per collection, with subfolders per product, containing all the mockup variations for that product.
This sounds obvious, but most sellers pile everything into a single downloads folder and then spend five minutes hunting for the right image every time they need to update a listing. Over the course of a year, that hunting time adds up to hours.
If you use Google Drive or Dropbox, sync your mockup asset library there. It protects you from a local hard drive failure deleting your entire production catalog, and it means you can update listings from any device.
Takeaway: Name your artwork input files well, and your mockup outputs will be easy to find. Build one folder per collection and one subfolder per product. A five-minute organization habit after each batch session will save you hours of file hunting across the life of your shop.
Reviewing Quality Without Slowing Down the Workflow
Batch creation is fast, but fast is only valuable if the output is actually usable. Before you load any mockup into a listing, you need a quick quality check process that does not turn into a bottleneck.
What to Check in Each Mockup Image
You do not need to scrutinize every pixel, but there are a few specific things worth checking in each image. First, check the artwork placement. Is the design centered within the frame or print area? Is any part of the artwork cropped or cut off? Second, check the scale. Does the artwork look proportionally correct for the frame or wall space in the template? A small design filling an enormous frame looks odd, and buyers will notice.
Third, check the color rendering. Does the artwork look the same in the mockup as it does in your original file? A significant color shift could mean a color profile mismatch in your export settings. Fourth, check for any obvious rendering artifacts, blurry edges, banding in gradients, or strange shadows that do not look realistic.
For a well-organized batch where your input files were all consistent and properly set up, most of these checks should pass quickly. The quality check step should take a few seconds per image, not minutes.
Handling Outliers Without Redoing the Whole Batch
Occasionally one or two images in a batch will need adjustment. Maybe one design has a particularly large white border that makes it look undersized in the template, or one artwork file came in at a slightly different aspect ratio than the others.
When this happens, resist the urge to redo the entire batch. Identify the specific files that need adjustment, fix the input artwork files, and rerun just those files through the tool. Treating outliers as individual exceptions rather than reasons to restart the whole process keeps your workflow efficient.
If you find that a significant portion of your batch has the same quality issue, that is a signal there is a systemic problem, usually in your input file specifications. Fix the root cause in your source files and rerun. Do not manually touch up a dozen images when you could fix one setting and regenerate cleanly.
Takeaway: Quality checks should be fast and focused. Check placement, scale, color, and rendering artifacts. Handle individual outliers by fixing the source file and regenerating just that image. If most of your batch has the same problem, fix it at the source rather than touching up images one by one.
From Mockups to Live Listings: Making the Most of Your Images
You have done the hard work of creating a clean batch of professional mockups. Now make sure they are doing the maximum possible work for your shop.
Choosing the Right Mockup as Your Lead Image
Your lead listing image is the single image that appears in search results on Etsy. It is doing an enormous amount of work, competing for attention against hundreds of other listings in a grid view where each thumbnail is roughly the size of a postage stamp.
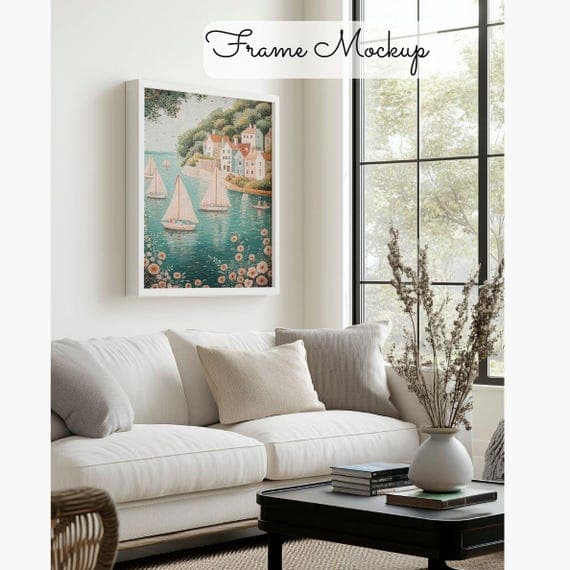
For digital wall art, the lead image should almost always be a lifestyle mockup rather than the flat artwork file. A print styled in a real-seeming room setting communicates far more value than a design floating on a white background. It helps the buyer visualize the product in their own space, which is one of the most powerful things a mockup can do.
Choose the mockup that shows your design in the most flattering light. If you created mockups in multiple room settings, pick the one where the design reads most clearly at small sizes. You can test this by shrinking the image down to thumbnail size on your screen before making the call.
Using Text Overlays to Extend the Value of Your Mockups
Beyond standard listing images, your mockups can also serve as promotional content. Adding a text overlay to a mockup, something like a seasonal sale message or a collection name, transforms a product image into a ready-to-use social post or shop announcement graphic.
Mockupanda includes text overlay functionality specifically for this purpose. You can add text directly to your mockup images without needing to bring them into a separate design tool. For sellers who use Instagram, Pinterest, or Etsy's own advertising tools to promote their shop, this turns your mockup batch session into a content creation session at the same time.
Keep overlay text minimal and direct. A clean sans-serif font in a neutral color works in almost every setting. The goal is to add context without cluttering the image or obscuring the product.
Takeaway: Choose your lead listing image based on how well it communicates product value at thumbnail size, not just full size. Consider using text overlays to repurpose your mockup images as promotional content so one batch session produces both listing images and social content at the same time.
Building a Batch Mockup System You Can Repeat Every Launch
The real goal here is not just to get through this one collection faster. It is to build a system so that every future launch takes less time than the last one.
Document Your Standard Operating Procedure
After your first successful batch session, write down exactly what you did. Not a formal document, just a simple note file or checklist. What file specifications did you use? Which templates did you select? What folder structure did you use for your output files? What did you check during quality review?
The next time you launch a collection, start with that checklist. You will not be making the same decisions again from scratch. You will be executing a process you already know works.
Over several launches, you will refine the checklist. You will notice that certain templates perform better in your shop than others and stop bothering with the ones that do not convert. You will find faster ways to organize your output files. That continuous refinement is how a three-hour batch process eventually becomes a forty-five-minute one.
Scale Your Collection Size Strategically
Once you have a reliable batch mockup system, you can think more boldly about collection size. When creating mockups was a manual bottleneck, you probably limited your launches to whatever you could realistically produce in a day. That constraint shaped your product strategy whether you realized it or not.
With a batch system in place, the mockup production step is no longer the limiting factor. You can launch with twenty designs as easily as ten. You can test more variations and retire the ones that do not sell. You can respond faster to seasonal trends without the mockup production step eating your entire launch window.
The sellers who grow fastest on Etsy are usually the ones who have figured out how to produce more output without proportionally increasing their time investment. A solid batch mockup workflow is one of the clearest examples of that principle in action.
Takeaway: Write down your batch process after your first successful run. Use that checklist for every future launch. As the process becomes faster and more reliable, let it expand your ambitions about how many products you can launch at once, not just maintain the same output with less effort.
---
Creating mockups for an entire collection does not have to be the exhausting, designer-dependent task it used to be. With the right file preparation habits, a tool built for bulk generation like Mockupanda, a clear output organization system, and a quick quality review process, you can go from a folder of artwork files to a complete set of professional listing images in the time it would have taken you to manually create five or six images the old way.
The first time you do this, it will feel fast. The tenth time, it will feel effortless. That is the point.
Keep reading
How to Use Mockup Images in Your Etsy Shop Announcement and Banner to Build Trust Before a Buyer Clicks a Single Listing
How to Create a Cohesive Etsy Shop Front Using Mockups With a Consistent Color Palette Across All Listings