The Beginner's Guide to Mockup Aspect Ratios for Selling Digital Prints on Etsy and Shopify

You've spent hours creating the perfect digital print. The colors are right, the composition is clean, and you're genuinely proud of it. Then you upload it to a mockup, and something looks wrong. The artwork is squished. The frame looks awkward. The preview photo that was supposed to sell your print is actually making buyers click away.
Nine times out of ten, the problem is an aspect ratio mismatch.
Aspect ratios are one of those topics that nobody teaches you when you start selling digital prints on Etsy or Shopify. They sound technical, so most sellers either ignore them or learn the hard way after publishing listings that quietly underperform. But once you understand the basics, it clicks fast, and getting this right will make every mockup you create look dramatically more professional.
This guide is going to walk you through everything you need to know: what aspect ratios are, which ones matter for digital print sellers, how to match your artwork to your mockup frames, and how to build a workflow that stops this from being a recurring headache.
What an Aspect Ratio Actually Is
Before anything else, let's define the term in plain language, because most explanations overcomplicate it.
The Simple Definition
An aspect ratio is the relationship between the width and height of an image or a frame. It's written as two numbers separated by a colon, like 4:3 or 16:9. Those numbers don't represent a specific size in pixels or inches. They represent a proportion.
A 4:3 ratio means the image is four units wide for every three units tall. It doesn't matter if those units are pixels, inches, or centimeters. A 400x300 pixel image and an 8x6 inch print are both 4:3 because the proportions are the same.
This is the key insight that trips up a lot of beginners. When your mockup tool asks you to upload your artwork, it doesn't care how many pixels your file has. It cares about the shape. If the shape of your artwork doesn't match the shape of the frame in the mockup, the tool has to either stretch it, squish it, or crop it to make it fit, and none of those outcomes look good.
Why This Matters Specifically for Wall Art Sellers
If you were selling phone cases or mugs, aspect ratios would still matter, but the consequences of getting it wrong are less visible. With wall art and framed prints, the mismatch is immediately obvious. Buyers look at your listing photo and intuitively know when something is off, even if they can't name why.
A portrait print crammed into a landscape frame looks wrong at a glance. A square print in a rectangular frame leaves dead space or gets cropped in ways that destroy the composition. These small visual errors signal to buyers that your shop might be less professional than a competitor's, and in a crowded Etsy marketplace, that's often enough to lose the sale.
The good news is that once you know your aspect ratios, placing artwork into mockups takes seconds and everything looks intentional.
Takeaway: Every print you sell has a shape defined by its aspect ratio. Every mockup frame has a shape too. Match those shapes, and your mockups look polished. Mismatch them, and no amount of good photography will save the listing.
The Most Common Aspect Ratios for Digital Prints
Digital print sellers tend to work with a relatively small set of standard ratios. Knowing these by heart will save you a lot of time.
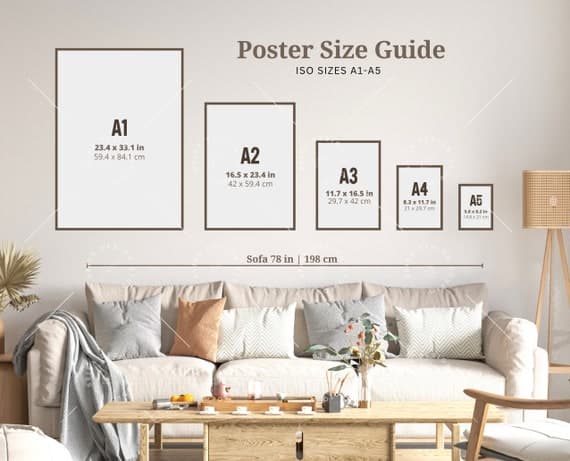
Standard Print Ratios and Their Matching Sizes
Here are the ratios you'll encounter most often and the print sizes they correspond to:
2:3 ratio is probably the most common for wall art. It covers sizes like 4x6, 8x12, 12x18, 16x24, and 20x30 inches. This is the ratio you get from a standard 35mm camera, which is why so much photography-based art is designed to this proportion.
3:4 ratio is the portrait version of the classic 4:3 photo ratio. Print sizes in this family include 6x8, 9x12, 12x16, and 18x24 inches. A lot of illustrators and graphic designers naturally work in this space.
1:1 ratio is the square. Sizes include 5x5, 8x8, 10x10, and 12x12 inches. Square prints are enormously popular on Etsy, especially for nursery art and minimalist designs.
4:5 ratio is less common in traditional print sizing but it's almost perfectly matched to Instagram's portrait format, so digital artists who cross-promote their work often design in this ratio. The closest standard print size is 8x10 inches.
5:7 ratio is a classic photo print proportion. The 5x7 inch print has been a greeting card and portrait staple for decades, and a lot of mockup frames are built around it.
How to Figure Out the Ratio of Your Own Files
If you've already created a bunch of prints and you're not sure what ratios they are, the math is simple. Take the width and height in pixels, and divide both by their greatest common divisor.
For example, if your file is 3000x4500 pixels, divide both by 1500 (the greatest common divisor) and you get 2:3. If your file is 2400x3000 pixels, divide both by 600 and you get 4:5.
You can also just use an online aspect ratio calculator. Type in your pixel dimensions and it spits out the ratio instantly. Keep a simple note on your phone or computer with the ratios of your most common file sizes. This takes five minutes to set up and saves time every single week.
Takeaway: Learn the five ratios above and match your files to them intentionally. If you're designing new prints, choose your dimensions before you start designing so your artwork fills the frame correctly from the beginning.
How Mockup Frames Are Built and Why That Changes Everything
Understanding your print's ratio is only half the equation. You also need to understand how mockup frames are constructed, because not all mockups work the same way.
Perspective-Corrected vs. Flat Lay Mockups
There are two main types of mockups you'll encounter as a digital print seller.
Flat lay mockups show the print from directly above, often on a surface with props around it. These are simpler from an aspect ratio perspective because there's no perspective distortion. The frame in the photo is close to its true proportions, so if you drop in a 2:3 ratio print into a 2:3 frame, it'll look right.
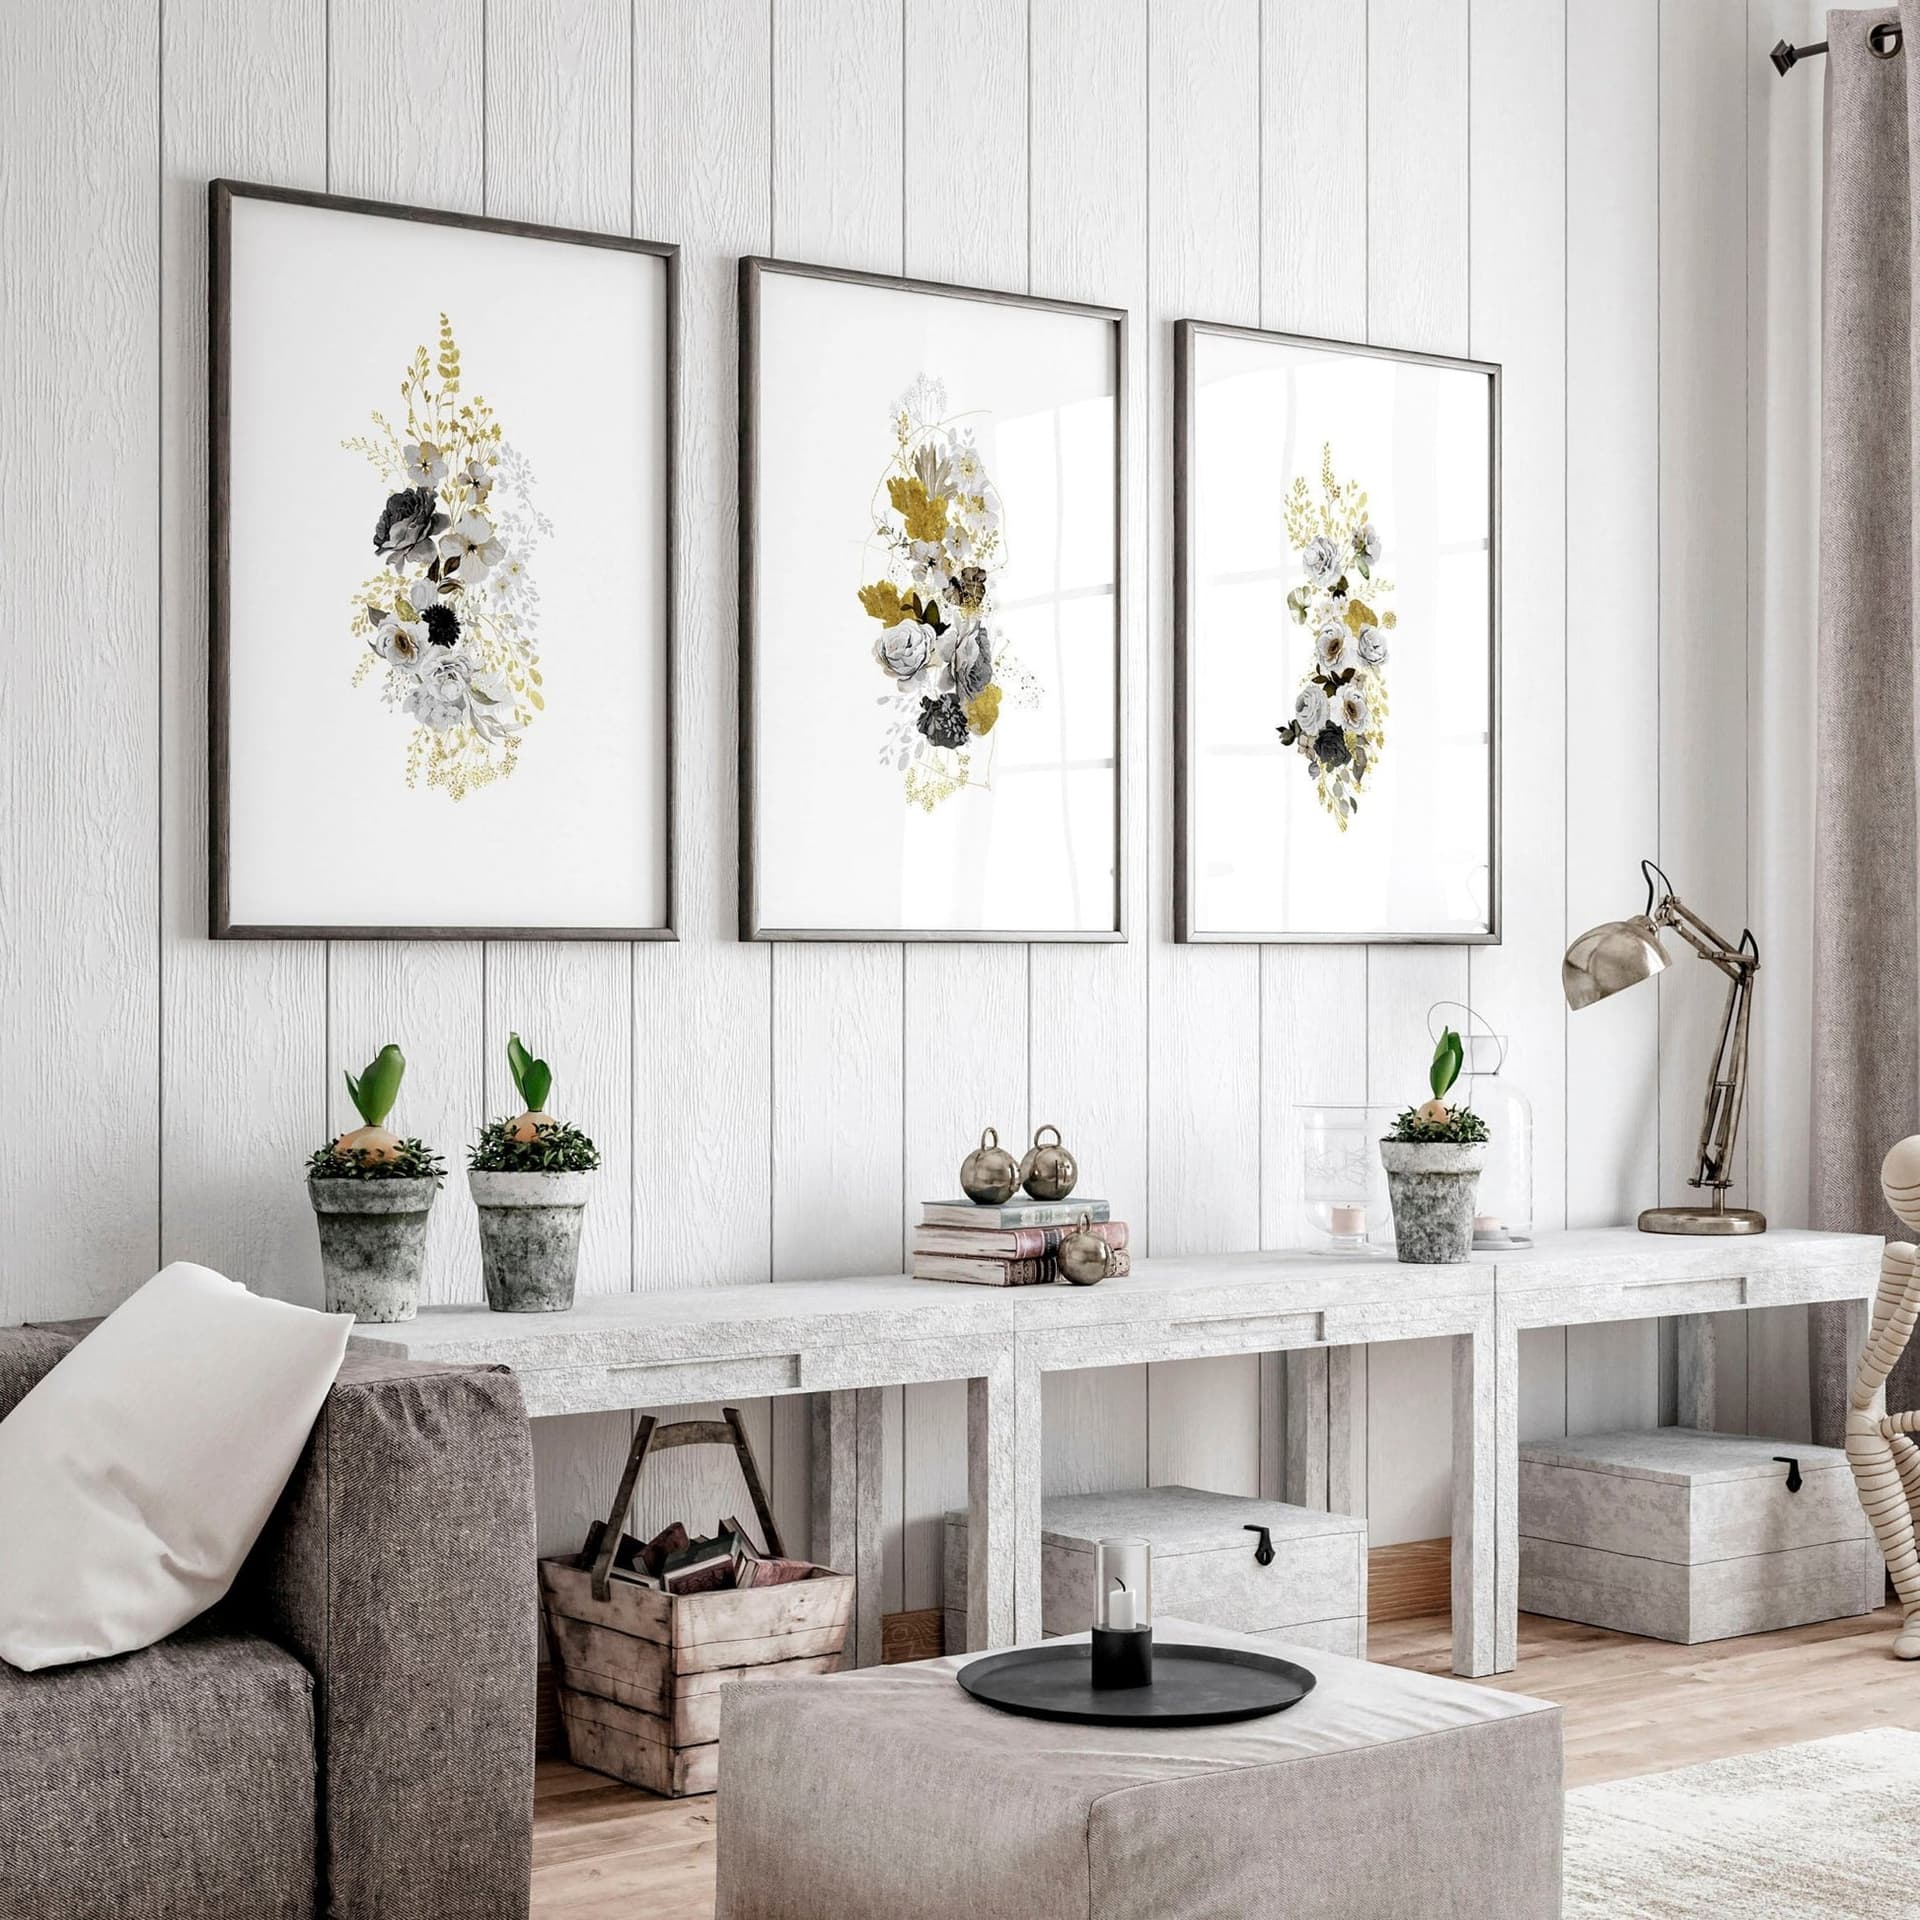
Perspective or lifestyle mockups show a framed print hanging on a wall in a room, photographed from an angle. These are more aspirational and they perform well in Etsy listings, but they're trickier. Because the frame is photographed at an angle, the visible dimensions of the frame are distorted. A good mockup tool handles the perspective correction for you automatically, so your artwork looks like it's actually hanging in the room rather than pasted on top of it. A bad mockup tool doesn't, and the result looks cheap.
When you're choosing mockups to use, always test with a piece of artwork that has obvious straight lines, like a grid or a bold border, so you can immediately see whether the perspective correction is working correctly.
What Happens When Ratios Don't Match
Most mockup tools handle ratio mismatches in one of three ways, and none of them are ideal.
The first approach is stretching. The tool takes your artwork and stretches it to fill the frame. A 1:1 square print in a 2:3 frame gets stretched vertically, and everything looks distorted. Circles become ovals. Text warps.
The second approach is letterboxing, where the tool keeps your artwork at its correct proportions but fills the remaining space with a solid color, usually white or black. This looks better than stretching but the resulting mockup looks unfinished.
The third approach is cropping, where the tool zooms in on your artwork and cuts off the edges to fill the frame. This works best when your design has a clear center subject, but it can cut off important parts of the composition.
None of these are what you want. What you want is artwork that perfectly fills the frame because the ratios match.
Takeaway: Always check the aspect ratio of a mockup frame before placing your artwork in it. Most quality mockup tools will list the recommended ratio in the template description. If they don't, you can often figure it out by looking at the frame's visible dimensions or by testing with a placeholder image.
Building a Ratio-Aware Product Lineup
One of the most practical things you can do as a digital print seller is design your product lineup around a small, consistent set of aspect ratios. This might sound limiting, but it actually opens up your options rather than restricting them.
Grouping Your Prints by Ratio Family
Instead of offering every possible print size, think in ratio families. If you design a print at 2:3, you can offer it at 4x6, 8x12, 12x18, and 24x36 without creating a new file for each one. The same file scales to all of those sizes without any distortion.
This approach also simplifies your mockup workflow enormously. If all your 2:3 prints use the same set of mockup frames, you can batch generate mockups for your entire 2:3 catalog at once. You're not constantly switching between differently shaped frames and re-adjusting your placement.
A practical starting point for most digital print sellers is to pick two or three core ratios and build your entire catalog around them. Many sellers find that 2:3 and 1:1 covers the vast majority of what their customers want, with an optional 5:7 for a traditional photo print feel.
Communicating Sizes Clearly in Your Listings
Even if your aspect ratio knowledge is flawless, it won't help your conversion rate if buyers are confused about what they're getting. Digital print customers often don't understand aspect ratios either, so you need to translate ratio information into practical print size information in your listing descriptions.
Don't just say your file is 2:3. Say your file works perfectly for 4x6, 8x12, 12x18, and 24x36 inch prints. List the actual print sizes you recommend, and mention that customers should order those specific sizes from their printer to get the artwork exactly as designed, with no cropping.
This reduces buyer confusion, cuts down on messages asking about sizing, and reduces the chance of a negative review from someone who printed the wrong size and ended up with cropped artwork.
Takeaway: Build your product lineup around two or three core aspect ratios, then use that consistency to batch your mockup creation. Your workflow gets faster, your listings look more cohesive, and your buyers have a clearer experience.
Using Mockup Tools That Handle Ratios Properly
Not all mockup tools are created equal when it comes to aspect ratio handling. As a digital print seller, this should be one of your key evaluation criteria when choosing a tool.
What to Look for in a Mockup Generator
The best mockup tools for digital print sellers handle a few things automatically. They display the recommended aspect ratio for each frame clearly, so you're never guessing. They handle perspective correction for angled shots so your artwork looks naturally embedded in the scene. They let you generate mockups in bulk so you're not manually placing artwork one frame at a time across dozens of listings.
This is exactly the workflow that Mockupanda was built around. As a tool designed specifically for digital print and wall art sellers, it treats aspect ratio matching as a first-class feature rather than an afterthought. When you upload your artwork, the template shows you exactly which frames match your file's dimensions. You're not left to figure it out through trial and error.
The bulk generation feature is particularly valuable once you understand ratio families. You can group all your 2:3 prints together, select your preferred 2:3 mockup frames, and generate professional mockups for your entire collection in one run. What used to take an afternoon of work in Photoshop or Canva takes a few minutes.
Testing Your Mockups Before Publishing
Before you publish any listing, zoom into your mockup at 100 percent and look at the edges of the artwork where it meets the frame. That edge should be clean, with no white gap, no color bleed, and no visible distortion. The lines in your artwork should look straight, not curved or stretched.
Also look at the frame itself. If your mockup shows a wooden frame, the wood grain should look natural. If it's a metal frame, the edges should be crisp. A good perspective-corrected mockup will show your artwork as if it's actually inside the frame, not floating on top of it.
If anything looks off, the first thing to check is whether the aspect ratios match. Ninety percent of mockup quality issues trace back to this one thing.
Takeaway: Choose mockup tools that surface aspect ratio information clearly and handle perspective correction automatically. Test every mockup at full zoom before publishing. Catching a ratio mismatch before listing saves you from quietly losing sales to a preventable visual problem.
Putting It All Together: A Simple Ratio Workflow
By now you have all the pieces. Let's put them into a repeatable workflow that you can use every time you add new products to your shop.
Step One: Design with a Ratio in Mind
Before you open your design tool, decide which aspect ratio family your new print belongs to. If it's a portrait print meant for standard sizes, you're probably working in 2:3 or 3:4. If it's a square, it's 1:1. Set up your canvas at those proportions from the start.
For most digital print sellers, creating your canvas at 3000x4500 pixels (2:3) or 3000x3000 pixels (1:1) at 300 DPI gives you a file that prints well at every standard size in that ratio family and uploads cleanly to any mockup template built for that ratio.
Step Two: Confirm Your File's Ratio Before Mockup Creation
Once your design is done, confirm the pixel dimensions of your export file and double-check the ratio. This takes ten seconds and prevents the most common source of mockup problems. Keep a note of the ratio alongside the file name.
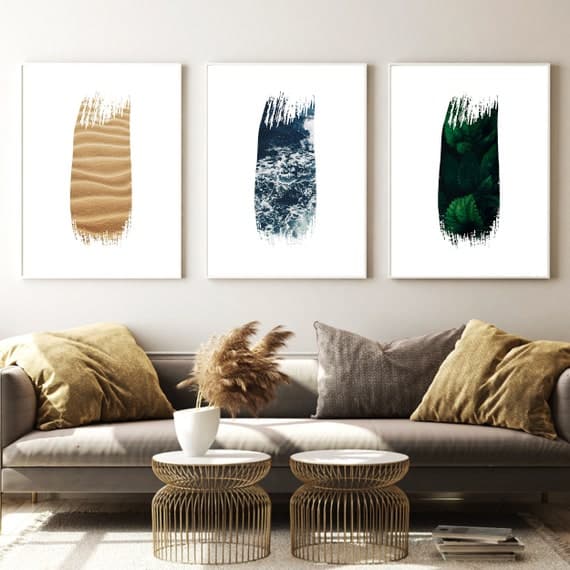
Step Three: Choose Matching Mockup Templates and Batch Generate
Filter your mockup templates by the ratio you're working with. Select three to five frames that represent different aesthetics and room styles, because offering variety in your listing photos helps buyers visualize the print in their own space. Then batch generate all your mockups in one go rather than placing artwork manually into each frame.
With a tool like Mockupanda, this process is fast enough that even sellers with large catalogs can keep up with it regularly. The time investment shifts from hours of manual Photoshop work to minutes of organized batch processing.
Step Four: Review, Publish, and Keep a Template Library
Review your mockups at full zoom, check the edges, and confirm everything looks clean. Once approved, publish them with your listing.
Then save the combination of print ratio plus mockup template as a reusable setup in your workflow. The next time you create a 2:3 print, you already know exactly which frames to use and in what order. Your mockup process gets faster every time you run through it.
Takeaway: A ratio-aware workflow isn't complicated. It's just a matter of making the decision at the right point in the process, before you design, not after you've already exported your file and are staring at a poorly fitted frame. Make ratio selection step one, and everything downstream gets easier.
Wrapping Up
Aspect ratios feel intimidating until they don't. Once you understand that they're just a way of describing the shape of your artwork and your mockup frames, and that the whole goal is to match those shapes, the topic demystifies itself pretty quickly.
The practical upside is real. Sellers who get their aspect ratios right consistently produce mockups that look more professional, which helps justify higher prices, attracts buyers who are comparing multiple shops, and reduces the kind of silent conversion rate drag that comes from listings that look slightly off without anyone being able to say why.
Start by identifying the ratios of your existing files. Group them into families. Choose matching mockup frames. Batch your generation. That's the whole system, and once it's set up, it runs on autopilot.
If you want a tool that makes this process even smoother, Mockupanda was built specifically for this kind of workflow. The templates are organized around the ratios digital print sellers actually use, the bulk generation handles the repetitive work, and the output looks like it came from a professional design studio, not a rushed last-minute upload before a listing went live.
Keep reading
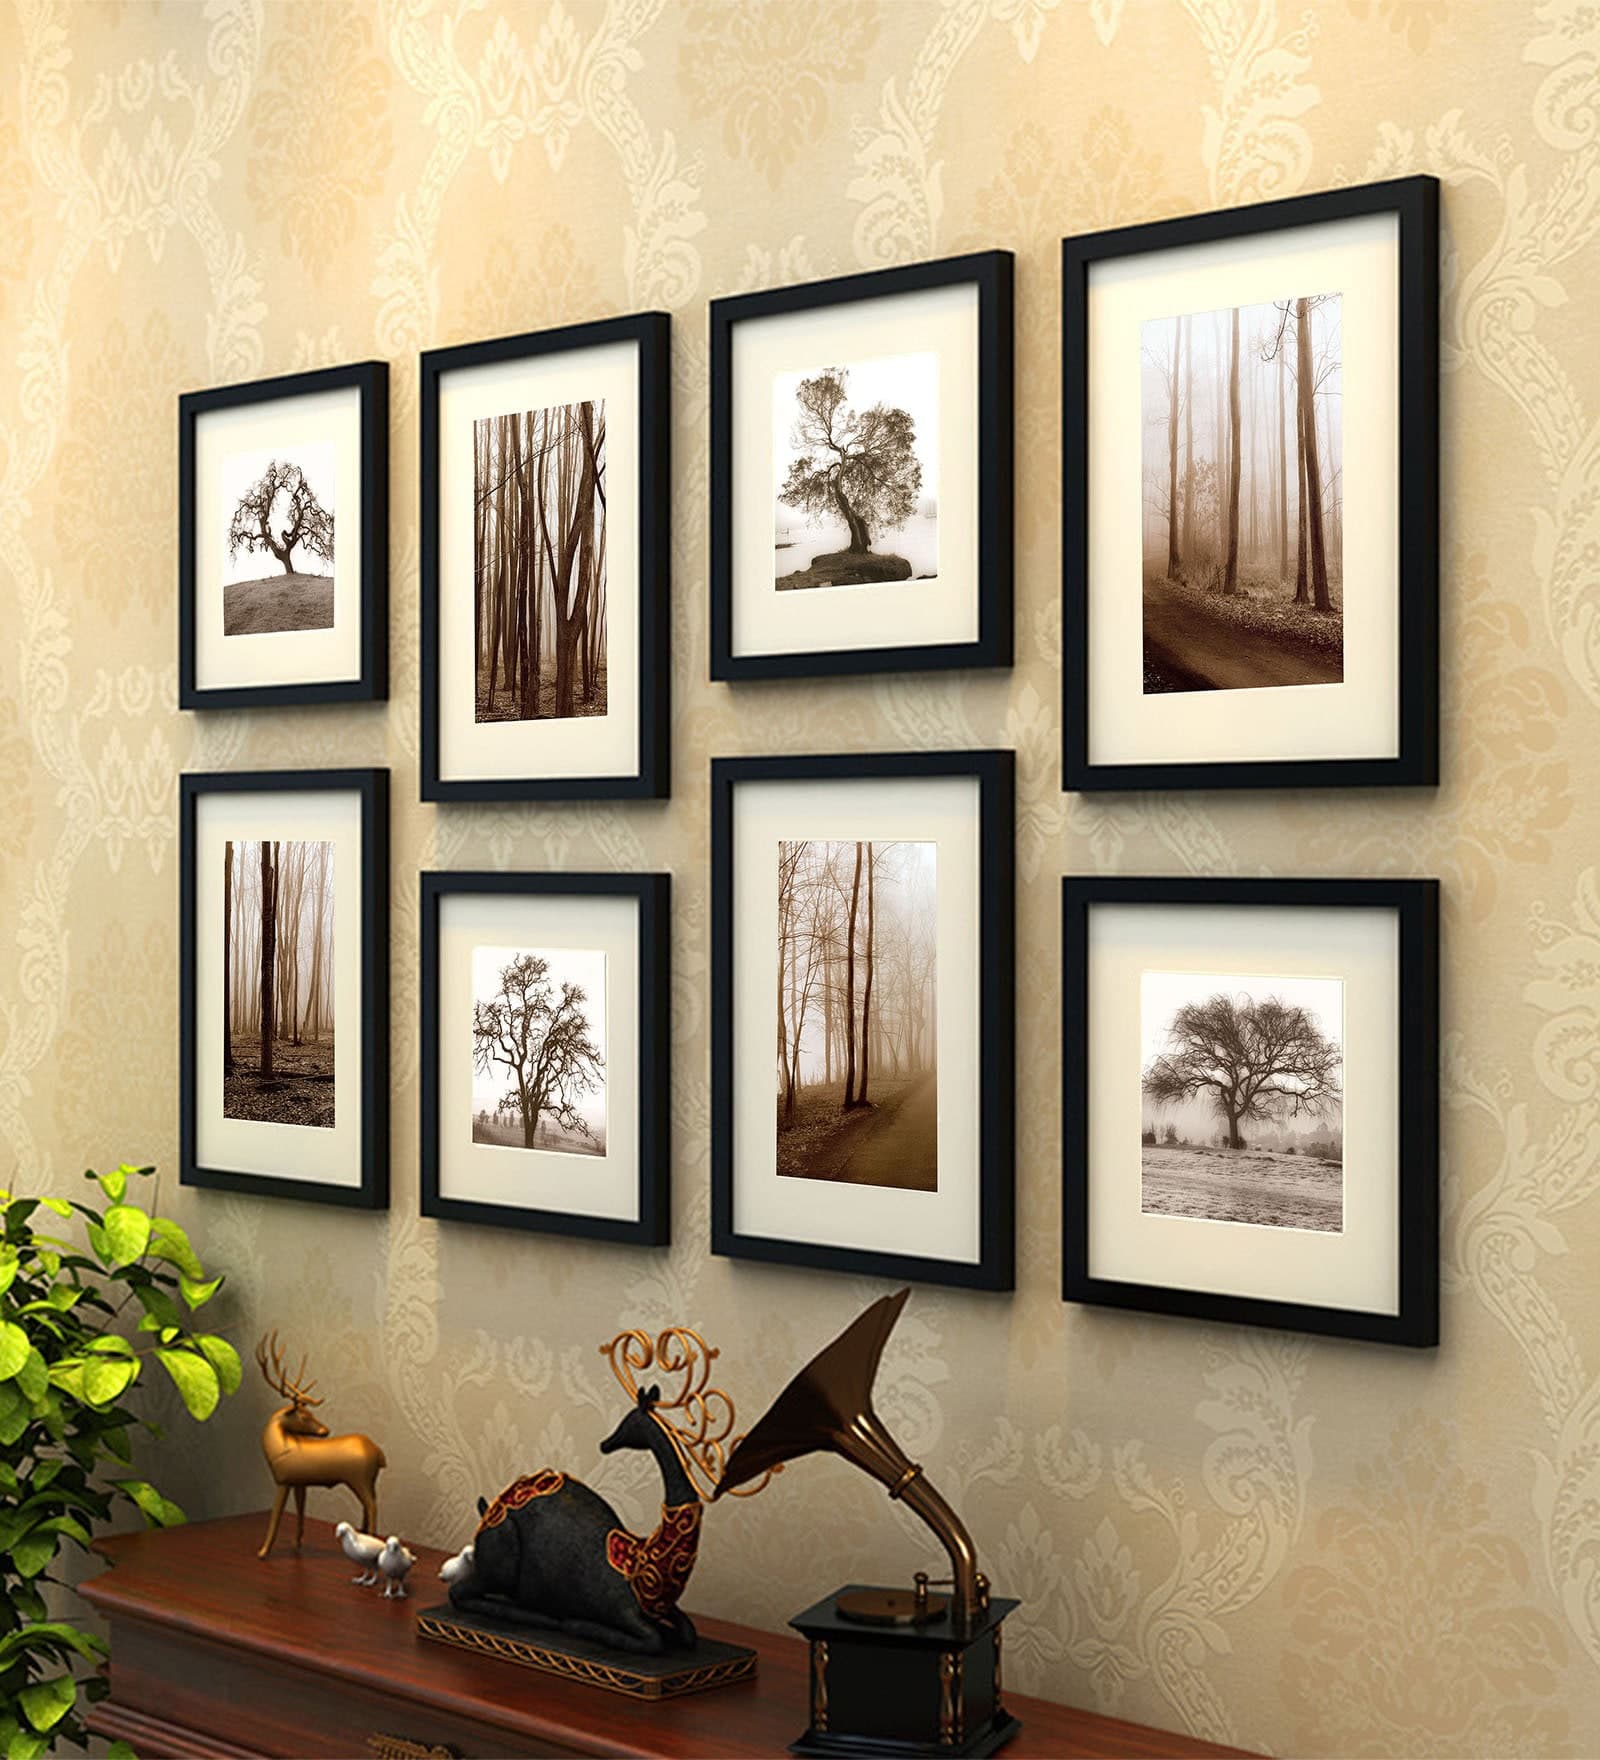
How to Showcase Poster Sets on Etsy Using Gallery Wall Mockup Templates
How to Use Lifestyle Mockups to Sell Abstract Art to Buyers Who 'Don't Get It' Yet