How to Use Shopify Collections to Group Your Wall Art Prints by Room Style Using Consistent Mockup Aesthetics
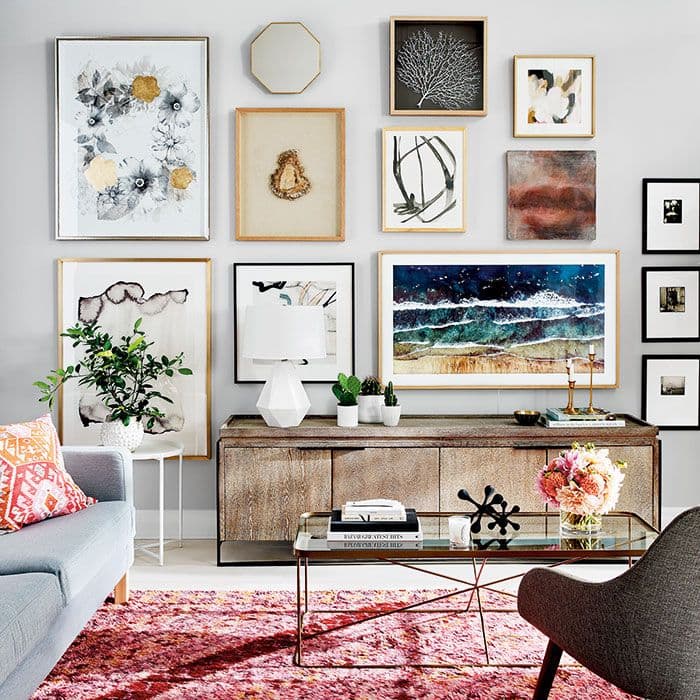
Most wall art sellers on Shopify set up their collections the same way: by size, by color, or just one big catch-all called "Prints." It works in the technical sense. Products are organized. Customers can browse. But it rarely converts well, and it almost never builds brand loyalty.
The problem is that buyers shopping for wall art are not thinking in terms of dimensions or hex codes. They are thinking about their living room. Their bedroom refresh. The nursery they are finally decorating. They are trying to picture the print on their wall, in their space, with their furniture. When your shop is organized by size, you are making them do the imaginative work. When your shop is organized by room style, you are doing it for them.
This guide is about building Shopify collections that map to how your buyers actually think, and pairing those collections with mockup aesthetics that visually reinforce the room style at a glance. When done well, this approach turns casual browsers into buyers who feel like they found a shop that gets them.
Why Room-Style Collections Outperform Generic Groupings
Before we get into the how, it is worth understanding why this approach works so well for wall art specifically. The psychology here is important, because it shapes every decision you make about collection structure and visual presentation.
Buyers Shop by Aspiration, Not Specification
Someone decorating a boho-inspired bedroom is not browsing Shopify thinking "I need a 12x16 print." They are thinking "I want something that looks like it belongs in a cozy, warm, earthy space." Their search query might be "boho wall art" or "desert landscape print for bedroom." Their decision is emotional and visual first, practical second.
Room-style collections meet buyers at that emotional starting point. A collection called "Bedroom Prints" is vague. A collection called "Calm Bedroom Prints" or "Moody Bedroom Vibes" or "Bright Nordic Bedroom" starts telling a story the buyer either sees themselves in or does not. That clarity speeds up the decision and reduces the bounce rate because customers feel immediately understood.
When you layer consistent mockup aesthetics on top of this, the effect compounds. Every product image in your "Cozy Bedroom" collection shows the print in a warm-toned, soft-lit bedroom setting. The buyer does not have to imagine whether it fits, they can see it.
Collections Signal Curation and Expertise
A shop with three well-named, visually consistent collections looks like a brand. A shop with twenty collections that mix sizes, themes, colors, and styles looks like a stock library. Buyers trust curated shops more. They are more willing to pay higher prices because curation signals taste and intention.
This is especially true for wall art. Interior design is something many buyers feel insecure about. They are not sure what goes together, what scale works, what finishes complement each other. When your collections do that thinking for them, you become a trusted guide rather than just a vendor.
Actionable takeaway: Audit your current Shopify collections right now. If none of them describe a room or a feeling, you have an immediate opportunity to reframe them in a way that connects with how buyers actually shop.
How to Define Your Room-Style Collection Framework
Before you start creating collections in Shopify, you need a framework. Jumping straight into the backend and making collections without a plan leads to overlap, inconsistency, and eventually a messy shop that is harder to manage than it was before.
Start With Your Actual Customer's Room, Not Your Print Catalog
The most common mistake sellers make is trying to fit their existing prints into room categories. That is backwards. Start by listing the rooms and styles your target customer is actually decorating, then figure out which of your prints map to each one.
For a wall art seller targeting young homeowners and renters, a solid framework might look like this:
Living Room, Modern Minimal
Bedroom, Warm and Earthy
Home Office, Motivational and Clean
Kitchen and Dining, Soft and Playful
Nursery and Kids Room, Bright and Gentle
Bathroom, Botanical and Fresh
Each of these is a room plus a style qualifier. The qualifier is important because it tells the buyer not just where to hang the print, but what kind of space it suits. A buyer with a maximalist, jewel-toned living room and a buyer with a white Scandinavian living room are both shopping the living room category, but they need different things. The style qualifier helps them self-select.
You do not need to cover every room or every style. Start with three to four collections that represent your strongest products and your most common buyer. You can expand later.
Map Your Prints to Collections Without Forcing It
Once you have your framework, go through your print catalog and assign each product to the collection it fits most naturally. Some prints will belong in multiple collections, and Shopify allows that. A neutral botanical print could live in both a "Bedroom, Warm and Earthy" collection and a "Bathroom, Botanical and Fresh" collection without any problem.
Be honest during this process. If a print does not naturally fit any of your defined room styles, it is worth asking whether it fits your shop's direction at all. Forcing a print into a collection it does not belong in just to use it dilutes the visual consistency you are trying to build.
Actionable takeaway: Write out your room-style collection framework on paper before touching your Shopify backend. List three to six collections with a room name and a style descriptor for each, then map your existing prints to each one.
Building Visual Consistency With Mockup Aesthetics
This is where the real magic happens, and also where most sellers fall short. You can have perfectly named collections with perfectly curated prints, but if the mockup images inside each collection look random and inconsistent, the whole effect falls apart.
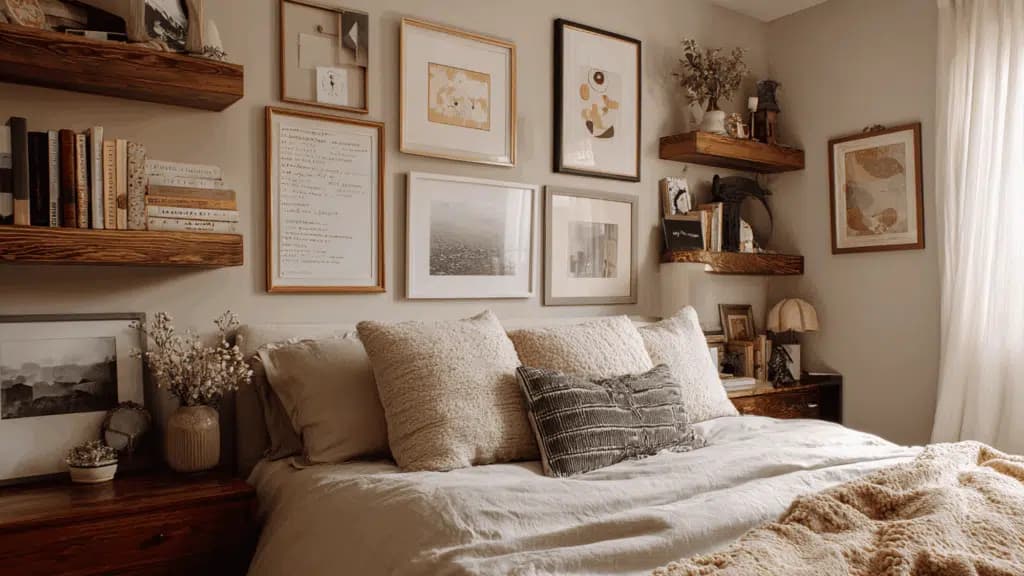
Consistency in mockup aesthetics means that every product image inside a given collection feels like it belongs to the same visual world. Same general color temperature. Same type of room setting. Same level of styling complexity. When a buyer clicks into your "Cozy Bedroom" collection, every thumbnail should reinforce that mood before they even read a word.
Define a Mockup Style Guide for Each Collection
A mockup style guide does not need to be a fancy document. It is just a set of rules you write down and follow consistently when generating mockups for each collection. For each collection, define:
Color temperature: warm, cool, or neutral
Room setting: the specific type of space shown in the background (bed with linen, desk with plant, kitchen counter with ceramics)
Light quality: bright and airy, soft and moody, natural daylight
Props and context: whether the mockup includes lifestyle elements like plants, candles, books, or whether it is clean and spare
For example, your "Living Room, Modern Minimal" collection might use cool-toned mockups, clean white walls, minimal props, and bright natural light. Your "Bedroom, Warm and Earthy" collection uses warm amber tones, linen textures in the background, soft diffused light, and maybe a plant or two visible.
These choices are not arbitrary. They reinforce the room style you named the collection after. A buyer landing on your warm bedroom collection should feel the warmth before they consciously notice it.
Use Bulk Mockup Generation to Keep the Process Manageable
Here is where a lot of sellers run into a wall. Maintaining this level of mockup consistency across multiple collections, with multiple products in each, sounds like a massive time investment. If you are doing it manually in Photoshop or Canva, it probably is.
This is exactly the kind of workflow that Mockupanda was built for. Because I built it out of frustration with this exact problem, I know how painful it is to spend hours swapping print files into mockup templates one at a time, trying to remember which template you used for which collection, and ending up with a folder of images you are not even sure are consistent.
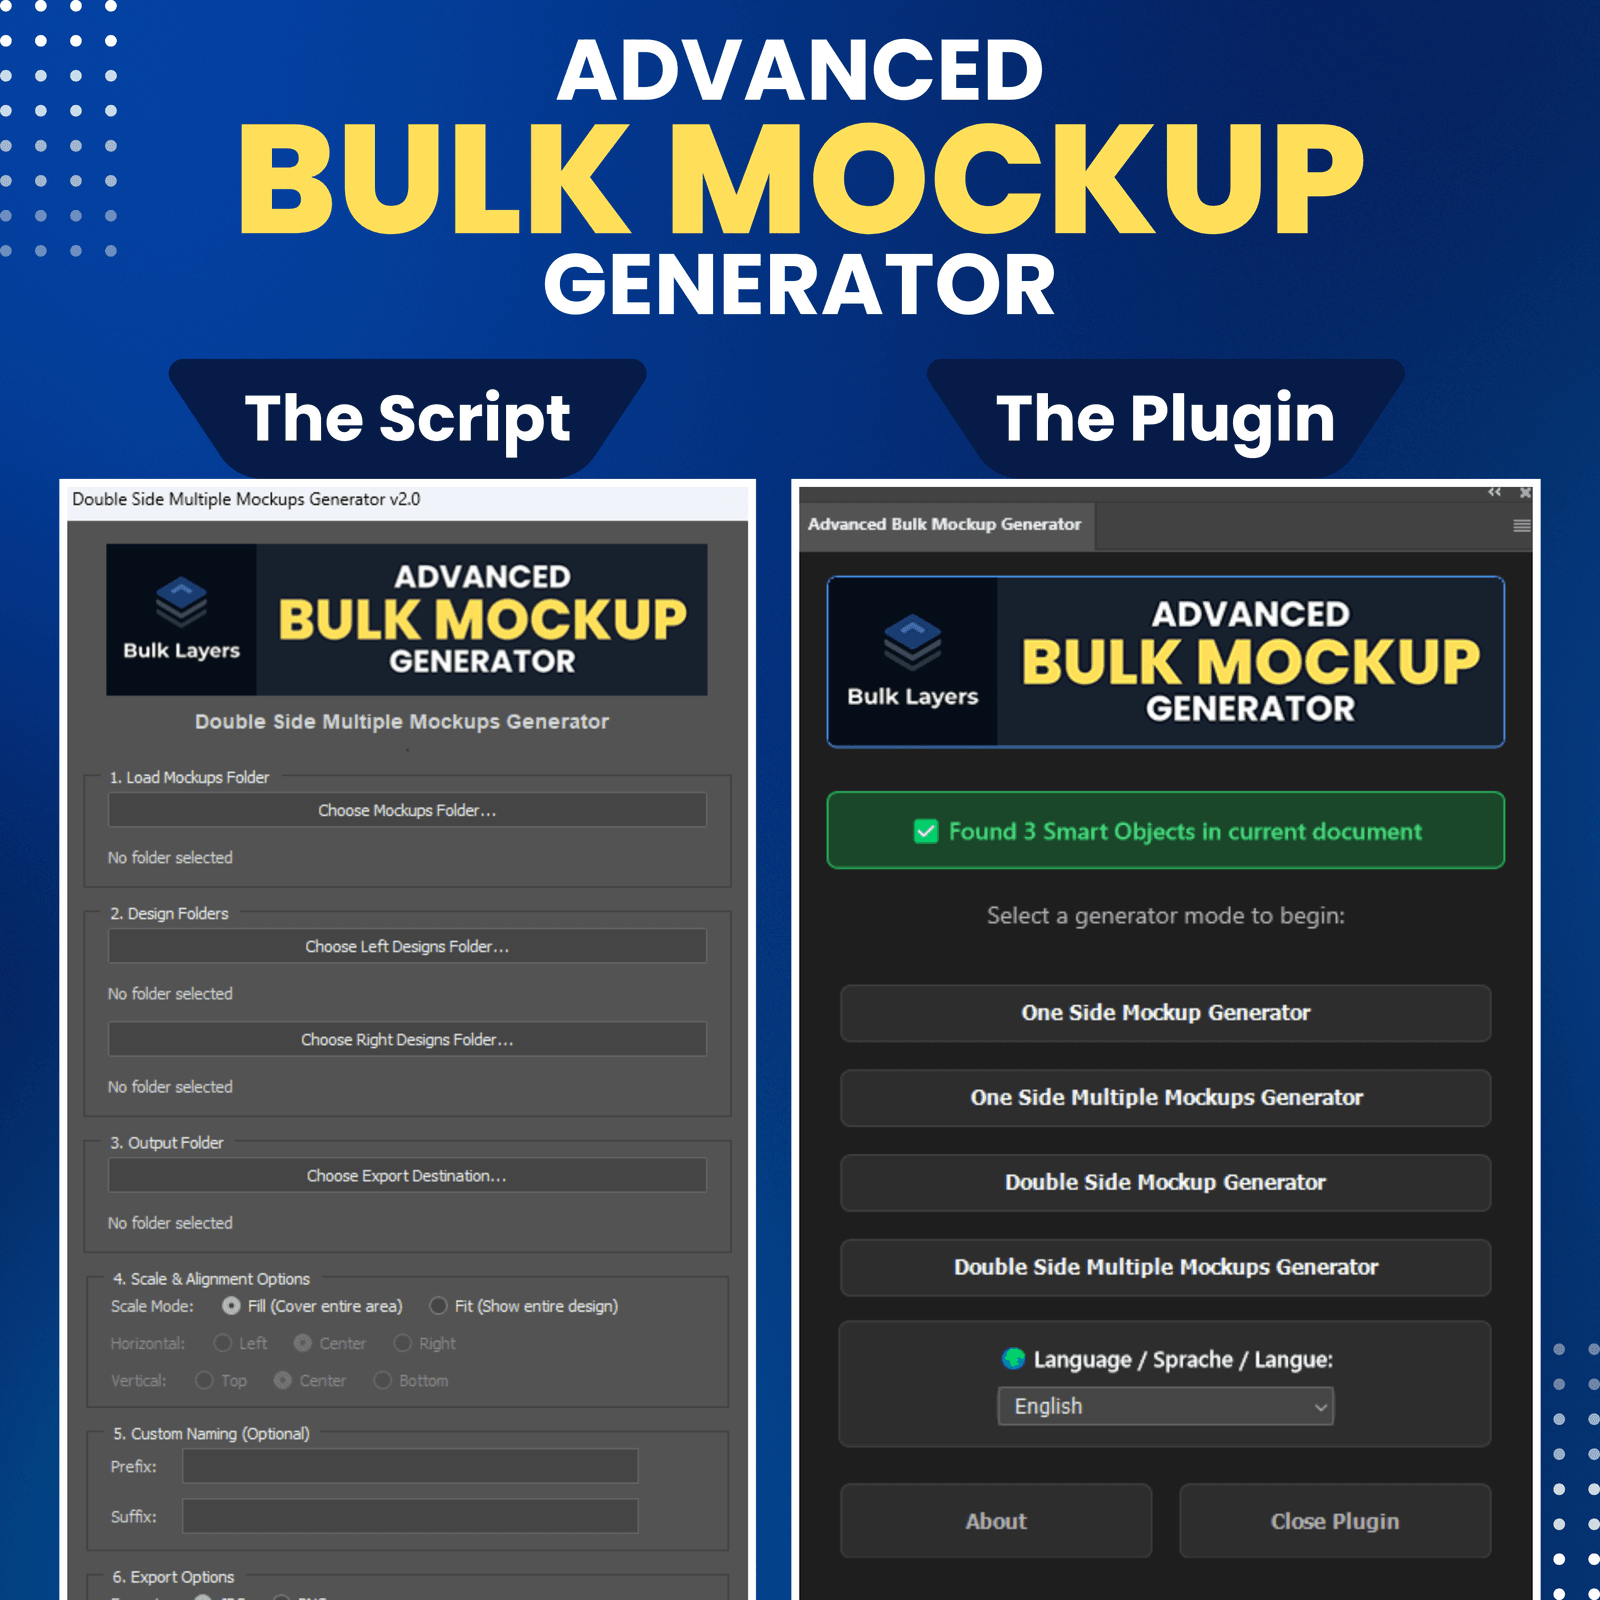
With bulk mockup generation, you can upload all the prints in a collection, apply the same mockup template to all of them in one go, and export a consistent set of images that all share the same aesthetic. The collection-level thinking you did in the planning phase translates directly into a batch workflow. One collection, one mockup style, one bulk run.
This is also where Mockupanda's text overlay feature becomes useful for collections. If you want to label your collection imagery with something like "Perfect for Cozy Bedrooms" for use in ads or social content, you can add that directly to the mockup without needing a separate design tool.
Actionable takeaway: Write a three-line mockup style guide for each of your planned collections covering color temperature, room setting, and prop style. Then use those guidelines as a filter when selecting or generating mockup templates for each collection.
Setting Up the Collections Properly in Shopify
Once you have your framework and your mockup strategy, the Shopify setup itself is straightforward. But there are a few details worth getting right to make the collections work as hard as possible.
Collection Titles, Descriptions, and SEO
Your collection title is both a navigation label and an SEO asset. A title like "Bedroom Prints" is fine for navigation but does almost nothing for search. A title like "Warm Earthy Bedroom Wall Art Prints" is a little longer but includes terms buyers actually search for.
You do not need to stuff every keyword into the title. Find a balance between readability and search intent. Think about what someone would type into Google if they were looking for exactly this collection.
Collection descriptions are underused by most Shopify sellers and they are genuinely valuable. A short two or three sentence description at the top of the collection page gives you space to speak to the buyer's room vision, include a few relevant keywords naturally, and set the mood for the collection before they start browsing. Write it in second person, speak to their space, and keep it under 100 words. Something like: "These prints are made for bedrooms that feel like a retreat. Warm tones, soft botanicals, and calm abstract work designed to pair with natural textures and earthy palettes. If your room has linen, rattan, or warm wood tones, you will find something here that fits."
Collection Images and Featured Banners
Shopify lets you set a featured image for each collection. This is the image that appears when your collections are displayed on your homepage or a collections page. Use this space intentionally.
The featured image for each collection should be a lifestyle mockup that represents the aesthetic of the collection clearly. Not a single print on a white background. A styled room scene with one of your prints prominently displayed, shot in the same aesthetic you defined for that collection's mockups.
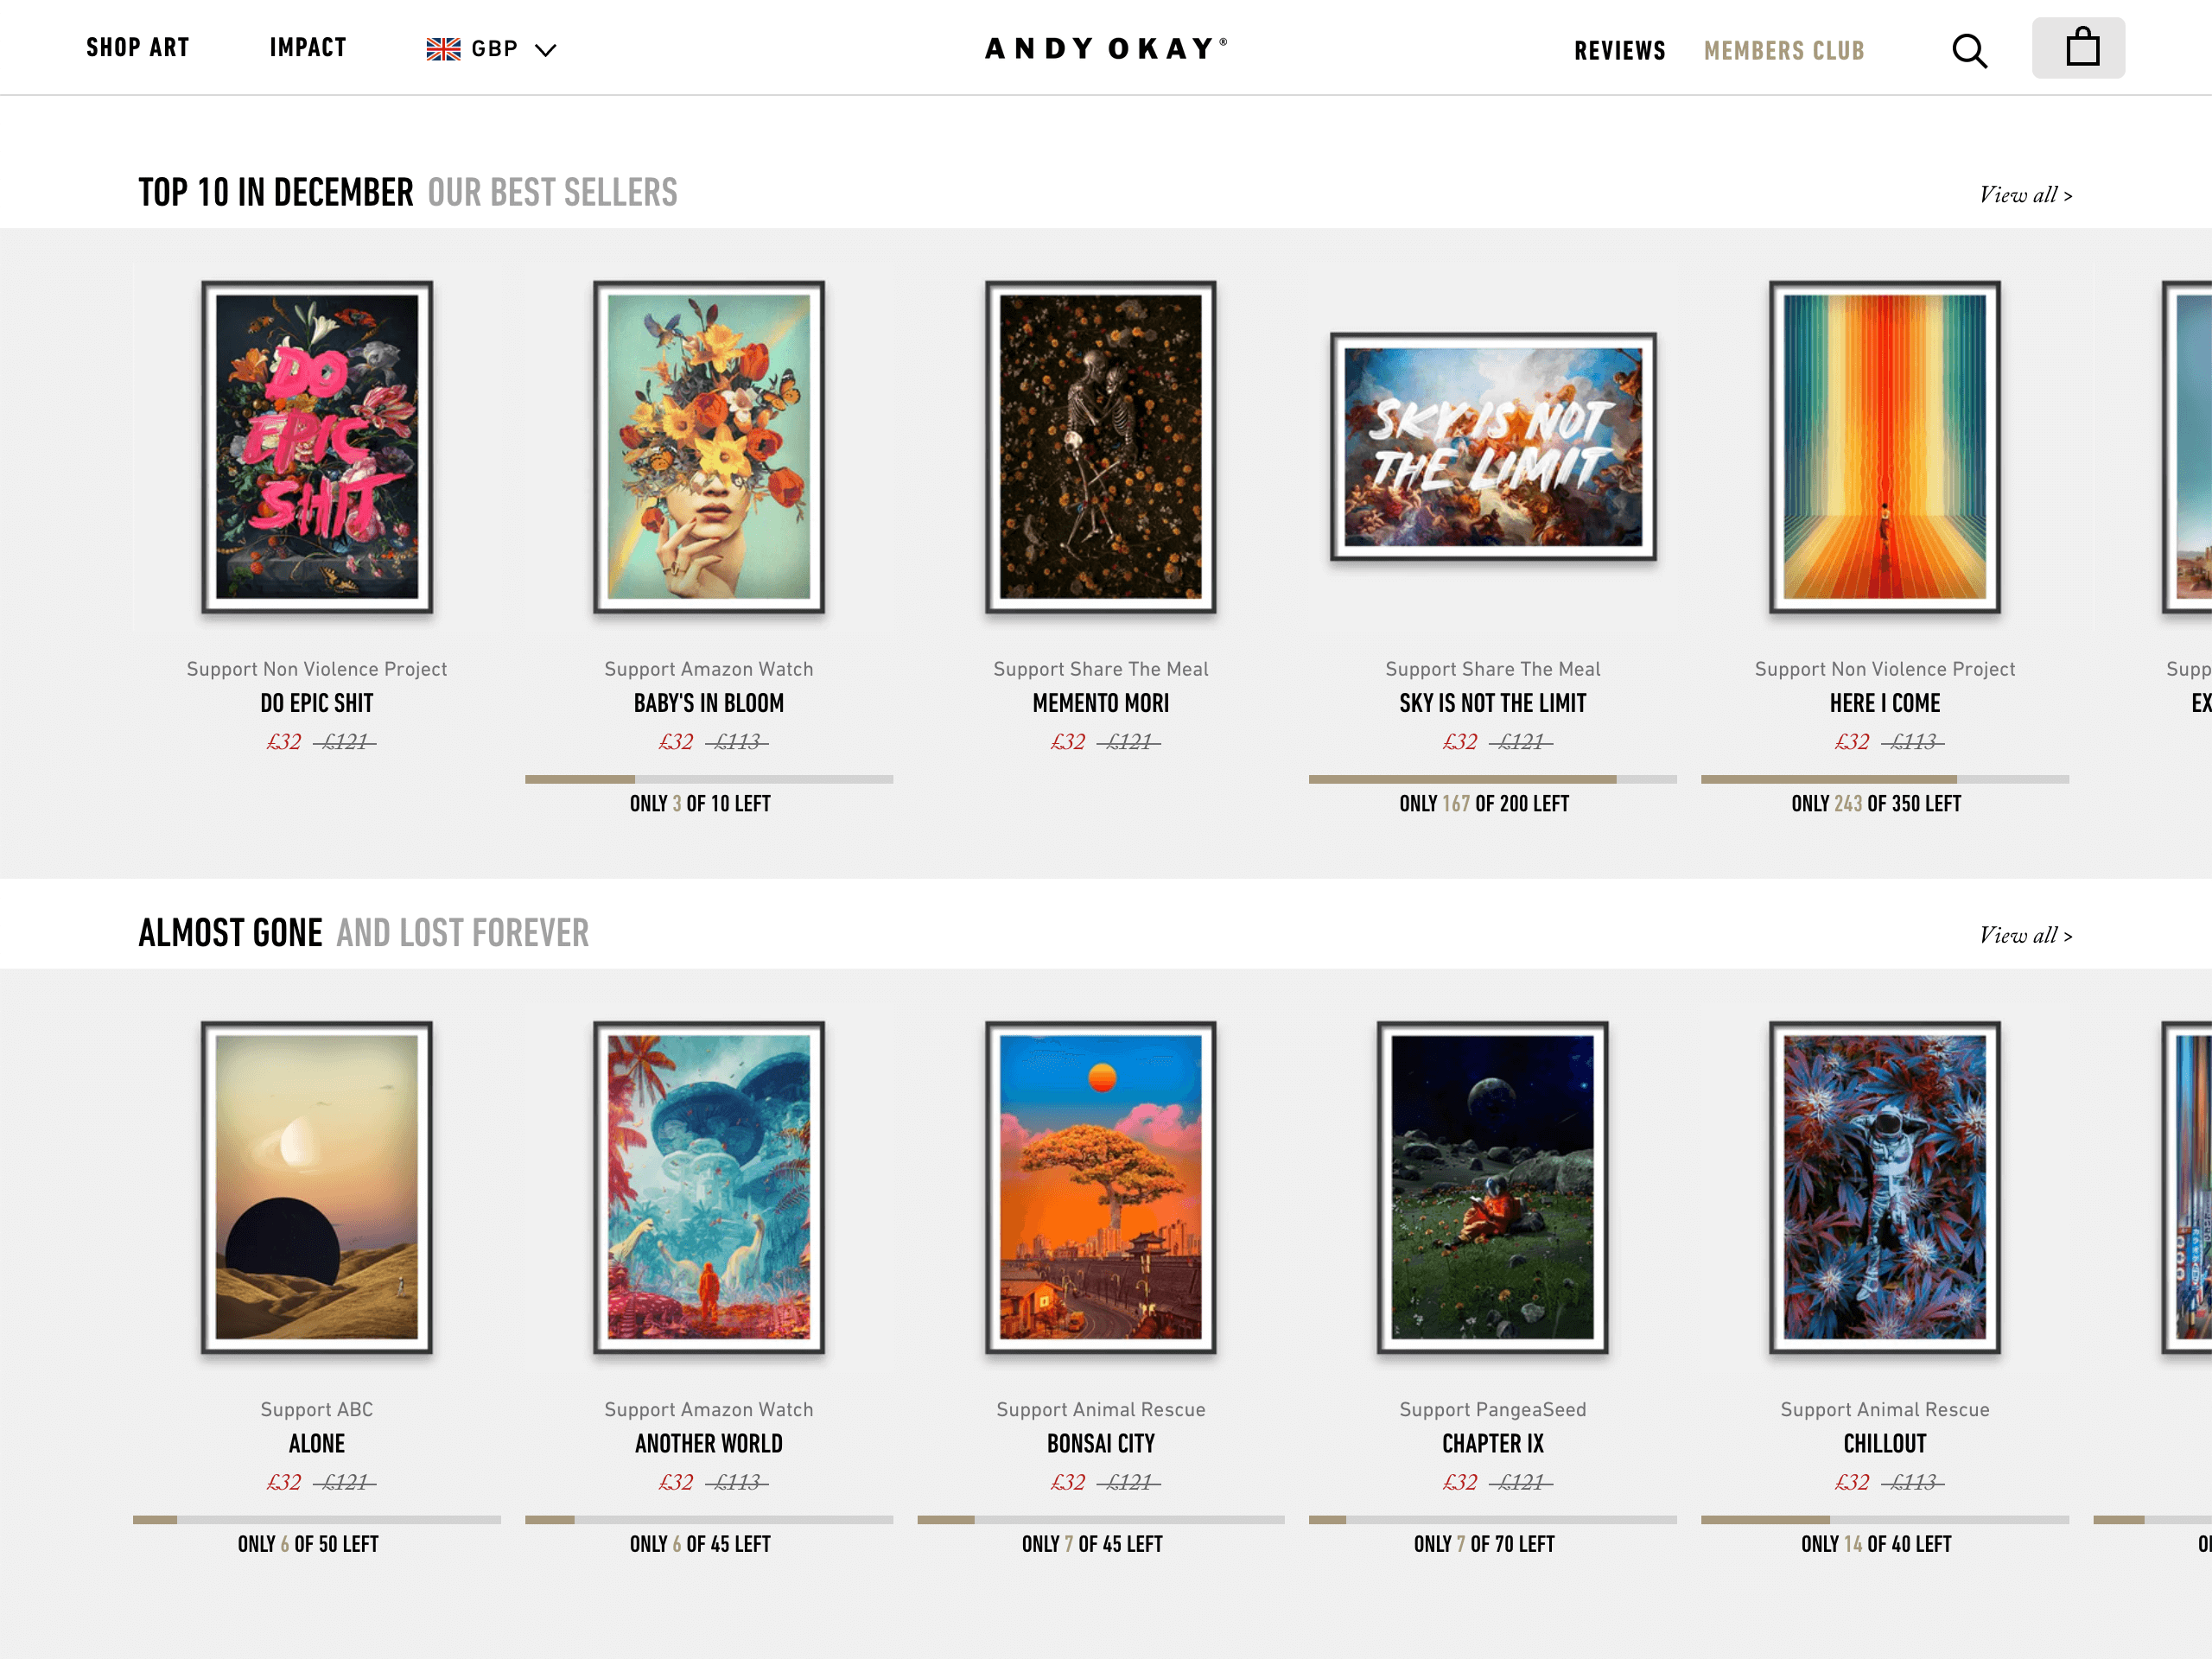
This creates a visual language across your shop's navigation. When a buyer sees your four collection tiles on your homepage, each one should immediately communicate a different room and mood at a glance. That visual differentiation helps buyers self-sort into the right collection faster.
Automated vs. Manual Collections
Shopify gives you two options for populating collections: manual, where you hand-pick which products go in, and automated, where products are added based on tags or other product attributes.
For room-style collections, manual curation is almost always better. The whole point of this approach is thoughtful grouping based on aesthetic fit, and that judgment call is something a tag-based automation cannot make reliably. Yes, manual curation takes more time upfront, but it also means every product in every collection is there because it genuinely belongs.
That said, you can use tags to help you stay organized internally. Tag each product with the room styles it fits ("bedroom-earthy", "living-room-minimal") and use those tags as a reference when manually curating. This is especially helpful when you add new prints and need to decide which collections they should join.
Actionable takeaway: Set up each collection in Shopify with a search-friendly title, a short second-person description, and a lifestyle mockup as the featured image. Choose manual collection curation to keep the aesthetic standard high, and use internal tags to stay organized as your catalog grows.
Maintaining Consistency as You Add New Products
One of the hardest parts of this approach is not setting it up, it is keeping it consistent over time. When you launch a new print, the temptation is to quickly snap a mockup and get the listing live. But one inconsistent image can visually break a collection that was otherwise cohesive.
Create a New Product Checklist
Before any new print goes live in a collection, run it through a short checklist. Does the mockup match the color temperature and room setting defined for this collection? Is the lighting consistent with other images in the collection? Does the overall feel match?
This takes two minutes and saves you from the slow visual drift that happens when you are adding products quickly without checking. It is also a good habit for spotting when a print genuinely does not belong in a collection, which is useful feedback for your product development.
Batch New Products by Collection
Instead of processing each new print individually, try batching your mockup creation by collection. When you have three new prints that belong in your bedroom collection, do all three mockups at the same time using the same template. This naturally enforces consistency and saves time.
This is the workflow Mockupanda is designed to support. Upload the three print files, apply the bedroom collection mockup template, generate all three in one batch, and your images are consistent by design rather than by accident.
Actionable takeaway: Write a five-point mockup consistency checklist and run every new product image through it before publishing. Batch your mockup creation by collection rather than processing prints one at a time.
Connecting Your Collections to Your Marketing
Once your room-style collections are live and visually consistent, they become a marketing asset, not just a shop organizational tool. The same collection-level thinking that helps buyers navigate your shop also gives you ready-made content frameworks for Pinterest, Instagram, and Shopify ads.
Pinterest Boards That Mirror Your Collections
Pinterest is one of the most important traffic sources for wall art sellers, and it maps perfectly to room-style collection thinking. Create Pinterest boards that mirror your Shopify collections. "Cozy Bedroom Wall Art," "Minimal Living Room Prints," "Botanical Bathroom Ideas." Pin your mockup images to the relevant boards, and include your shop link in each pin.
Because your mockups already show the print in a room context, they perform better on Pinterest than flat product shots. Users browsing Pinterest for bedroom ideas are in the same mindset as buyers browsing your bedroom collection. Your mockups meet them exactly where they are.
Use Collection Pages in Ads and Social Links
When you run ads or share links on social media, link to your collection pages rather than individual products wherever possible. A buyer clicking on a Pinterest ad for "warm bedroom wall art" and landing on your curated bedroom collection sees a full array of options that match what they were already imagining. That experience converts better than landing on a single product page.
You can also use Mockupanda's text overlay feature to create collection-level promotional images with a short headline like "Shop the Cozy Bedroom Collection" layered over a styled mockup. These work well as Pinterest covers, Instagram posts, or ad creative without needing a separate design tool.
Actionable takeaway: Create one Pinterest board for each of your Shopify collections and start pinning your mockup images to the matching board immediately. Link to your collection pages rather than individual products in any paid or social traffic campaigns.
Bringing It All Together
Organizing your Shopify wall art shop by room style is not just a navigation tweak. It is a fundamental shift in how you present your brand, how you speak to your buyers, and how you generate the kind of visual cohesion that turns a print shop into something that feels like an interior design resource.
The room-style framework helps buyers self-select into the right part of your shop. The consistent mockup aesthetics do the imaginative work for them, showing exactly what the print looks like in the kind of space they are decorating. The collection-level setup in Shopify turns this into a browsable, searchable experience. And the Pinterest and ad strategy extends the collection logic into the channels where your buyers are already spending time.
The operational key to making this work at scale is being intentional about your mockup workflow. Defining a visual style for each collection upfront, batching your mockup creation, and running new products through a consistency check before publishing are habits that take minutes but protect the visual standard you worked to build.
If you have been manually creating mockups one at a time and struggling to keep them consistent across your shop, Mockupanda's bulk generation workflow is worth looking at. It was built specifically for this kind of collection-level, high-volume mockup work, and it removes the friction that makes most sellers skip the consistency step entirely.
Start with one collection. Define the mockup style. Generate consistent images. See how it changes the feel of your shop. Then build from there.
Keep reading
The Batch Mockup Checklist Every Print-on-Demand Seller Needs Before a Holiday Sales Season

How to Use Batch Mockup Generation to Stay Consistent When You Have Multiple Designers Uploading New Artwork to Your Shop