How to Batch Create Mockups for a High-Volume Print-on-Demand Shop Without Going Insane

There is a moment every high-volume print-on-demand seller knows. You've just finished designing your 40th art print of the week, you open your mockup tool, and you realize you have to go through the same five-click process 40 separate times. Upload, adjust, export, rename, repeat. Your coffee goes cold. Your eyes glaze over. You start questioning every decision that led you to this point.
This is the mockup bottleneck, and it is one of the most common reasons POD sellers either plateau or burn out entirely. You got into this business because you love designing. You did not sign up to spend half your working hours doing repetitive production work that a system should be handling for you.
The good news is that batching your mockup creation is entirely possible, and once you set up the right workflow, it can cut hours off your weekly routine. This post walks you through exactly how to do that, from organizing your files to picking tools that actually support bulk output, to building a system you can repeat every single week without losing your mind.
Why One-at-a-Time Mockup Creation Is Killing Your Productivity
Before we get into the fix, it helps to understand exactly where the time is going. Most sellers underestimate how long the mockup process actually takes because they never measure it directly. They just know they feel exhausted at the end of the day.
The Hidden Cost of Context Switching
When you create mockups one at a time, you are not just spending 2 minutes per product. You are spending 2 minutes of active work surrounded by constant mental setup and teardown. You open the tool, remember where you left off, upload the file, check the dimensions, preview the result, save it, rename it, and then mentally reset before starting the next one.
Psychologists call this context switching, and it is cognitively expensive even when the tasks seem simple. Research consistently shows that switching between tasks, even minor ones, introduces a switching cost that adds up fast. For a seller processing 30 new designs in a sitting, that overhead can easily add 30 to 45 minutes to a task that should take 20.
Batching solves this because you do all the setup once, and then you execute the same action repeatedly while you are already mentally in that mode. Your brain is not resetting. It is in a rhythm.
The Compounding Problem of Inconsistent Mockups
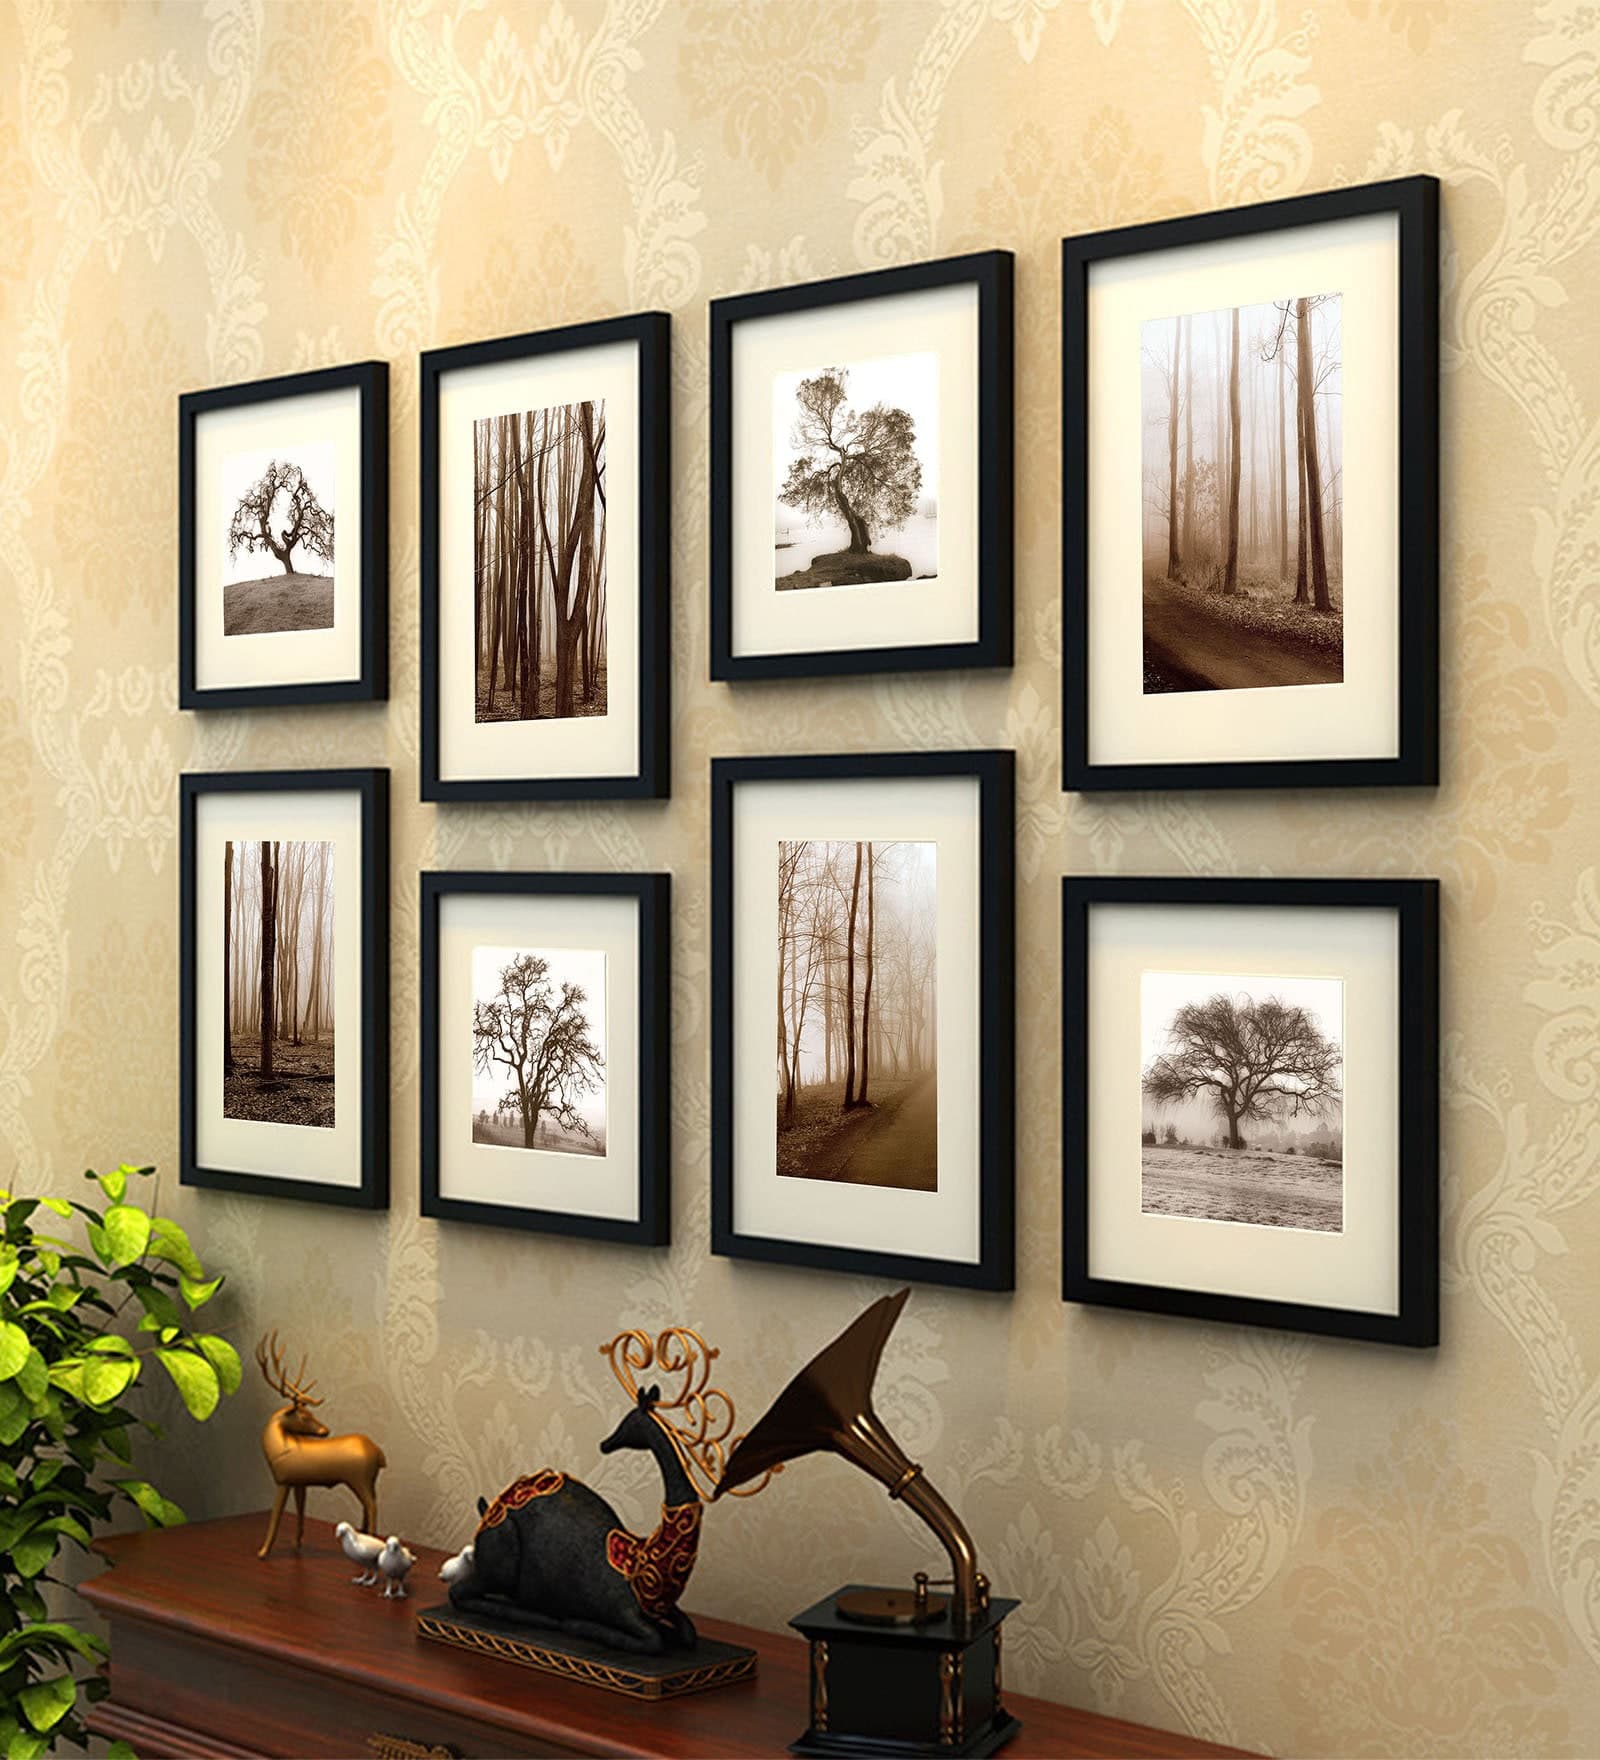
There is another problem beyond just time. When you create mockups one at a time, across different sessions, with different moods and different levels of attention, your shop ends up looking inconsistent. Some listings have bright, airy room shots. Others have dark, moody styling. Some frames are white. Some are black. Some images are sharp. Others look slightly washed out.
Buyers notice this even when they cannot articulate it. A shop that looks visually cohesive feels more trustworthy and professional. A shop that looks like a collection of random images feels less established, and buyers are more hesitant to spend money there.
Batching forces consistency because you are working from the same templates, the same settings, and the same style decisions all at once. Your 40 new listings come out looking like they belong together, and that has a direct impact on conversion rates.
Actionable takeaway: Time yourself creating 5 mockups one at a time. Then compare that to your gut estimate. Most sellers discover they are spending 3 to 5 times longer than they thought. That number alone is usually enough motivation to change the system.
Building Your File System Before You Touch a Mockup Tool
The biggest mistake high-volume sellers make is jumping straight into mockup creation without setting up a clean file system first. You can have the fastest mockup tool in the world, but if your design files are scattered across three folders, your desktop, and your downloads, you will still waste enormous amounts of time just finding things.
Folder Structure That Actually Works at Scale
Here is a simple folder structure that scales well for POD sellers:
``` Shop Name /Designs /Ready to Mockup /Mockups Complete /Archive /Mockups /Frames /Canvases /Lifestyle Rooms /Listings /Active /Drafts ```
The most important folder is Ready to Mockup. This is your queue. Every time you finish a design, you drop it in here. When you sit down for your weekly mockup session, you open that one folder and work through everything inside it. When you are done with a design, you move it to Mockups Complete. This single habit eliminates the frantic searching and second-guessing that eats up so much time.
Name your files consistently from the start. Use something like: `design-name_size_colorway.png`. For example: `botanical-arch-print_8x10_sage.png`. When you have 200 files, consistent naming is the difference between finding the right file in 5 seconds and spending 3 minutes scrolling through thumbnails.
Preparing Your Design Files for Bulk Processing
Most mockup tools work best with files that are prepared in a consistent way. Before your mockup session, take a few minutes to make sure all your designs in the Ready to Mockup folder are:
Saved at the correct resolution (typically 300 DPI for print products)
In the same file format (PNG with transparent background is usually ideal)
Sized correctly for the mockup templates you are using
If you are selling multiple sizes of the same design, such as 5x7, 8x10, and 11x14, create all the size variants before you start the mockup session rather than bouncing back and forth between your design software and your mockup tool.
This upfront prep work feels like extra effort, but it removes every possible interruption during the actual mockup creation phase. You want that phase to be as close to mindless as possible so you can move fast.
Actionable takeaway: Set up your folder structure today, even if your current files are a mess. Spend 30 minutes sorting existing designs into the right folders. Going forward, make it a rule that no design gets touched in your mockup tool until it is in the Ready to Mockup folder and properly named.
Choosing a Tool That Actually Supports Batch Mockup Creation
Not all mockup tools are created equal when it comes to bulk processing. Many of the popular tools in the space were designed for occasional use, not for sellers who need to push through dozens of products in a single sitting.
What to Look for in a Batch-Friendly Mockup Tool
When you are evaluating tools for high-volume use, the features that matter most are different from what a casual user needs. Prioritize these:
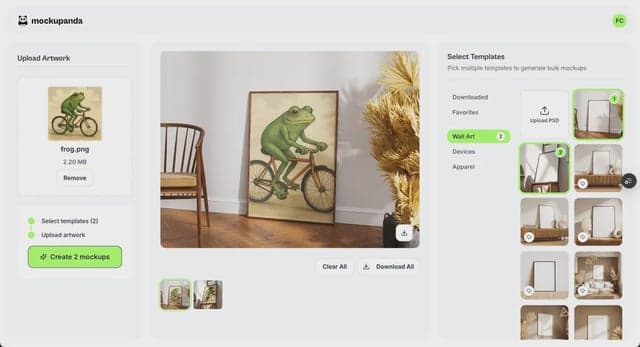
Bulk upload and processing. You should be able to upload multiple design files at once and apply them to one or more mockup templates in a single action. Any tool that requires you to upload files individually is not built for volume.
Template consistency. Your mockup templates should produce the same output every time without requiring manual adjustments. If you find yourself tweaking brightness, scale, or positioning on every single mockup, the tool is working against you.
Fast export. The time between pressing export and having your files ready matters a lot when you are doing it 40 times. Look for tools where export is nearly instant and where you can download batches as a zip file rather than one image at a time.
Sensible file naming on output. Some tools spit out files named `mockup_001.jpg`, `mockup_002.jpg` with no connection to your original design names. That means you have to rename everything manually, which is another time sink. A good tool carries your original file names through to the output.
Mockupanda was built specifically to address these pain points for print-on-demand sellers. You can upload multiple designs, apply them across multiple room and frame mockup templates, and download the results in bulk. For sellers with large catalogs, that kind of workflow support is not a luxury, it is a requirement.
Building a Repeatable Template System
Once you have a tool you are happy with, the next step is locking down your template selections. This means deciding in advance which 3 to 5 mockup styles you will use for every listing, and not second-guessing that decision every time you sit down to work.
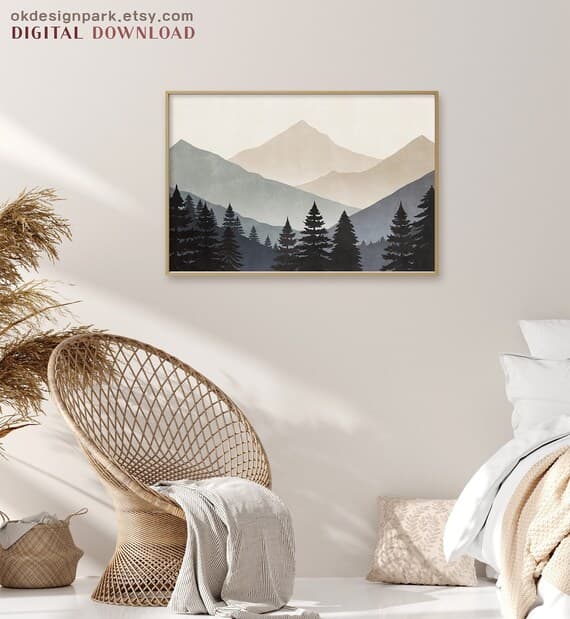
For most wall art and digital print sellers, a solid template set looks something like this:
One clean white frame, minimal background
One lifestyle room shot with natural light
One close-up texture shot showing print quality
One styled desk or shelf flat lay
These four images tell a complete visual story: what the print looks like, how it looks in a home, what the quality looks like up close, and how it can be styled. You do not need 10 mockup styles per listing. You need a consistent, thoughtful set that you apply to everything.
When you use the same template set across your entire shop, two things happen. First, your shop looks cohesive and professional. Second, your batching sessions get dramatically faster because you are making zero decisions, you are just executing.
Actionable takeaway: Open your current mockup tool and identify your 4 favorite templates. Bookmark them, save them as favorites, or write them down. From this point forward, those are your go-to templates and you use them for every new listing. Remove the decision entirely.
Scheduling Your Mockup Sessions Like a Professional
Even with the right tools and file system, batch mockup creation only works if you protect the time for it. Sellers who try to slot mockup work in between other tasks end up back in the reactive, one-at-a-time trap.
Creating a Weekly Mockup Block
Treat your mockup session as a dedicated block in your weekly schedule, not something you do when you have a spare 20 minutes. The ideal setup looks like this:
Design work happens on certain days. Mockup creation happens on a specific day, once per week, for a defined period of time. Listing creation happens immediately after the mockup session while the files are fresh.
For most high-volume sellers, a single 90-minute mockup session per week is enough to process a substantial batch of new designs, especially once the file system and template selection are working smoothly. If you are launching more than 20 new products per week, you might need two sessions, but resist the urge to scatter mockup work across every day of the week.
The psychological benefit of dedicated sessions is real. When you sit down knowing that this is your mockup time, you enter a production mindset. There is no guilt about not designing, no distraction from thinking about other tasks, just focused execution. You will move faster and feel less drained afterward.
Processing Order and Momentum
Within your mockup session, the order in which you process designs matters for maintaining momentum. Here is a simple approach that works well:
Start with your newest designs, the ones most likely to go live soon. This keeps your listing pipeline moving even if you run out of time before finishing everything in the folder. If you start with old designs and run out of time, your newest work sits unlisted while older, less exciting designs get processed first.
Group similar products together. If you have 10 botanical prints and 10 abstract prints, do all the botanical prints in one run and all the abstract prints in the next. This minimizes any minor template adjustments between product types and keeps you in a consistent visual flow.
Set a timer and move forward. Do not spend more than 30 seconds deciding whether a mockup looks good. If it meets your template standard, it is done. The goal is not perfection on every individual image. The goal is a consistent, professional catalog. Perfectionism is the enemy of volume.
Actionable takeaway: Block one 90-minute slot in your calendar this week specifically for mockup creation. Treat it like a client meeting, non-negotiable and protected. See how many designs you can move through your queue in that single session.
Using Text Overlays and Branding to Add Value Without Adding Time
One thing many POD sellers overlook is the opportunity to add marketing value to their mockups without significantly increasing production time. Text overlays and simple branding elements can make your mockups work harder for you as promotional assets, not just product images.
When to Use Text Overlays on Mockups
Text overlays are particularly useful in two situations. First, when you are creating promotional images for social media or Pinterest, adding a simple overlay like "Instant Download" or "5 Sizes Available" communicates key selling points right in the image, before a buyer ever reads your listing description.
Second, text overlays work well for advertising images on platforms like Etsy Ads or Pinterest Ads, where buyers are scrolling fast and you need the image to communicate the value proposition in under a second.
The key is keeping overlays simple and legible. One to five words maximum. A clean font that matches your brand aesthetic. Placed in an area of the image that does not cover the product itself.
Mockupanda includes a text overlay feature built directly into the mockup creation workflow, so you can add these elements during the same session rather than having to run your completed mockups through a separate tool afterward. That kind of workflow integration is exactly the kind of time saver that matters when you are working at volume.
Maintaining Brand Consistency Across a Large Catalog
As your catalog grows, maintaining a consistent visual identity gets harder. Colors shift slightly between sessions. Fonts get swapped out. A design decision you made six months ago gets quietly abandoned.
The simplest way to maintain consistency at scale is to document your brand choices in a one-page reference document. Write down your 4 mockup templates, your font choices for any text overlays, the color codes for any branded elements, and any other visual decisions you have made. Before every mockup session, glance at that document. This takes 10 seconds and prevents a lot of drift.
If you use mockup tools that allow you to save preset configurations, use that feature. Any setting you can lock in as a default is one fewer decision you have to make in the middle of a production session.
Actionable takeaway: Create a one-page brand reference document for your shop mockup style. Include your 4 template choices, any fonts you use for overlays, and any color preferences. Save it somewhere you can access it quickly before each mockup session.
Integrating Your Mockup Workflow with Listing Creation
The final piece of the puzzle is connecting your mockup workflow to your listing creation process so the whole pipeline runs smoothly from design to live listing.
The Assembly Line Approach to New Listings
Think of your listing creation process as an assembly line with three distinct stations:
Station 1: Design completion. The design is finished, exported at the right size and resolution, and dropped into the Ready to Mockup folder.
Station 2: Mockup creation. During your weekly mockup session, you process everything in the Ready to Mockup folder, export the mockups in bulk, and move the design files to Mockups Complete.
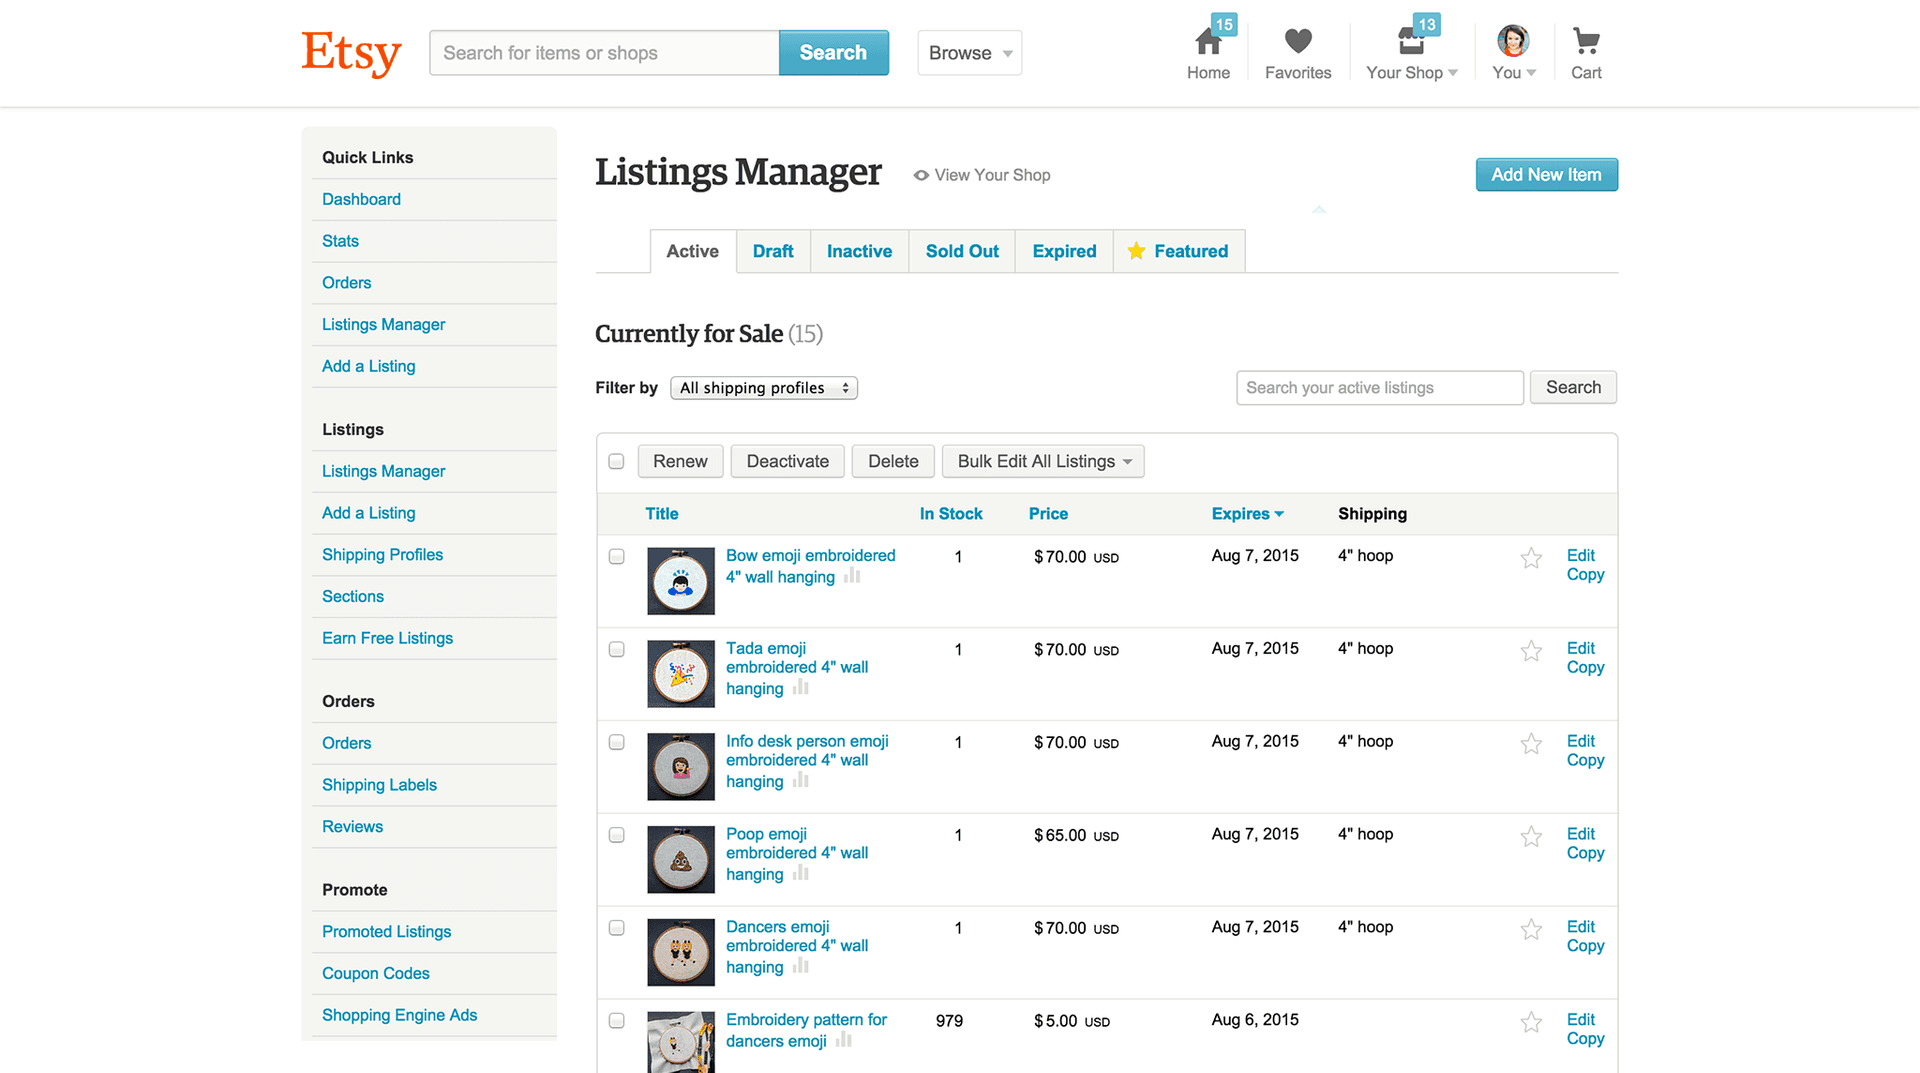
Station 3: Listing creation. With mockups already completed and waiting, you write your titles, descriptions, tags, and pricing, then upload everything to Etsy or Shopify.
When these three stations happen separately, in dedicated blocks, the whole process flows. The bottleneck disappears because you are never designing and mockuping and listing simultaneously. Each phase happens in its own time, with its own focused energy.
Using APIs for Automated Workflows at High Volume
If you are operating at a very high volume, potentially hundreds of new products per month, there is a level of automation beyond manual batching that is worth exploring. Mockupanda offers an API that allows you to integrate mockup generation directly into your product workflow.
For sellers who have technical resources available, or who work with a developer, this means you can set up a pipeline where new design files are automatically sent to the mockup generator, processed against your chosen templates, and returned as ready-to-use images without any manual steps in between. The mockup creation effectively becomes invisible, it just happens as part of your product build process.
Even if a fully automated pipeline is not where you are right now, understanding that this option exists is useful for planning. As your shop scales, your tools need to scale with it. Choosing tools that offer API access from the start means you are not forced to switch platforms later when your volume outgrows manual workflows.
Actionable takeaway: Map out your three stations on paper: design, mockup, listing. Identify which station currently takes the longest and apply one specific change from this guide to speed it up. Do not try to overhaul everything at once. Fix the biggest bottleneck first.
Putting It All Together
Running a high-volume print-on-demand shop should feel like running a business, not like being trapped in a repetitive production loop. The mockup creation process, when it is unstructured and reactive, becomes one of the biggest drains on your time and energy. But when you approach it with a proper batching system, the right tools, and a consistent weekly rhythm, it becomes a manageable, even satisfying part of your workflow.
Here is the short version of everything covered in this post. Keep your design files organized in a simple folder queue. Prepare all your files before you start your mockup session. Lock in 4 consistent mockup templates and stop revisiting that decision. Use a tool built for bulk processing, not one that treats every upload as a one-off job. Protect a weekly mockup session in your calendar and treat it as non-negotiable. Add text overlays during the same session rather than in a separate step. And connect your mockup output directly to your listing creation process so nothing falls through the cracks.
None of this is complicated. But all of it requires intentionality. The sellers who build these systems are the ones who can grow their catalogs to 300, 500, or 1,000 listings without burning out. The sellers who skip the systems spend more time on production work and less time on the creative and strategic work that actually grows the business.
Start with one change this week. Build from there. Your future self, sitting at a clean desk with a full mockup queue already processed, will thank you.
Keep reading
How to Use Mockup Images in Your Etsy Shop Announcement and Banner to Build Trust Before a Buyer Clicks a Single Listing
How to Create a Cohesive Etsy Shop Front Using Mockups With a Consistent Color Palette Across All Listings