How to Set Up a Repeatable Batch Mockup Workflow That Lets You Onboard New Designs in Under 5 Minutes Each
There is a version of running a print-on-demand shop where you spend most of your creative energy actually designing things. And then there is the version most sellers are living, where you spend half your week clicking through the same repetitive steps just to get a new product listed with decent-looking mockups.
If you recognize that second version, this post is for you.
The goal here is simple: build a workflow so tight and repeatable that every time you finish a new design, you can go from raw file to fully mocked-up, ready-to-list product in under five minutes. Not as a one-off miracle, but every single time, reliably, without having to think hard about it.
This is not about cutting corners on quality. It is about eliminating the parts of your process that do not require your creative brain, so you can focus on what actually moves your shop forward.
Why Most Sellers Never Build a Real Workflow
Before we get into the system, it is worth understanding why this problem exists in the first place. Because most sellers do not have a workflow, they have a habit. And habits are not the same thing.
The Habit Trap
A habit is something you do the same way every time without having written it down or designed it intentionally. For most Etsy and print-on-demand sellers, mockup creation looks something like this: open a tool, find a scene you used before, upload a file, tweak some settings, download, rename, move to a folder, repeat for three more scenes. You do it the same way because that is just how you do it, not because anyone told you it was the best way.
The problem with habits versus workflows is that habits do not scale. When you have five products, the habit works fine. When you have fifty, it starts to feel like a second job. When you hit two hundred SKUs and you are adding new designs every week, the habit will actively hold your business back.
The Real Cost of Slow Mockup Creation
Let's put a number on this. Say creating mockups for one new design takes you 25 minutes. You add four new designs per week. That is 100 minutes, almost two hours, just on mockups. Over a year, that is roughly 86 hours spent on a task that, with the right system, could take 20 minutes total per week.
Those 86 hours could be new designs, customer service, SEO research, or just not working on weekends. The opportunity cost is enormous, and it is invisible until you sit down and calculate it.
Why Tools Alone Do Not Fix It
Switching to a faster tool helps, but it is not the whole answer. A lot of sellers upgrade their mockup software and find they are still slow because their file organization is a mess, their naming conventions are inconsistent, or they have not thought through which mockup scenes they actually need for each product type.
The workflow has to cover everything from how you save your design files to how you name the final mockup images before uploading them to Etsy or Shopify. Tools are one piece of that puzzle.
Takeaway: Write down your current mockup process step by step. Time yourself on the next design you onboard. That number is your baseline, and it is probably higher than you think.
Step One: Standardize Your File Prep Before You Touch a Mockup Tool
The fastest mockup creation process in the world will still be slow if your design files are not ready to go the moment you sit down to create mockups. File prep is the unsexy part of the workflow, but it is where most of the time savings actually live.
Create a Master Design File Template
Every product type you sell should have a master file template. If you sell 8x10 digital art prints, you should have one Photoshop, Procreate, or Illustrator template for that size that already has the correct canvas dimensions, color mode (RGB for screen display, CMYK for print), and resolution. When you start a new design, you start from that template, not from scratch.
This means by the time you finish a design, the file is already in the exact format your mockup tool expects. No resizing, no color mode conversion, no last-minute fixes. The file is ready.
Build a Naming Convention and Stick to It
This sounds boring, but inconsistent file names are one of the biggest sources of friction in a mockup workflow. If some of your files are named things like "final_FINAL_v3_blue.png" and others are named "minimalist-botanical-8x10.png," you will waste time every single time you go to find, sort, or upload them.
Pick a naming convention and commit to it. Something like: `[style]-[subject]-[size]-[colorway].png`. For example, `minimalist-botanical-8x10-sage.png`. Every file, every time. Once this is a habit, you will never waste another minute hunting for the right version of a file.
Organize by Product Type, Not by Date
Most people organize their design files by when they created them, which makes sense for personal projects but is actively unhelpful for a product business. Instead, organize by product type and then by collection or theme within that.
When you sit down to create mockups, you want to be able to navigate to your folder, see all the files that need that type of mockup, and process them in one batch. That is only possible if your files are organized by product category.
Takeaway: Before your next design session, spend 30 minutes building your file templates and folder structure. This one-time investment pays back every single week going forward.
Step Two: Define Your Mockup Set for Each Product Type
One of the most time-consuming parts of the mockup process for most sellers is decision fatigue. Every time you add a new design, you spend five minutes deciding which mockup scenes to use. That decision-making time adds up fast, and it also introduces inconsistency into your shop.
The fix is to pre-decide your mockup set for each product type and never revisit that decision unless you are doing a deliberate shop refresh.
The Rule of Three (or Four) Scenes
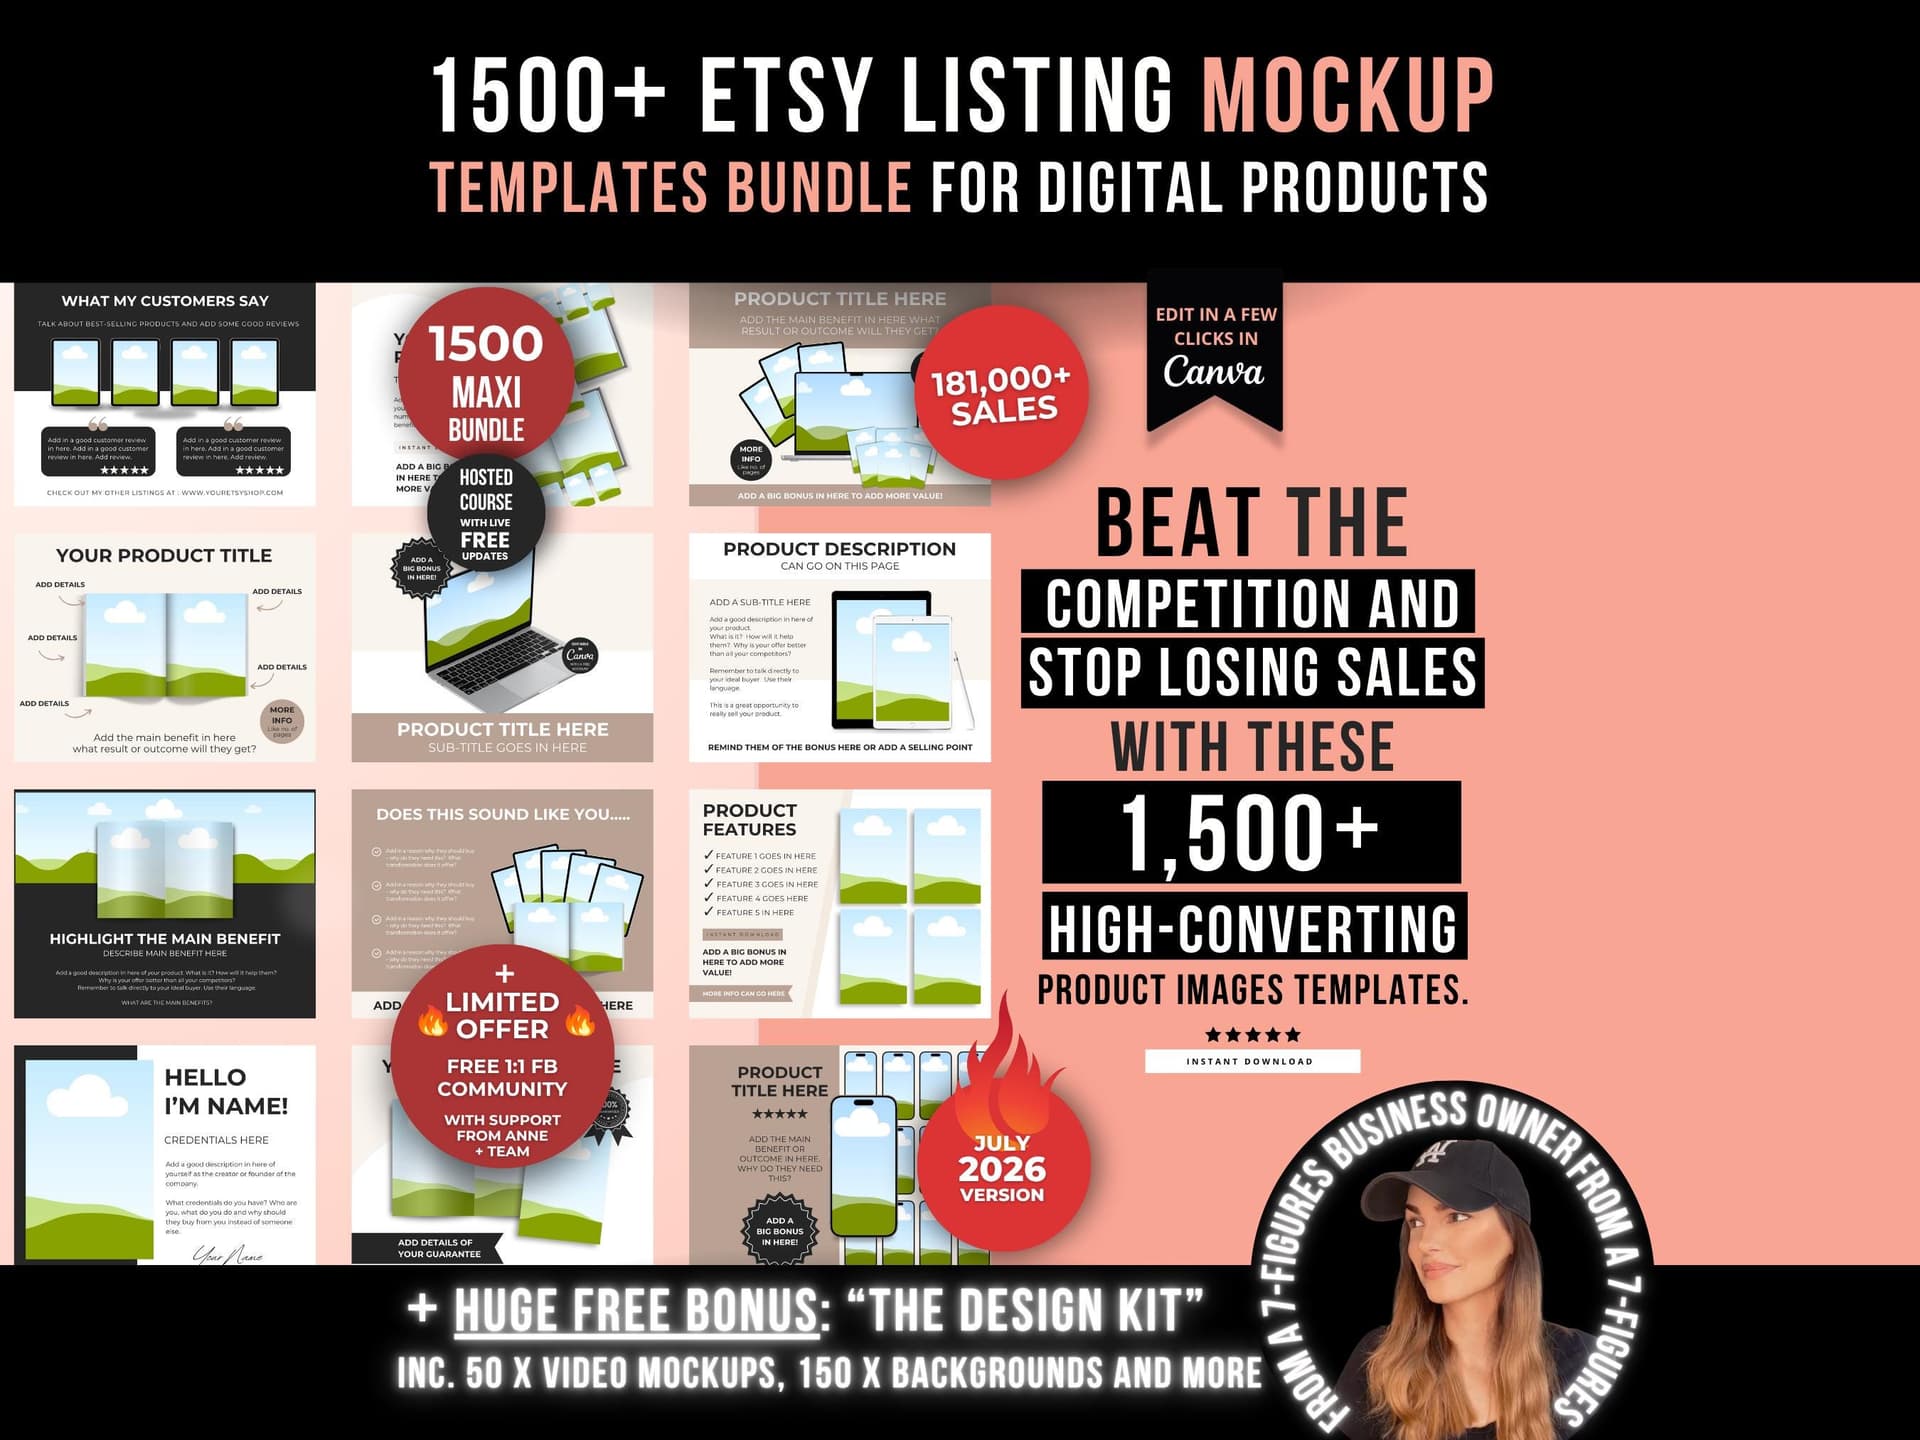
For most product types on Etsy, three to four mockup scenes is the sweet spot. You want one clean, close-up lifestyle shot that shows the product clearly, one room scene that gives buyers a sense of scale and context, one flat-lay or desk-style shot for variety, and optionally a detail or zoom shot if the design has fine elements worth highlighting.
Write this down for each product type you sell. "For 8x10 prints: scene A (white frame living room), scene B (gallery wall detail), scene C (desk flat lay)." That is your set. Every new 8x10 print gets those three scenes, processed together, every time.
Match Mockup Style to Your Brand Aesthetic
Not all mockup scenes work for every shop. A rustic, earthy botanical art shop should not be using ultra-modern chrome frame mockups. Your mockup set should feel consistent with the overall aesthetic of your shop and the buyers you are targeting.
Spend time once selecting your permanent mockup scenes for each product type, choosing scenes that fit your brand. Then lock them in. This consistency also makes your shop look more professional because the listing images have a visual coherence that random scene selection never achieves.
Account for Seasonal or Promotional Variations
Once you have your standard mockup set locked in, you can build a secondary set for seasonal promotions or sales. Holiday gift guide mockups, seasonal color schemes, or scenes that work well for paid ads can be layered on top of your standard set without replacing it.
Keeping these separate means your core workflow stays fast, and you only pull in the seasonal set when it is actually relevant.
Takeaway: Open a simple document and write out your mockup set for each product type you currently sell. Three to four scenes, named specifically. You now have a mockup brief you never have to think about again.
Step Three: Use Batch Processing to Handle Multiple Designs at Once
This is where the real time savings kick in. Batch processing means you are not creating mockups one design at a time. You are preparing a queue of designs, running them all through your mockup tool together, and exporting everything in one go.
Set Up Your Batch Queue Before You Start
Before you open your mockup tool, have all the files you want to process ready in one folder. If you finished three new designs this week, all three PNGs should be named correctly, sized correctly, and sitting in a staging folder. You are not going to upload one, create mockups, download them, then come back for the next one. You are going to process all three in a single session.
This batching mindset is the difference between treating mockup creation like a task you do repeatedly and treating it like a production run you set up and execute.
Use a Tool Built for Bulk Generation
Not every mockup tool is built with batch workflows in mind. Some tools are designed for one-off mockup creation, which is fine for occasional use but actively works against you when you are trying to process dozens of designs efficiently.
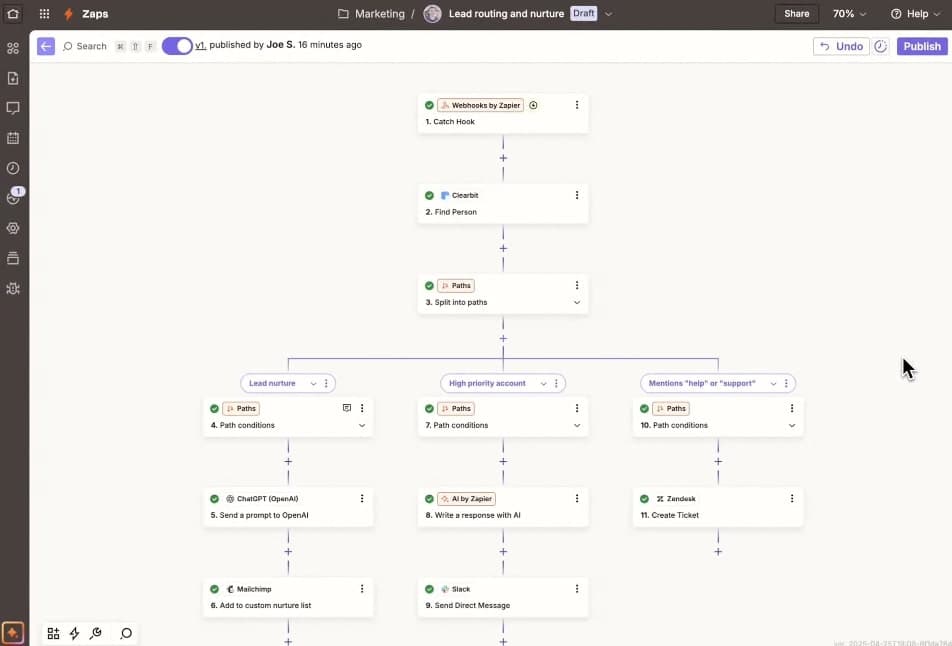
Mockupanda is built specifically for this kind of bulk mockup generation. You can upload multiple designs at once, apply them to your pre-selected scenes, and export everything in a single batch. For print-on-demand sellers who are adding new products regularly, that architecture makes an enormous practical difference. Instead of clicking through the same steps eight times for eight designs, you do it once and let the tool handle the rest.
If you have never tried a tool built specifically for high-volume digital print sellers, check out what Mockupanda offers. The time difference compared to generic mockup tools is significant.

Export Directly Into Your Upload-Ready Folder Structure
Where your mockups land after export matters. If they all go into a generic Downloads folder and you have to manually sort and rename them before uploading to Etsy, you have added a step that compounds across hundreds of products.
Set up your export folder structure to mirror your Etsy or Shopify listing structure. Each product gets its own folder, named with the product name. When you run a batch export, the files land in the right place and are ready to upload immediately.
Takeaway: Next time you have two or more new designs ready, resist the urge to process them one at a time. Stage them all, batch process them, and measure how much faster the whole session feels.
Step Four: Build Your Listing Template to Match
Mockup creation does not happen in isolation. It is one step in the broader process of getting a new product listed. If your mockup workflow is fast but you then spend 15 minutes writing a listing from scratch every time, you have only solved half the problem.
Create Listing Templates for Each Product Type
Just like you have file templates for your designs, you should have listing templates for each product type. A template for 8x10 digital prints, one for 5x7 greeting cards, one for phone cases, whatever you sell. The template includes your standard title structure, a description framework with all the key information a buyer needs (file formats, sizes, printing notes, licensing), your standard tags, and your pricing.
When you onboard a new design, you copy the template, fill in the specific details for that design (the title, the style keywords, the specific color descriptions), and the listing is essentially done. You are not starting from a blank page.
Pre-Write Your SEO Section
Tags, categories, and attributes take time if you are thinking about them fresh every listing. For most of your product types, a large portion of these are going to be the same across all products in that category. Pre-populate as much as you can in your listing template and only customize the parts that are genuinely design-specific.
This also protects you from the common mistake of having wildly inconsistent SEO across your listings because you were in a hurry some days and thorough on others.
Connect Your Mockup Workflow to Your Listing Workflow
The moment your batch export finishes, your mockup images should be sitting in a folder named after the product, ready to drag into the listing you have already templated. If these two processes are not connected, you will lose time switching between them.
Some sellers use a simple spreadsheet to track where each new design is in the pipeline: file complete, mockups done, listing drafted, listing published. That visibility alone prevents the common situation where you cannot remember whether you mocked up a design or not.
Takeaway: Build a listing template document for your top two or three product types this week. Even a rough version will save you time on the very next listing you create.
Step Five: Run a Workflow Audit Once a Month
A workflow is not something you set up once and forget. It needs occasional maintenance, especially as your product range grows or as you start selling on new platforms.
Time Yourself Quarterly
Every few months, actually time how long it takes you to onboard a new design from finished file to published listing. If it is creeping back up toward 20 or 25 minutes, something in the workflow has slipped. Maybe your folder structure got messy, maybe you started skipping the naming convention, maybe your staging folder became a dumping ground.
The timing exercise forces honesty. It is easy to feel like things are running smoothly when you are in the middle of it. The clock does not lie.
Review Your Mockup Set Seasonally
Every quarter or so, look at your mockup scenes with fresh eyes. Are they still converting well? Are your competitors using scenes that look more current? Have your own design aesthetics shifted in a direction that makes some of your original scene choices feel off-brand?
You do not need to overhaul everything constantly, but a seasonal review keeps your shop looking fresh without requiring you to redo your entire back catalog.
Automate What You Can
As your volume grows, look for steps in your workflow that could be automated entirely. Mockupanda's API opens up possibilities for integrating mockup generation directly into your product pipeline, so that when you upload a new design file to a specific folder or trigger a specific action in your workflow, mockups are generated automatically without you even having to open a browser tab.
For most sellers just starting to build their workflow, this level of automation is not the first priority. But knowing it exists is useful, because it means there is a ceiling above the five-minute manual workflow if you ever need it.
Takeaway: Put a 30-minute workflow audit on your calendar for the end of next month. Treat it like a business review, not a chore. Your future self will thank you.
Putting It All Together
A repeatable batch mockup workflow is not a complicated thing to build. It is a series of small decisions made once and then honored consistently. Standardize your file prep so designs are ready to process the moment they are finished. Pre-decide your mockup scenes for each product type so there is no decision fatigue. Batch your processing so you are running production sessions instead of one-off tasks. Connect your mockup workflow to your listing workflow so the end of one feeds directly into the start of the other. And audit the whole thing regularly so it does not quietly drift back into chaos.
The five-minute target per design is genuinely achievable. Sellers who hit that number are not working faster or harder than you. They have just done the upfront thinking to remove every unnecessary step from the process.
If the right batch mockup tool is the missing piece for you, Mockupanda was built specifically for print-on-demand sellers in this exact situation. Fast, simple, designed around the real workflow needs of high-volume digital print shops, and built by someone who was frustrated with the same tools you are probably frustrated with right now.
Build the system once. Let it run. Spend your time on the work that actually grows your shop.
Keep reading
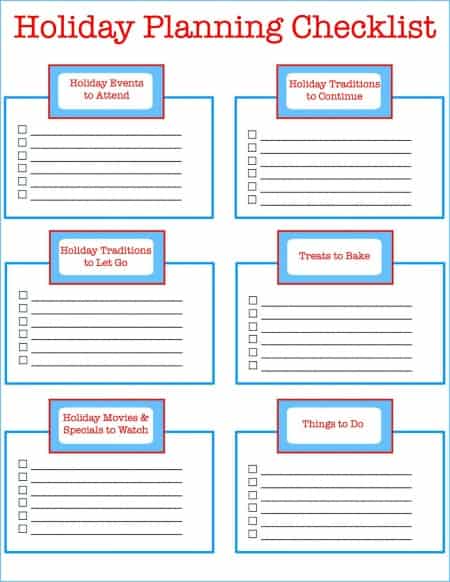
The Batch Mockup Checklist Every Print-on-Demand Seller Needs Before a Holiday Sales Season

How to Use the Mockupanda API to Auto-Generate Mockups Every Time You Upload a New Design to Your Print-on-Demand Store