How to Use a Bulk Mockup Generator to Launch a 50-Product Etsy Shop in a Single Weekend
You have the designs. You have the Etsy account. You even have a shop name picked out. But the idea of creating mockups for 50 products, writing 50 listings, and uploading everything before Monday rolls around feels completely overwhelming.
Here is the thing: most of that time is not spent on the hard creative work. It is spent on repetitive, mechanical tasks, like placing each design file into a mockup template one at a time, exporting it, renaming it, and repeating the process 49 more times.
A bulk mockup generator removes that bottleneck almost entirely. And when you remove the bottleneck, a 50-product launch in a single weekend stops being a fantasy and starts being a reasonable Saturday and Sunday plan.
This post is a practical, step-by-step walkthrough of exactly how to do it. We will cover how to plan your catalog, organize your files, batch your mockup generation, write listings efficiently, and get everything live without burning out.
Why a Weekend Launch Actually Works
Before we get into the how, it is worth understanding why compressing your launch into a weekend is a smart strategy rather than a reckless one.
The Momentum Argument
Etsy's algorithm rewards activity. When you upload a large number of listings in a short window, your shop signals to Etsy that it is active and stocked. New listings get a small visibility boost, and having 50 products live at once means 50 separate entry points for buyers to discover your shop through search.
If you drip out your listings one per day over 50 days instead, you delay the point at which your shop looks like a real, established business. Buyers who land on a shop with three listings often click away. A shop with 50 listings across a cohesive collection looks like somewhere worth browsing.
The Focus Argument
Creative work benefits from batching. When you sit down to make mockups for 10 wedding print designs in a row, you get faster and more consistent with each one. Your eye is trained, your files are organized, and your decisions about styling are already made. If you spread that work out over weeks, you lose that momentum every time you stop and restart.
A dedicated weekend keeps you in the zone. You make decisions once and apply them everywhere.
The Perfectionism Antidote
A hard deadline also protects you from over-editing. Perfectionism is the number one reason Etsy shops never launch. When you commit to a weekend, you give yourself permission to ship something good enough rather than waiting for something perfect.
Actionable takeaway: Decide right now that your launch weekend is a real deadline. Block it in your calendar, tell someone about it, and treat it like a client project with a due date.
How to Plan Your 50-Product Catalog Before the Weekend Starts
The weekend itself should be almost entirely execution. That means all planning needs to happen before Saturday morning.
Choose a Focused Niche
Fifty products sounds like a lot, but if each one is a completely different style in a completely different niche, you will spend the whole weekend making decisions instead of making mockups. Instead, build your catalog around a tight theme.
For example: botanical wall art in a neutral palette, or minimalist quotes for nurseries, or a scripture print collection in three colorways. A focused niche means your mockup styling choices transfer across all 50 products. You choose your mockup templates once, and they work for everything.
If you want variety, create variation within a theme rather than across themes. The same design in five colorways counts as five products. Three different quote designs each in five frame options counts as 15 products. You build your 50 faster than you think.
Map Out Your Design Files
Before the weekend, audit every design file you have that could become a product. Create a simple spreadsheet with columns for the file name, the product type it will become (e.g. 5x7 print, 8x10 print, 16x20 print), and any notes on colorway variations.
This spreadsheet becomes your production checklist during the weekend. You will use it to track which designs have been through the mockup generator, which listings have been drafted, and which are live.
Decide on Your Mockup Style in Advance
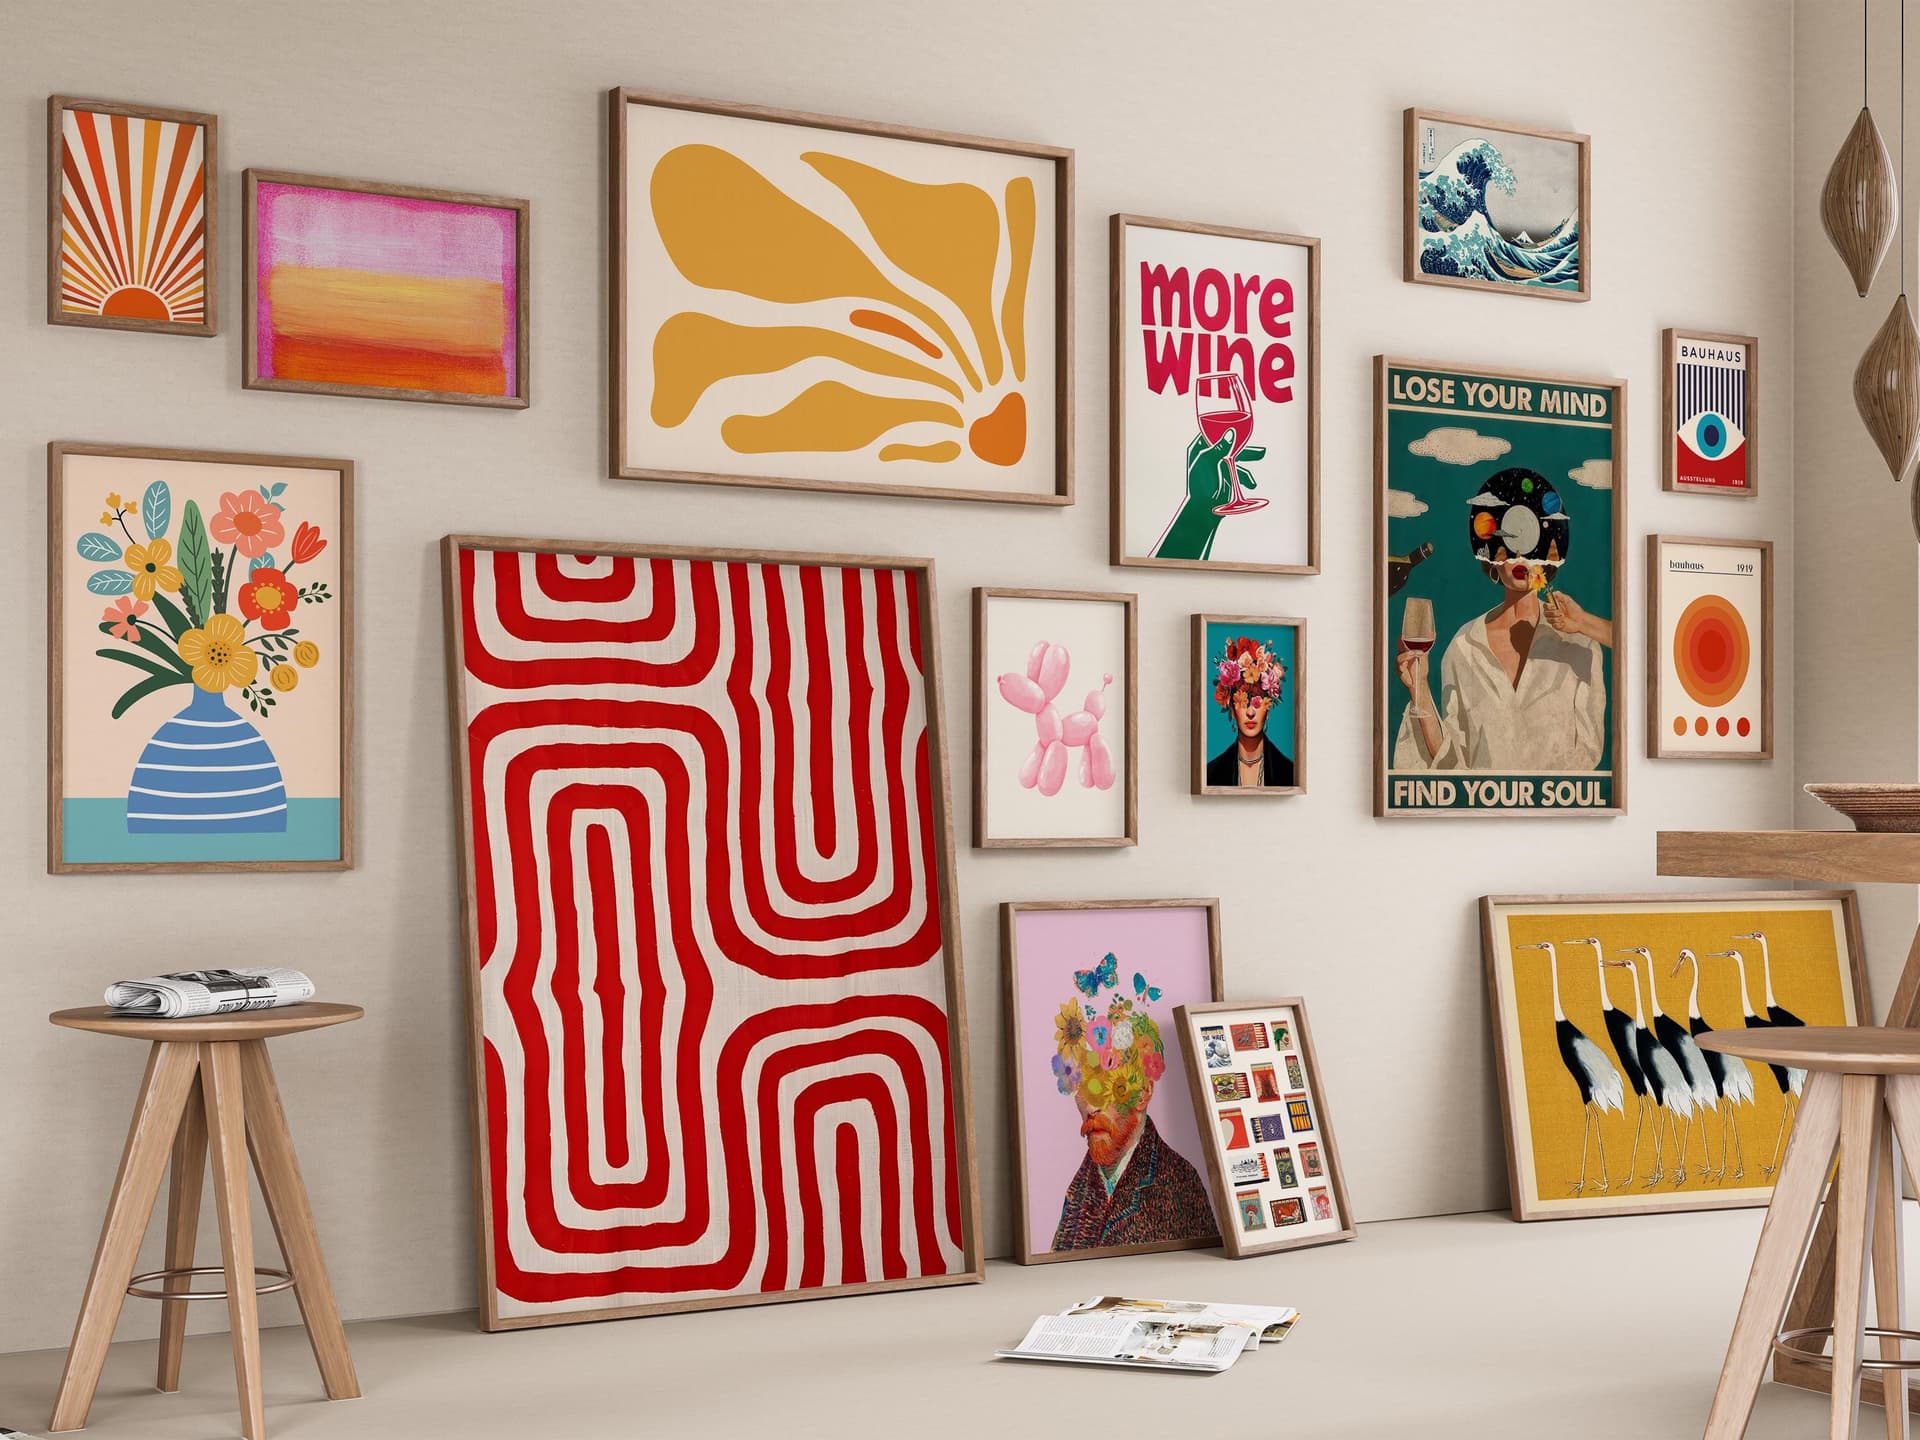
Look at successful Etsy shops in your niche and notice their mockup patterns. Are they using light airy bedroom shots? Dark moody gallery walls? Minimal white frame flats? Pick a consistent visual style for your shop and stick to it across all 50 listings.
This is important: consistency is what makes a shop look professional. Buyers should be able to tell at a glance that all your listings belong together. When you use a purpose-built mockup tool like Mockupanda, you can apply the same templates across your entire batch, which makes consistency automatic rather than something you have to manually enforce.
Actionable takeaway: Complete your design audit, build your spreadsheet, and choose your mockup style before the weekend starts. Aim to have at least 50 design files ready to go by Friday evening.

Saturday Morning: Batching Your Mockups Efficiently
This is the core of the weekend. Saturday morning is for mockup generation, and if you do it right, you can have all 50 products mocked up before lunch.
Setting Up Your Mockup Generator Workflow
The key to fast bulk mockup creation is setting up your workflow before you start, not figuring it out as you go. Open Mockupanda and choose the mockup templates you identified in your planning phase. If you are making wall art prints, you might select three templates: a framed print on a light wall, a styled bedroom flat lay, and a close-up detail shot.
Those three templates will apply to every single one of your 50 products. That means by the end of the morning you will have 150 mockup images, three per product, all consistent and professional-looking.
With bulk generation, you are not placing each design manually into each template. You upload your design files in a batch, select your templates, and let the tool generate everything at once. What would take hours of manual work in Photoshop or Canva is done in minutes.
Naming and Organizing Your Exports
Before you click generate, think about how your files will be named when they export. You want a naming convention that makes it easy to match each mockup set to its corresponding listing later. A format like `designname-template1.jpg`, `designname-template2.jpg`, `designname-template3.jpg` works well.
Once your mockups are exported, create a folder for each product and drop its three mockup images inside. This folder structure will save you enormous time during the upload phase on Sunday.
Quality Checking Your Batch
Do a quick visual scan of your exported mockups before moving on. You are looking for any designs that were placed at an awkward angle, any files that exported at a lower resolution than expected, or any templates that did not work well with a particular design. Flag those in your spreadsheet and regenerate as needed.
This quality check is faster than it sounds. You are not editing, you are just looking. Most of the batch will be perfect. You might regenerate five or ten, not fifty.
Actionable takeaway: By Saturday lunchtime, your goal is 50 sets of mockup images organized in labeled folders, quality checked and ready for listing. Everything after that is writing and uploading.
Saturday Afternoon: Writing Listings in Batches
Once your mockups are done, you switch from visual work to copywriting. This is where most sellers slow down unnecessarily. The trick is to write listings in templates rather than starting from scratch for each one.
Build a Listing Template
Create a master listing template that covers the parts of your description that are the same across all products: your file format, resolution, printing instructions, what is included in the download, and your shop policies. This block of text will be copy-pasted into every single listing.
The only parts you will write from scratch for each product are the title, the first two or three sentences of the description (which describe the specific design), and the tags.
Writing Titles and Tags at Scale
Etsy SEO is important, but it does not need to slow you down. For a weekend launch, your goal is good enough, not perfect. Do keyword research for your niche in advance using the Etsy search bar or a tool like EverBee or Marmalead. Build a list of 15 to 20 relevant search phrases that apply across your catalog.
For each listing, pull five or six of those phrases into the title and use the rest for tags. Since all your products are in the same niche, you will be mixing and matching from the same pool of keywords over and over. By listing 20 you will have the rhythm down and it will take you only two or three minutes per product.
Pricing Your Products for Profit
For digital prints, your pricing should reflect the value of professional presentation, not just the cost of the file. A digital print listed with a gorgeous, well-styled mockup from a tool like Mockupanda can command $5 to $8 or more per file, where a plain white background screenshot of the same design might sell for $2. Professional mockups are not just cosmetic, they directly affect what buyers are willing to pay.
For a shop of 50 products, price your listings in tiers: standard sizes at a base price, bundles at a small discount, and any premium or larger format prints at a higher price point. Decide your pricing structure once and apply it systematically.
Actionable takeaway: Write your master listing template on Saturday afternoon, then batch-write all 50 titles and descriptions using that template. Aim to have all your listing drafts ready in a Google Doc or Notion page by Saturday evening.
Sunday: Uploading and Launching Your Shop
Sunday is upload day. If Saturday went well, this is the most satisfying part of the weekend.
Uploading Listings Efficiently
Etsy's listing upload interface is not the fastest, but you can move through it quickly when your assets are organized. For each listing, you have your mockup images in a labeled folder, your title and description copied from your draft doc, your tags and pricing already decided, and your digital file ready to attach.
Work through your spreadsheet row by row. Check off each listing as it goes live. Do not stop to tweak listings you have already uploaded. Get everything live first, then go back and refine if needed.
Setting Up Your Shop Front
While your listings upload, use a second browser tab to work on your shop's visual presentation. A well-designed shop banner, a clear shop announcement, and a complete About section all contribute to buyer trust. None of these take long if you approach them with the same batch mentality: write a simple shop announcement that applies to your whole collection, design a banner that matches your mockup color palette, and write a short founder story for your About page.
The Soft Launch Mindset
When everything is live, resist the urge to immediately share your shop everywhere and refresh your analytics every ten minutes. Give yourself a few hours to do one final walkthrough: click into each listing, check that the images look correct, confirm the digital file is attached, and verify that your pricing is right.
Once you are satisfied, then share. Post in relevant Facebook groups for print-on-demand sellers, pin your listings to Pinterest, and share your shop link on any platform where your ideal buyers spend time.
Actionable takeaway: Use a checklist for each listing upload so nothing gets missed. Work steadily and systematically, and aim to have all 50 listings live by Sunday afternoon so you have time for a quality check before sharing.
After the Launch: What to Do in Week One
A 50-product launch is the beginning, not the end. The first week after you go live is about learning, not perfecting.
Watch Your Shop Analytics
Etsy's built-in analytics will start showing you which listings are getting views and which are not. In week one, you are just gathering data. Do not make major changes yet. Let the listings run, see what gets organic clicks, and note which products attract the most favorites.
Improve Your Bottom Performers
After the first week, pick the five listings with the lowest views and look at them critically. Are the mockup images as strong as your top performers? Are the titles using the right keywords? Sometimes a single mockup swap can dramatically improve a listing's performance because the thumbnail becomes more eye-catching in search results.
This is where having a fast tool matters again. If a listing is underperforming, you can generate a new mockup variation in minutes and swap the image without rebuilding the whole listing.
Plan Your Next Collection
Fifty products is a strong foundation. Now that you know the workflow, your second collection will be faster to produce than your first. Think about what complementary products you could add, what seasonal themes are coming up, and what your best-selling designs might look like in new colorways or sizes.
The sellers who build successful Etsy shops treat their shop like a living catalog that grows over time, not a one-time project. Mockupanda is built for exactly that kind of ongoing, high-volume workflow, whether you are adding 10 new products a month or launching entire new collections every season.
Actionable takeaway: In the first week after launch, focus on data gathering rather than tweaking. Make notes on what is working and use those insights to inform your next collection.
Your Weekend Launch Checklist
Here is everything pulled together into a simple checklist you can print out or copy into your planning tool.
Before the weekend:
Choose your niche and design theme
Audit and prepare all 50 design files
Build your production spreadsheet
Research and list your target keywords
Choose your mockup templates and visual style
Write your master listing template
Saturday morning:
Upload design files to your mockup generator
Generate all mockups in bulk using your chosen templates
Organize exports into labeled product folders
Quality check all 150 images
Saturday afternoon:
Batch-write all 50 listing titles and descriptions
Set pricing for all products
Prepare all digital files for download attachment
Sunday:
Upload all 50 listings to Etsy
Complete shop front: banner, announcement, About page
Final quality check on all live listings
Soft launch: share in relevant communities
Week one:
Monitor analytics without over-reacting
Note top performers and low performers
Plan next collection
A 50-product Etsy shop is absolutely achievable in a single weekend. The secret is removing the bottlenecks, and the biggest bottleneck for almost every digital print seller is mockup creation. When you solve that with a tool built specifically for this kind of volume, everything else falls into place faster than you expect.
Keep reading
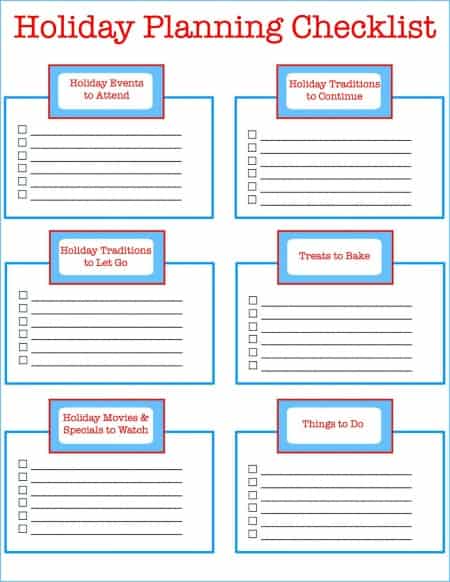
The Batch Mockup Checklist Every Print-on-Demand Seller Needs Before a Holiday Sales Season

How to Use the Mockupanda API to Auto-Generate Mockups Every Time You Upload a New Design to Your Print-on-Demand Store