How to Use a Bulk Mockup Generator to Test 10 New Wall Art Niches Without Wasting a Full Week on Product Prep
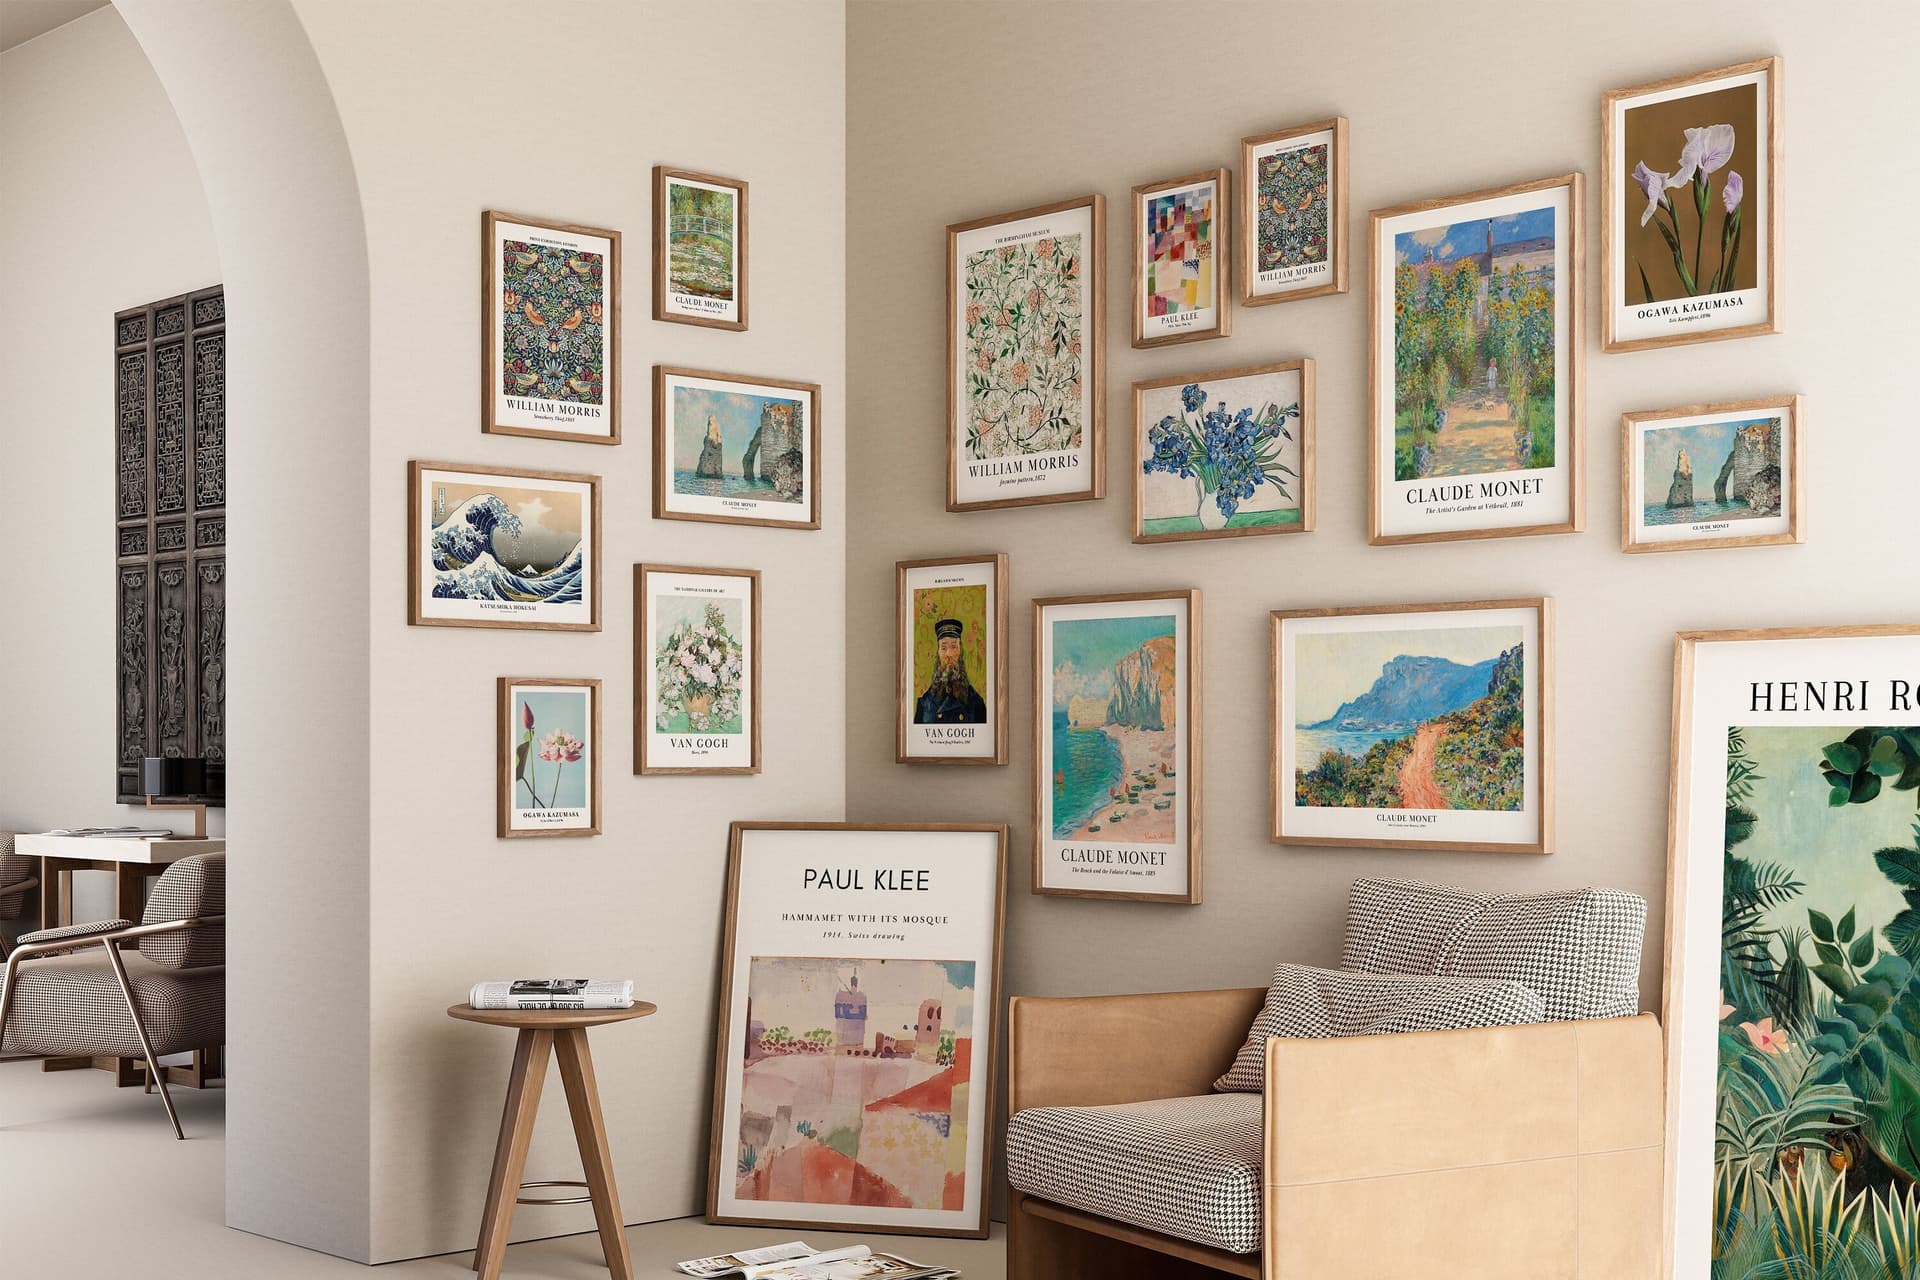
Testing a new wall art niche is exciting right up until you realize how much work stands between your idea and an actual live listing. You need to create the artwork, generate mockups for every size and color variant, write descriptions, and set pricing before you even know if anyone wants to buy the thing. Most sellers either skip the testing phase entirely and go all-in on a niche that might flop, or they spend so long on prep that they run out of steam before the shop goes live.
There is a smarter way. With a bulk mockup generator, you can move from a niche idea to a set of polished, listing-ready product images in a fraction of the time. This post walks you through a repeatable system for testing up to 10 wall art niches without sacrificing a full week to product prep.
Why Most Niche Testing Strategies Break Down
Before we get into the how, it helps to understand why the traditional approach is so slow. The problem is not creativity or effort. Most sellers are plenty motivated when they spot a potential niche. The breakdown happens at the production layer.
The One-by-One Mockup Trap
If you are manually placing each design into a mockup template, adjusting the smart object, tweaking the lighting, exporting the file, and renaming it, you are spending somewhere between 5 and 15 minutes per mockup. Multiply that by 5 mockup styles per design, 3 size variants per design, and 10 designs per niche, and you are already at 25 to 75 hours of work before you have listed a single product. That is obviously not a testing strategy. That is a full product launch.
The trap tightens because most sellers feel they cannot list something without it looking polished. That instinct is correct but it leads to over-investing in niches that have not been validated yet.
The Validation Problem
Here is the honest truth about niche testing: you genuinely do not know if a niche will convert until you have live listings getting real traffic. All the keyword research in the world gives you signals, not certainties. This means the goal of a niche test is not to build the perfect shop. It is to get something real and professional-looking live as quickly as possible so the market can give you feedback.
The faster you can go from idea to live listing, the more niches you can test in the same window of time. A seller who tests 10 niches in a month will outlearn a seller who perfects 2 niches in the same period, almost every time.
Takeaway: Stop treating niche testing like a product launch. Treat it like a hypothesis you are trying to prove or disprove as cheaply as possible.
Building Your 10-Niche Testing Framework
Before you open any tool, you need a clear framework. Jumping into creation without structure is what turns a quick test into a week-long rabbit hole.
How to Choose 10 Testable Niches Quickly
Start with niches that share a design format. If you are selling digital wall art prints, you want niches where the core design asset can be adapted without starting from scratch every time. Think about niches that work with the same orientation (horizontal, vertical, or square), the same general color palette family, or the same typography-heavy or illustration-heavy approach.
Good example: you decide to test minimalist quote prints across different audiences. Your niches might include yoga enthusiasts, home bakers, plant parents, remote workers, new mothers, dog owners, coffee lovers, runners, teachers, and vintage kitchen decor fans. Each niche needs different copy and slightly different color choices, but the design structure stays consistent. You can reuse a template and swap out the content.
This approach is important because it makes bulk generation actually possible. If each niche requires a completely different design style, you are not testing 10 niches, you are building 10 separate shops.
Scoping Each Niche to 3 to 5 Designs
For each niche, commit to testing 3 to 5 designs maximum. Not 20. Not even 10. You are looking for signal, not saturation. Three strong designs in a niche will tell you whether buyers are interested. If they are, you can expand later with confidence. If they are not, you have only invested in 3 designs rather than 20.
For each design, decide upfront which sizes you will offer. For wall art, a set of 3 standard sizes such as 5x7, 8x10, and 11x14 covers most buyer needs without requiring you to create totally separate mockup sets. Pick your sizes once and stick with them across all 10 niches during the testing phase.
Takeaway: Design your 10 niches around a shared format and limit each niche to 3 to 5 designs. This is the decision that makes bulk mockup generation actually work in your favor.
Using a Bulk Mockup Generator to Eliminate the Bottleneck
Now we get to the part where the framework actually speeds up. The secret is that bulk mockup generation is not just about doing the same thing faster. It changes the economics of testing entirely.
Setting Up Your Mockup Batches
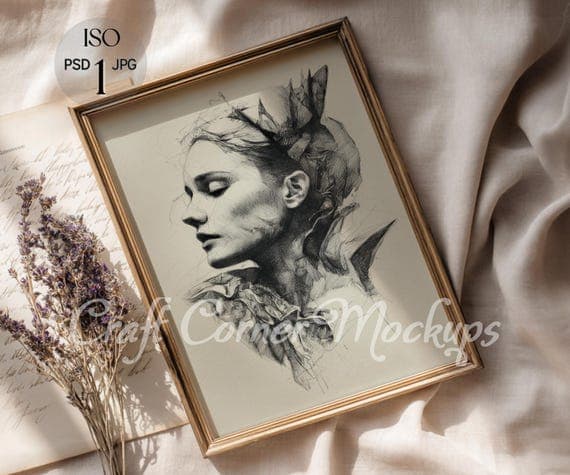
With a tool like Mockupanda, you can upload multiple designs at once and apply them to a set of mockup templates in a single workflow. Instead of opening a design file, placing your artwork, exporting, and repeating 150 times across 10 niches, you are batching the entire operation.
Here is a practical way to structure your batches. Group your uploads by niche, so all your yoga quote prints go in together, all your dog owner prints go in together, and so on. Within each batch, select 2 to 3 mockup styles that suit the aesthetic of that niche. A minimalist yoga print probably looks best in a clean white frame in a bright airy room. A vintage kitchen print might do better in a warm wood frame with a more rustic styled setting.
Most sellers make the mistake of using the same 2 mockup styles for every niche out of convenience. Spend an extra 5 minutes choosing niche-appropriate mockup styles before you generate, and your listings will look far more intentional. Buyers in different niches respond to different visual contexts, and the right mockup style signals that you understand your audience.
Generating Across Size Variants Without Starting Over
One of the most time-consuming parts of traditional mockup creation is handling size variants. If you have a 5x7, an 8x10, and an 11x14 version of the same design, you are technically creating three separate products, and each one needs its own mockup image set.
A bulk generator handles this by letting you apply the same template to multiple design files in one pass. Upload your three size variants, select your mockup templates, and generate the full set at once. What used to take 45 minutes per design now takes a few minutes for the whole batch.
Mockupanda is built specifically with print-on-demand sellers in mind, which means the workflow is designed around this kind of repetitive, high-volume task rather than the one-off mockup creation that generic design tools assume you are doing.
Takeaway: Use batching by niche and pre-select mockup styles before you generate. This 5-minute decision at the start of each batch pays back significant time by the time you are listing your 8th niche.
Keeping Listings Consistent Across Niches
Speed is important but consistency is what makes a testing framework actually useful. If every niche gets a completely different presentation style, you cannot draw clean conclusions from your results. You will not know if a niche underperformed because the audience was not there or because your listing looked rushed compared to your other niches.
Building a Reusable Mockup Style Guide
Before you start generating mockups for your 10 niches, decide on a set of 3 core mockup templates you will use across all of them. These become your baseline. Every niche gets these 3 mockups as a minimum. From there, you can add 1 or 2 niche-specific mockups on top if the aesthetic calls for it.
This gives you consistency for comparison purposes while still allowing each niche to feel tailored. You will also notice that having a pre-set core template set makes the generation step even faster because you are not making template decisions from scratch each time.
Using Text Overlays for Niche-Specific Advertising Images
If you plan to run any Etsy ads or Pinterest promoted pins for your niche tests, you will want at least one advertising-style image per niche. This is where text overlay functionality becomes useful. Instead of going back into a design tool to add a headline over a mockup, you can add text directly within your mockup workflow.
For wall art listings, a simple overlay like "Instant Digital Download" or a niche-specific headline such as "For Every Dog Mom" can meaningfully increase click-through rates on paid placements. Mockupanda's text overlay feature lets you do this without leaving the platform or spinning up a separate Canva project for every niche.
Takeaway: Establish 3 core mockup templates that every niche uses, then add 1 to 2 niche-specific templates on top. Your results will be more comparable and your workflow will be significantly faster.
Going Live and Reading the Data
Once your mockups are generated and your listings are live, the testing phase actually begins. Most sellers think the work is done when the listing goes live. In reality, that is just when the useful information starts coming in.
What to Watch in the First 30 Days
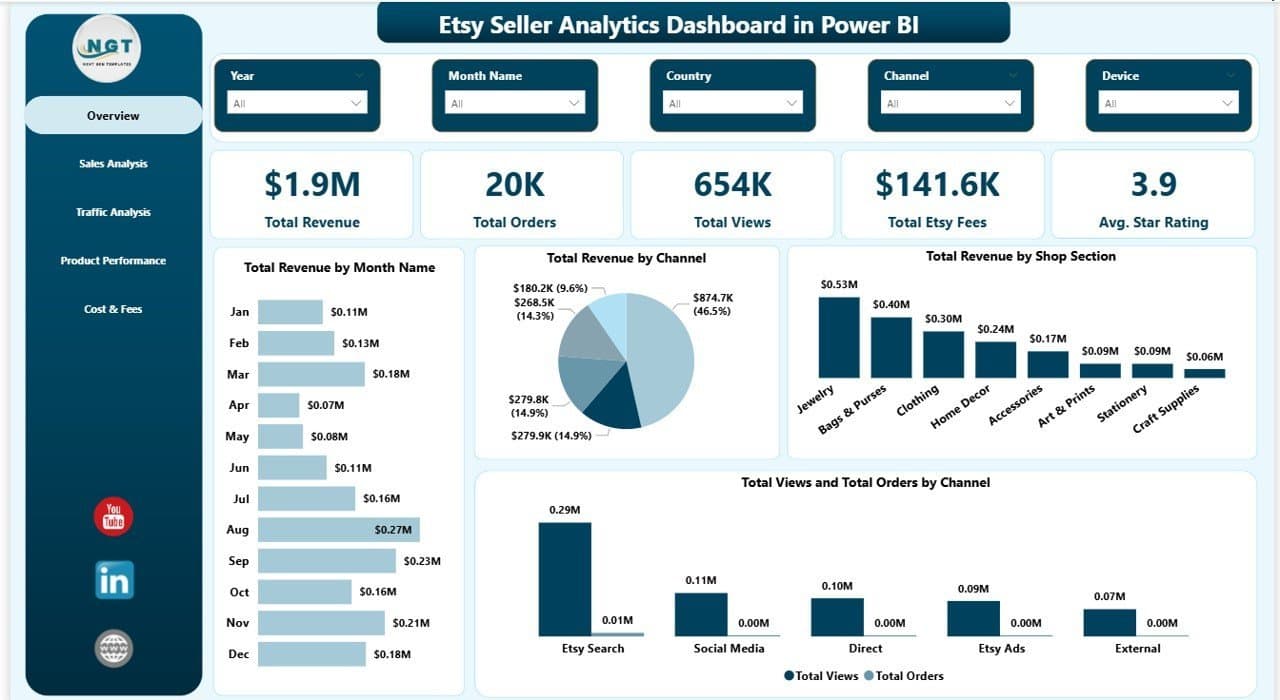
For each niche, track three numbers: views, clicks (or visits), and conversions. Views tell you whether your SEO and listing titles are pulling people in. Clicks tell you whether your thumbnail mockup is doing its job. Conversions tell you whether the full listing, including all your mockup images, price, and description, is convincing buyers.
A niche with high views but low clicks usually has a thumbnail problem. This is something a better mockup can directly fix. A niche with high clicks but low conversions might have a pricing issue or a listing presentation issue. Either way, your mockup quality is a direct lever you can pull on both of these metrics.
Give each niche a genuine 30-day window before drawing conclusions. Etsy's algorithm takes time to index and distribute new listings, and it would be a mistake to kill a niche in week one because you haven't given it a fair test.
Deciding Which Niches to Expand
At the 30-day mark, rank your 10 niches by conversion rate. The top 2 or 3 niches are your winners and deserve a full expansion: more designs, more size variants, and more mockup styles. The bottom half should be paused or closed. The middle niches are your judgment call. If a niche shows click interest but no conversions, the problem might be fixable with better mockups or a price adjustment. If it is getting neither clicks nor views, the niche itself might not have demand.
This is the power of running 10 parallel tests instead of betting everything on 1 or 2 niches. You get real comparative data fast enough to make genuinely informed decisions.
Takeaway: Track views, clicks, and conversions separately for each niche. These three numbers tell different stories, and reading them correctly will tell you exactly where to invest your expansion energy.
Common Mistakes That Slow Down the Process
Even with a solid framework, there are a few patterns that reliably derail sellers who try to run fast niche tests.
Over-Perfecting Before Launch
The most common mistake is treating a test listing like a final product. You do not need 8 mockup images per listing during the testing phase. You need 3 strong, professional images. Get to 3 images per listing and list it. You can add more later once a niche proves itself.
This is a mindset shift more than a tactical one. Permission to list something that is good but not perfect is what separates sellers who test 10 niches in a month from sellers who are still perfecting their first niche 6 months later.
Choosing Mockup Styles That Don't Match the Niche
A sleek modern frame mockup in a minimalist white apartment might be perfect for a Scandinavian decor niche. It is probably a poor fit for a bohemian wall art niche or a vintage farmhouse niche. Using the wrong mockup style is almost as damaging as having no mockup at all, because it creates a visual disconnect that erodes buyer trust even if they can't articulate why.
Spend a few minutes at the start of each niche batch browsing the listings of successful sellers in that space. Notice the visual style and aesthetic context they are using. Then match that energy in your mockup selection.
Takeaway: Give yourself permission to list at 3 strong images per listing, not 8. Save the expanded mockup sets for the niches that prove themselves in the data.
Putting It All Together
Testing 10 wall art niches without wasting a week on product prep comes down to making a few key decisions upfront and then letting your tools do the heavy lifting.
Design your niches around a shared format so your designs can be adapted quickly. Limit each niche to 3 to 5 designs so you are validating, not saturating. Use bulk mockup generation to handle size variants and template application in a single workflow. Establish a reusable core template set so your results are comparable. Get listings live with 3 solid images and let the market tell you what it thinks.
The economics shift completely once you stop treating every niche like it deserves a full production run before it has earned one. The sellers who grow fastest are not the ones who spend the most time on each listing. They are the ones who run the most intelligent experiments with the least wasted effort.
If you are ready to start running smarter niche tests, Mockupanda is built exactly for this kind of high-volume, fast-turnaround workflow. You get professional mockup quality without the manual work, at a price that makes sense for a seller who is testing, not just showcasing.
Your next 10 niche tests are closer than you think. The bottleneck was never ideas. It was prep time. Now you know how to fix that.
Keep reading
The Batch Mockup Checklist Every Print-on-Demand Seller Needs Before a Holiday Sales Season

How to Use the Mockupanda API to Auto-Generate Mockups Every Time You Upload a New Design to Your Print-on-Demand Store